
Assembling and customizing a modular tabletop shelf is one of the most effective ways to reclaim valuable surface area on a crowded desk, kitchen counter, or vanity. By building a system tailored to your specific storage needs, you can keep daily essentials within arm’s reach while maintaining a clean, organized workspace. Whether you are setting up a compact home office in a Singapore HDB flat or organizing a shared study table, a modular shelf offers the flexibility to expand vertically or horizontally as your storage requirements evolve over time.
Planning Your Tabletop Shelf Layout and Space
Before purchasing or assembling your modular tabletop shelf, you must carefully evaluate the physical space where it will sit. Begin by measuring the width, depth, and height of your desk or counter surface. Ensure that the footprint of the shelf will not obstruct your daily workflow, block computer monitors, or interfere with power outlets and cable routing. If you are placing the shelf beneath overhead cabinets or shelves, measure the vertical clearance accurately to avoid height conflicts.
Next, consider the weight capacity of the underlying desk or table. A heavy wooden or engineered wood shelf, when fully loaded with books, plants, and office accessories, can exert significant pressure on your furniture. Check your desk manufacturer’s specifications to confirm its maximum weight limit, particularly if you are using a height-adjustable standing desk or a lightweight tension-leg table. Ensuring the surface can support the combined weight of the shelf and your items prevents bowing or structural damage.
Products mentioned in this guide
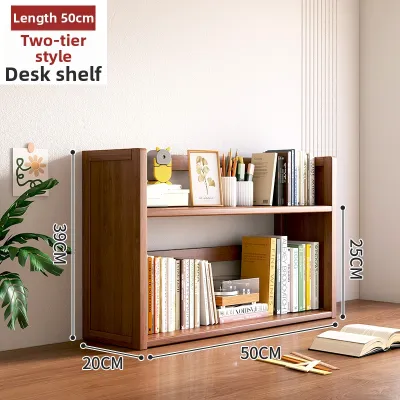
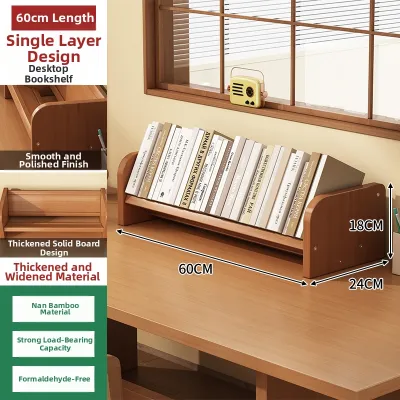
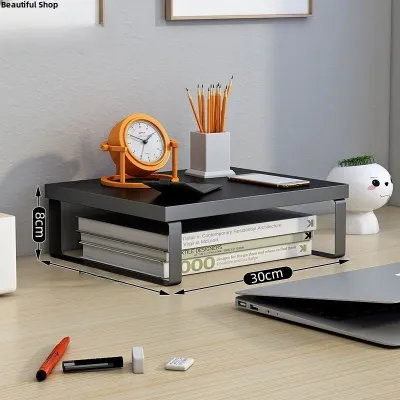
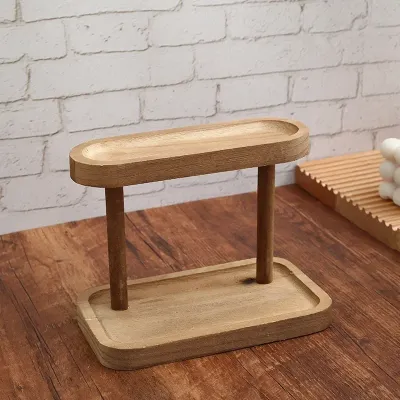
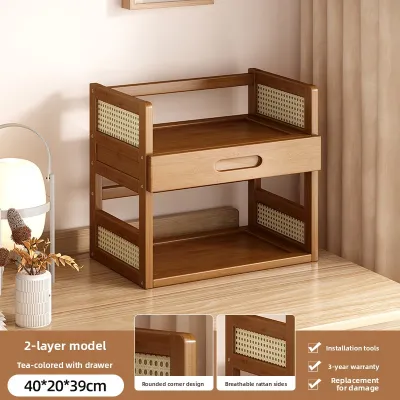
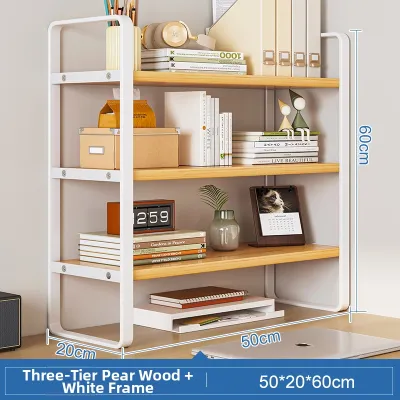
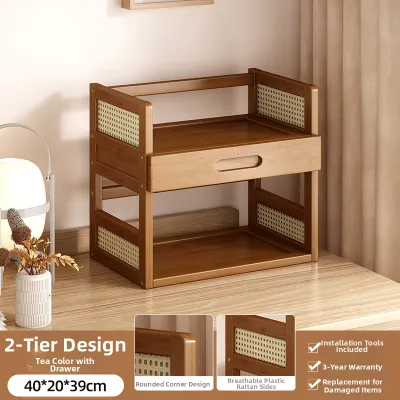
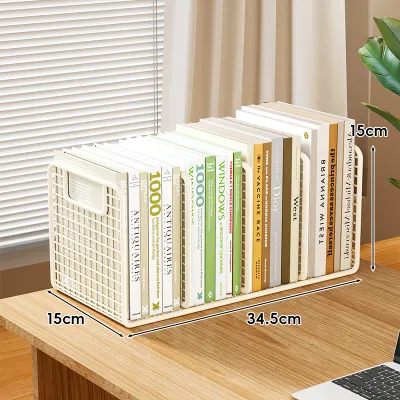
Prices are valid at publication and may change. Please refer to the product page for the latest price.
Sketching a quick layout on paper helps you decide between vertical stacking and horizontal expansion. Vertical configurations maximize vertical space, which is ideal for narrow desks, but they require careful attention to stability and overhead clearance. Horizontal layouts spread the weight across a larger surface area and are highly accessible, making them suitable for wide study tables or kitchen countertops. Take note of any specific items you plan to store, such as laptops, binders, or storage boxes, so you can plan the shelf heights accordingly.
Tools and Materials Needed for Assembly
Most modular tabletop shelves arrive flat-packed with a variety of specialized hardware designed for quick assembly. Before you begin, open the packaging and identify the included fasteners, which typically include cam locks, wooden dowels, connector bolts, and shelf pins. Grouping these small components into separate containers or trays prevents them from rolling away and makes it easier to match them to the parts list in the instruction manual.

While many kits include basic assembly tools, having your own high-quality hand tools can make the process much smoother. Gather a Phillips-head screwdriver with a comfortable grip, an Allen key (often provided, but a dedicated set can offer better leverage), and a rubber mallet. A rubber mallet is particularly useful for gently tapping wooden dowels into place without denting or cracking the wood panels. Avoid using a standard metal hammer, as the hard impact can easily chip the protective laminate or veneer finish.
To protect both your new shelf and your existing furniture during assembly, prepare a clean, soft working surface. Laying down a soft surface mat, a clean blanket, or even the flattened cardboard packaging box provides an excellent protective barrier. This prevents accidental scratches, scuffs, or dents on the shelf panels as you rotate and join them during the construction process.
Step-by-Step Assembly Guide for Modular Units
Begin the physical assembly by organizing all the wooden or composite panels according to the diagrams in your instruction manual. Lay them out on your protected workspace and identify the top, bottom, side, and back panels. Look closely at the pre-drilled holes on each piece, as these indicate how the panels align and which fasteners go where. Taking five minutes to orient the parts correctly at the start prevents the frustration of assembling a unit backward.
If your shelf uses wooden dowels for alignment, insert them into the designated edge holes first. Apply gentle pressure, or use your rubber mallet to tap them in until they are seated securely. Next, install the cam screws or connector bolts into the face holes of the adjoining panels. When inserting cam locks into their corresponding recesses, ensure the arrow on the cam lock points directly toward the entry hole of the connecting screw. This alignment is crucial for the hardware to lock together properly.
Align the side panels with the base panel, sliding the dowels and connector bolts into their respective holes. Once the panels are flush, insert the cam locks and turn them clockwise with your Phillips screwdriver until you feel firm resistance. This action pulls the panels tightly together, creating a rigid joint. Repeat this process for the top panel, ensuring that all edges align perfectly and the structure is square. If your kit includes a thin backing panel, slide it into the designated grooves or secure it with the provided small screws or nails to add diagonal stability.
When tightening the hardware, apply even pressure across all joints. Avoid over-torquing the screws or cam locks, as excessive force can strip the pre-drilled threads in engineered wood or crack the surrounding laminate. Tighten each fastener until it is snug, then move to the opposite side to maintain balanced tension. Once all main fasteners are secure, visually inspect the unit to ensure there are no gaps between the panels and that the entire module sits square and level on your flat workspace.
Connecting and Customizing the Modular Configuration
The primary benefit of a modular tabletop shelf is the ability to connect multiple units to create a customized storage system. If your layout involves stacking modules vertically, use the manufacturer-provided connector brackets, dowels, or interlocking joints to secure them. Never simply stack units on top of one another without these physical connectors, as everyday vibrations or accidental bumps can cause the upper modules to slide off and fall.
For horizontal configurations, align the adjacent modules side-by-side and secure them using the designated connection hardware. This often involves passing connector bolts through pre-drilled holes in the side panels and tightening them with sleeve nuts on the opposite side. Linking the units together not only prevents them from shifting apart but also increases the overall lateral stability of the entire shelving system, making it behave as a single, cohesive piece of furniture.
Once the main structure is securely connected, you can customize the interior layout to fit your specific belongings. Insert the shelf support pins into the pre-drilled holes at your desired heights, then rest the adjustable shelves on top of them. If you have tall items like textbooks, binders, or kitchen canisters, position the shelves further apart. For smaller items like stationery, spice jars, or decorative pieces, space the shelves closer together to maximize the usable vertical tiers.
To further enhance the functionality of your customized shelf, consider integrating optional modular accessories. Many systems offer compatible pull-out drawers, vertical dividers, or fabric storage bins that slide perfectly into the open compartments. These accessories help conceal clutter, organize loose papers, and keep smaller items from falling off the sides. Position these accessories based on your daily usage patterns, keeping frequently accessed items in open sections and loose clutter tucked away in drawers.
Safety Checks and Stability Verification
Once your modular tabletop shelf is fully assembled and configured, you must perform a thorough safety check before loading it with your belongings. Place the completed unit in its final position on your desk or counter and gently shake it from side to side. If you notice any wobble or rocking, the underlying surface may be slightly uneven. You can resolve this by adjusting the built-in leveling feet if your shelf has them, or by placing thin, non-slip shims under the low corners until the unit sits perfectly stable.
Next, run your hand carefully along all joints, edges, and corners to verify that all fasteners are flush and tight. Ensure there are no sharp protruding screw heads, exposed cam locks, or rough edges that could snag your clothing, scratch your hands, or damage your desk surface. If you find any loose hardware, tighten it immediately, and cover exposed cam locks with the plastic caps often provided in the assembly kit for a clean, safe finish.
Proper weight distribution is essential for maintaining a low center of gravity and preventing the shelf from tipping forward. Always place your heaviest items, such as thick books, heavy organizers, or kitchen appliances, on the bottom shelves. Lighter items, decorative objects, and frequently used stationery should occupy the upper tiers. Additionally, avoid overloading the shelves beyond the manufacturer’s recommended weight limits to prevent the horizontal panels from sagging or bowing over time.
Maintenance and Reconfiguration Tips
To keep your modular tabletop shelf looking its best and functioning safely, establish a simple routine maintenance schedule. Dust the surfaces regularly with a soft, dry microfiber cloth to prevent dirt buildup. For deeper cleaning, use a slightly damp cloth with a mild, pH-neutral soapy water solution, then immediately wipe the surface dry with a clean towel. Avoid using harsh chemical cleaners, abrasive scrubbing pads, or excessive water, especially on engineered wood or laminate finishes, as moisture can seep into the joints and cause swelling or peeling.
As your storage needs change, you may want to reconfigure or move your tabletop shelf to a different location. Before moving the structure, always empty all items from the shelves to reduce weight and prevent accidents. If the shelf consists of multiple connected modules, disconnect them from one another before lifting. Attempting to carry a fully assembled, multi-unit system as a single piece can put immense stress on the connector joints, potentially stripping the hardware or damaging the panels.
Finally, make a habit of checking and re-tightening the assembly hardware after the first few weeks of use. As the shelf settles under the weight of your belongings and adapts to the ambient humidity and temperature of your room, the joints can experience minor shifting. Spending a few minutes tightening any slightly loose cam locks or screws ensures the structural integrity of your modular system remains solid for years to come.
Frequently Asked Questions (FAQ)
Can I place a modular shelf on a glass desk?
Yes, you can place a modular shelf on a glass desk, but you must take extra precautions to protect the fragile surface. First, consult your glass desk manufacturer’s manual to verify the maximum weight capacity of the glass pane, keeping in mind that tempered glass can shatter if subjected to excessive or unevenly distributed loads. Always use wide, non-slip rubber or felt padding under the entire base of the shelf to distribute the weight evenly across the glass surface and prevent direct, scratch-inducing contact.
How do I stop the shelf from sliding on a smooth counter?
To prevent your tabletop shelf from sliding on smooth surfaces like polished wood, laminate, or stone countertops, apply clear non-slip silicone grip pads to the bottom corners of the unit. These pads provide excellent traction without damaging the underlying finish. Avoid using permanent double-sided tapes or strong liquid adhesives, as these can leave stubborn residue or tear away the counter’s protective coating when you eventually decide to remove or reposition the shelf.

Community discussion
Share your experience or ask a question. Comments are reviewed before publication.