
Setting up a modular storage rack organizer is one of the most effective ways to maximize vertical space in compact living environments. Whether you are organizing a household shelter, a service yard, or a utility closet, a modular system offers the flexibility to adapt to changing storage needs. The key to a successful setup lies in careful planning, precise assembly, and secure anchoring. By following a systematic approach, you can transform a flat-pack kit into a sturdy, customized storage solution that optimizes every square centimeter of your home.
Assess Your Space and Storage Needs Before Assembly
Before unboxing your new storage rack organizer, you must thoroughly evaluate the installation site. Begin by measuring the width, depth, and height of the available floor space. It is essential to allow a buffer of at least two to three centimeters on all sides to prevent the unit from scraping against walls or blocking adjacent doors during installation. Take note of any fixed obstructions such as skirting boards, electrical distribution boards, water pipes, light switches, or ventilation grates that could interfere with the placement of the rack.
Next, identify the specific items you plan to store to determine your structural requirements. Heavy items like kitchen appliances, bottled liquids, or toolboxes require high-capacity shelving, whereas lightweight plastic tubs, linens, or pantry goods can utilize lighter wire or plastic panels. Check the manufacturer’s specified load limits for each shelf level rather than assuming a universal capacity, as overloading can lead to structural failure. Planning your layout beforehand ensures you place the heaviest items on the lowest shelves to maintain a low center of gravity.
Products mentioned in this guide
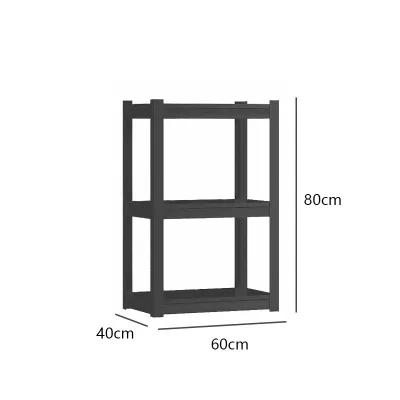
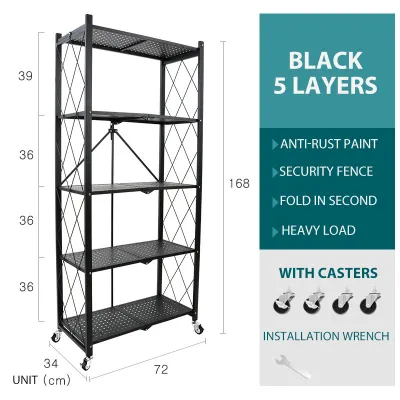
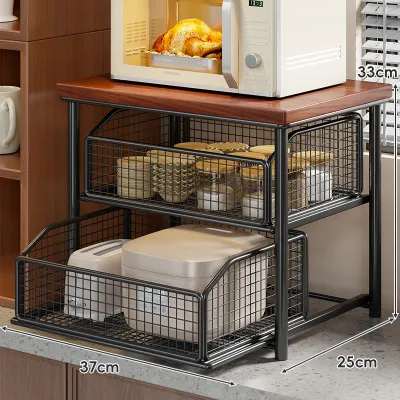
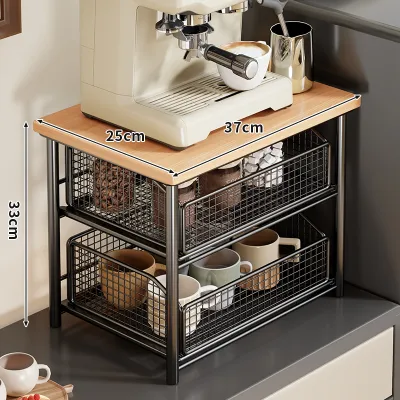
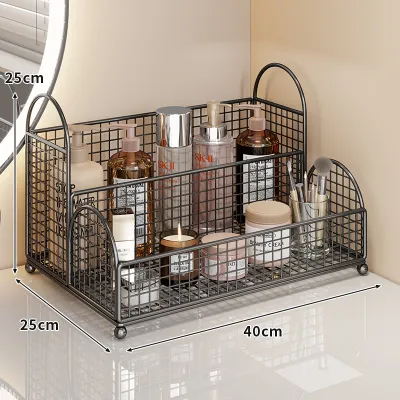


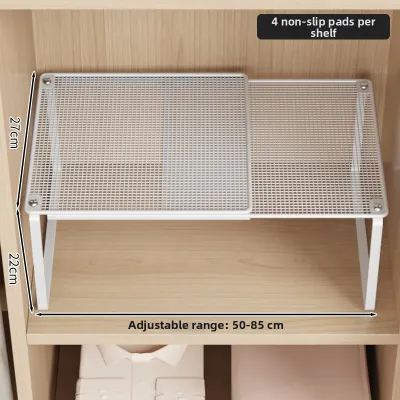
Prices are valid at publication and may change. Please refer to the product page for the latest price.
Finally, verify the logistical path from your delivery point to the target room. Measure the widths of your doorways, hallways, and especially the dimensions of your building’s lift if you live in a high-rise apartment. An assembled unit that is too large to navigate tight corners or fit through the front door will cause significant frustration. Ensuring a clear, unobstructed path beforehand saves time and prevents accidental damage to your walls and the product itself.
Gather Tools and Prepare the Components
A smooth assembly process begins with proper preparation and organization of your components. Unbox the package carefully and lay out all parts on a clean, flat surface. Group identical screws, plastic sleeves, connectors, and shelves together to make them easily accessible. Cross-reference every item with the parts list in the manufacturer’s instruction manual to ensure nothing is missing or damaged before you begin the build.

While many modular racks claim to require no tools, having a few basic implements on hand makes the process much more efficient. A rubber mallet is invaluable for tapping wire shelves or metal beams securely into place without denting the finish or damaging the joints. A spirit level is essential to ensure your shelves are perfectly horizontal, and a standard measuring tape helps verify heights and spacing. To protect your flooring—especially delicate parquet, vinyl, or polished tiles—lay down the cardboard packaging or a thick blanket as a protective barrier.
Inspect each component thoroughly for any transit damage, such as bent metal tabs, cracked plastic connectors, or chipped finishes. Check that the locking mechanisms or clips fit snugly onto the vertical supports before proceeding to the main build. Identifying a faulty component early allows you to contact the manufacturer for a replacement before you have invested time in assembling a partially completed frame.
Step-by-Step Assembly of the Base and Vertical Frames
The foundation is the most critical part of the assembly process. If the base is uneven or unstable, the entire structure will lean, compromising its load capacity and safety. Start by attaching the leveling feet or castors to the bottom of the vertical poles or side frames. If your floor has a slight slope, which is common in wet areas like service yards or balconies, adjust the leveling feet early in the process to establish a level starting point.
Connect the bottom-most shelf or horizontal support bars first. This establishes the footprint and stabilizes the vertical uprights. For boltless rivet systems, ensure the rivets slide completely into the narrow bottom of the keyhole slots. Tap them gently with a rubber mallet to lock them in. For wire shelving systems, snap the plastic sleeves onto the desired groove of the vertical poles, ensuring they are oriented with the “top” arrow pointing up, and slide the shelf down over them.
As you add the vertical poles or side panels, check that they remain perfectly plumb. If your modular rack uses threaded connector screws to join two-piece vertical poles, ensure they are screwed in completely straight to prevent cross-threading, which weakens the joint. Securing any crossbars, back braces, or tension wires included in your kit is essential, as these components prevent lateral swaying and maintain structural integrity as the height of the rack increases.
Configuring Shelves and Customizing the Layout
One of the greatest advantages of a modular storage rack organizer is the ability to customize shelf heights. Before locking the shelves into place, measure your tallest storage items, such as large plastic storage boxes, luggage, or vacuum cleaners. Position your shelves to accommodate these tall items at the bottom to keep the center of gravity low, which significantly improves the stability of the rack.
When installing adjustable clips or support brackets, double-check that they are placed at the exact same height on all four uprights. Most vertical poles have grooves or numbered markings to assist with this. Misaligned clips will cause the shelf to sit at an angle, leading to uneven weight distribution and potential slippage. Lower the shelf board or wire deck onto the supports and apply firm, even downward pressure on all four corners to seat the shelf securely.
Once the main shelf levels are locked in, you can integrate optional modular add-ons to maximize functionality. Install pull-out drawers, vertical dividers, or hanging rods according to the manufacturer’s instructions. Ensure these accessories do not interfere with the structural integrity of the frame and that their weight is factored into the overall load capacity of the unit.
Final Stability Checks and Safety Anchoring
Once the rack is fully assembled, place your spirit level on the top and middle shelves. Check both left-to-right and front-to-back alignment. If the bubble is not centered, adjust the leveling feet accordingly. For floors with significant unevenness where leveling feet do not offer enough range, use sturdy, non-slip shims designed for furniture to stabilize the base.
Evaluate the necessity of wall anchoring. Any storage rack that is tall, narrow, or loaded with heavy items on upper levels poses a tip-over hazard. This risk increases dramatically in households with active children or pets who might attempt to climb the shelving. To prevent serious accidents, installing anti-tip straps or brackets is highly recommended for any unit exceeding a height-to-depth ratio of three to one.
To install anti-tip brackets or straps, locate the structural support behind your wall. For solid concrete or brick walls, use a masonry drill bit and appropriate wall plugs to secure the brackets. If you are mounting to a drywall partition, use a stud finder to locate the timber or metal studs, or use heavy-duty hollow-wall anchors. Secure the strap tightly to both the wall and the upper frame of the rack, ensuring there is no slack.
Maintaining and Reconfiguring Your Modular Rack Over Time
Over time, your storage needs may change, requiring you to reconfigure the layout. Never attempt to adjust shelf heights or move modular components while the rack is loaded. Completely unload all items starting from the top shelf down to the bottom to prevent the unit from becoming top-heavy or collapsing during adjustment.
Perform routine maintenance checks every six months. Inspect the plastic connectors, clips, and metal joints for signs of wear, cracking, or loosening. Tighten any bolts that may have vibrated loose over time, and ensure the unit remains level and firmly anchored to the wall. If you notice any sagging in the shelves, redistribute the weight immediately or reduce the load to prevent permanent warping.
Consider the local climate when cleaning and maintaining your rack. High humidity can accelerate rust on low-grade metal or cause mold growth on untreated engineered wood shelves. Wipe down the frame with a dry or slightly damp microfiber cloth, avoiding harsh chemical cleaners that can strip away protective anti-rust coatings or laminates. If the rack is located in a high-moisture area like a service yard, ensure adequate ventilation to prolong the lifespan of the materials.

Community discussion
Share your experience or ask a question. Comments are reviewed before publication.