
Assembling and customizing a modular shelf organizer is one of the most effective ways to maximize storage and maintain order in your home. Unlike rigid, traditional furniture, modular systems allow you to adapt your storage layout to fit specific items, changing needs, and unique room dimensions. To achieve a sturdy, functional setup, you must approach the process systematically: prepare your workspace, build a level foundation, customize the layout to match your belongings, and secure the entire structure to prevent tipping.
Prepare Your Space and Inventory Components
Before unboxing your new shelf organizer, carefully measure the designated area to ensure a seamless fit. In space-conscious homes, such as modern apartments or HDB flats, every millimeter counts. Use a metal measuring tape to record the height, width, and depth of the available space. Do not rely solely on open wall measurements; remember to account for skirting boards along the floor, which can prevent the unit from sitting flush against the wall. Additionally, check the locations of electrical wall outlets, light switches, and any surface-mounted wire trunking to ensure your shelving does not block access or sit at an awkward angle.
Once your measurements are verified, prepare a clean, flat assembly area on the floor. Laying down a large piece of cardboard from the packaging or a soft blanket will protect both your new shelving components and your flooring from scratches. Unbox all the parts carefully and group similar items together, such as vertical support panels, horizontal shelves, backboards, and connector hardware. Cross-reference every single piece against the manufacturer’s included parts checklist to verify that nothing is missing or damaged. If you discover any warped panels or missing connectors, contact the retailer immediately rather than attempting to assemble an incomplete unit.
Products mentioned in this guide
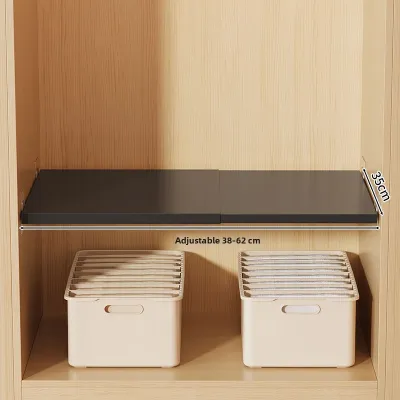
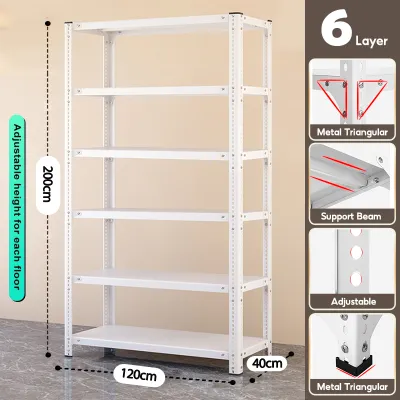
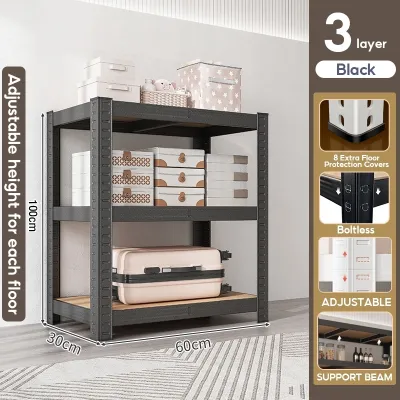
![2/3/4 Tiers Kitchen Bathroom Organizer Trolley Shelf/Rack/ Storage/Utility Cart with Rollers Wide - White / Grey Color [Stock in SG]](https://img.lazcdn.com/g/p/c3b7bda38d6f5ae35cdc88c062c34715.jpg_400x400q80.jpg_.webp)
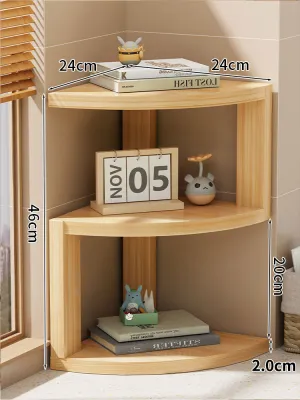
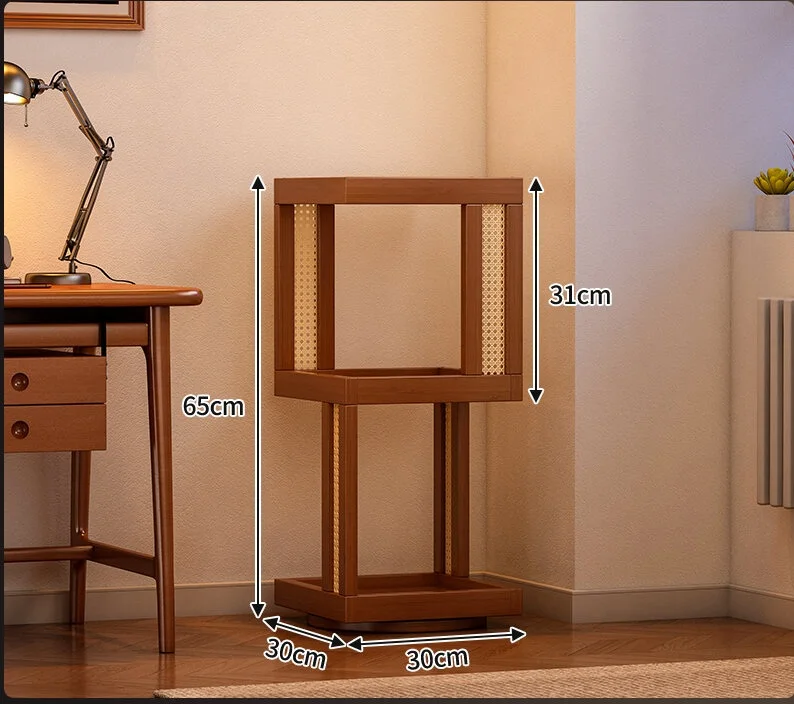
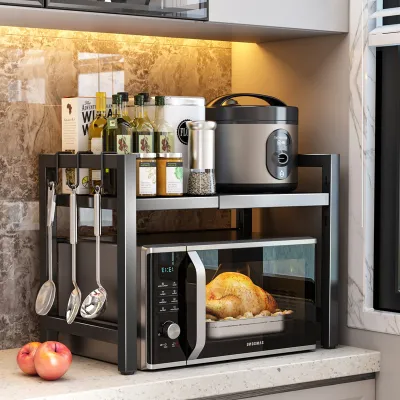
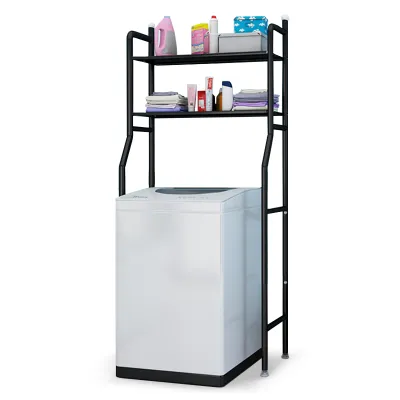
Prices are valid at publication and may change. Please refer to the product page for the latest price.
Having the right tools on hand before you begin will make the assembly process much smoother and prevent damage to the materials. While many modular systems are marketed as tool-free, keeping a few basic household items nearby is highly recommended. A rubber mallet is incredibly useful for gently tapping snap-fit joints or plastic connectors into place without marring the finish. A spirit level is essential for verifying that your shelves are perfectly horizontal, and a manual screwdriver will be needed for any systems utilizing cam locks or brackets.
Build the Base and Main Frame Step-by-Step
The foundation of your modular shelf organizer dictates the stability and alignment of the entire completed structure. Always begin by assembling the bottom-most tier or attaching the base feet first. If your shelf organizer comes with adjustable leveling feet, take the time to adjust them now. Floors in residential spaces are rarely perfectly flat, especially near balcony doors, wet areas, or older tiled surfaces. Ensuring the base is completely level from the very start prevents the frame from leaning, which can put uneven stress on the joints and lead to instability later on.

Once the base is level, begin connecting the vertical supports and horizontal panels to build the frame upward. Modular systems typically rely on specific locking mechanisms, such as snap-fit plastic connectors, cam locks, or screw-in brackets. If your system uses cam locks, insert the metal pins into the pre-drilled holes, align the corresponding panel, and turn the cam lock clockwise with a manual screwdriver until you feel it lock firmly. For grid-based systems with plastic connectors, ensure the panels are pushed fully into the slots. Use your rubber mallet to tap the connectors gently until you hear a distinct click, indicating the joint is fully seated.
As you complete each tier of the frame, use your spirit level to check both horizontal and vertical alignment. Place the level flat on the horizontal shelves and vertically against the side supports. Checking alignment progressively allows you to catch and correct minor deviations before they compound into major alignment issues near the top of the unit. Do not fully tighten any screws or locking brackets until you have verified that the entire frame is square and plumb.
If you encounter resistance during assembly, or if pre-drilled holes do not align, stop immediately. Forcing components together can easily crack engineered wood, strip screw holes, or bend metal frames. Take a moment to re-verify the orientation of the parts. Many modular components appear symmetrical at first glance but actually have specific top, bottom, front, or back orientations. Consult the assembly manual’s diagrams carefully to ensure you are using the correct part number and facing it in the right direction.
Customize Shelf Heights and Layouts for Your Items
The primary advantage of a modular shelf organizer is the ability to customize the layout to suit your specific storage needs. Before locking your shelves into permanent positions, gather the items you plan to store and measure their dimensions. Group your belongings by height, separating tall items like files or binders from medium-sized storage bins and smaller decorative objects. When planning your shelf spacing, always leave at least two to three centimeters of clearance above the tallest item in each section to allow you to slide items in and out easily.
Most modular systems offer adjustable shelf heights through peg-and-hole configurations or track systems. If your storage needs change over time, you can easily reposition the shelf support pins to raise or lower individual shelves. If you are integrating fabric, plastic, or wicker storage bins, adjust the shelf heights so the bins slide in smoothly without scraping the shelf above. If your modular system supports optional add-ons, such as drawers, doors, or extension kits, plan their placement carefully to ensure they do not obstruct walkways or adjacent furniture doors when opened.
When designing your layout, you can create asymmetrical or staggered configurations to accommodate unique items and add visual interest. However, you must always prioritize structural integrity and balance. Avoid placing all wide, heavy shelves on one side of the unit while leaving the other side completely open or light. Keep the overall center of gravity centered or low. Always adhere strictly to the manufacturer’s specified weight limits for individual shelves and the overall frame to prevent sagging or structural failure.
Secure, Stabilize, and Perform Final Safety Checks
Once your modular shelf organizer is fully assembled and customized, you must evaluate its stability and secure it properly. Wall-anchoring is a critical safety step, particularly for tall units, top-heavy configurations, or homes with young children and pets. In Singapore, where concrete walls are standard in most HDB flats and condominiums, securing a shelf organizer requires drilling into the wall with a masonry bit and inserting appropriate plastic wall plugs or anchors. Use the wall-mounting brackets provided by the manufacturer to anchor the top of the unit securely to the wall, preventing any risk of accidental tip-over.
Before loading your items onto the shelves, perform a physical stability test. Stand in front of the unit and give it a gentle shake from side to side and front to back. If you notice any wobbling, swaying, or creaking, identify the source of the movement. Check to see if any connectors or cam locks have loosened during the customization process and tighten them. Ensure all leveling feet are making firm, even contact with the floor. If the unit is sitting on a thick rug or carpet, you may need to adjust the front feet slightly higher to compensate for the compression of the fibers.
Proper weight distribution is essential for maintaining the long-term stability of your shelf organizer. Always place your heaviest items, such as books, heavy storage boxes, or small appliances, on the bottom-most shelves. This lowers the overall center of gravity of the unit, making it much more stable and less prone to tipping. Lighter items, decorative pieces, and frequently accessed belongings should be placed on the middle and upper shelves. Never exceed the maximum load capacity specified by the manufacturer for either individual shelves or the entire unit.
Maintain and Safely Reconfigure Your Shelving
To ensure your modular shelf organizer remains safe and functional for years to come, perform routine visual checks every few months. Look closely for any signs of sagging shelves, which indicate that a shelf is overloaded and needs to have its weight reduced. Check the joints, connectors, and wall anchors to ensure they remain tight and secure. In humid climates, keep an eye out for signs of moisture damage, warping, or peeling edges, especially if your shelving is made of engineered wood or particle board.
When you need to move, clean behind, or reconfigure your shelf organizer, always follow safe disassembly steps to avoid damaging the modular components. Never attempt to drag or slide a fully loaded or even empty shelving unit across the floor, as this can stress the joints and scratch your flooring. Empty all shelves completely before moving. Carefully release the locking mechanisms, such as cam locks or snap-fit connectors, using the appropriate manual tools. Store all small hardware pieces, pins, and connectors in a labeled bag so they are not lost during the transition.
Keep your shelf organizer clean by following care guidelines specific to its material. For engineered wood or laminate surfaces, wipe down the shelves with a dry or slightly damp microfiber cloth; avoid using excessive water, which can seep into seams and cause the material to swell. For metal frames, a damp cloth followed immediately by a dry towel will prevent rust and preserve the finish. Plastic or wire components can be wiped down with mild soapy water. Avoid harsh chemical cleaners, bleach, or abrasive scrubbing pads, as these can scratch or degrade the protective finish of your shelving.
Frequently Asked Questions (FAQ)
Can I add more tiers to my modular shelf organizer later?
Yes, many modular systems allow you to expand vertically, but you must first verify the manufacturer’s maximum height and weight limits. Adding too many tiers can compromise the structural integrity of the frame and increase the risk of tipping. Always use compatible extension kits or official modular panels designed specifically for your model, and ensure the expanded unit is securely anchored to the wall.
Do I need power tools to assemble a modular shelving unit?
Most consumer modular shelf organizers are designed for straightforward assembly using basic hand tools like a rubber mallet and a manual screwdriver. However, you will likely need a power drill with a masonry bit if you are installing wall anchors into concrete walls, which is highly recommended for tall or heavy configurations to ensure absolute stability.
How do I fix a wobbly modular shelf after assembly?
First, check if your floor is uneven, and adjust the leveling feet or place thin shims under the base if necessary. Next, inspect all joints and locking mechanisms to ensure they are fully engaged and tightened. If the wobble persists, verify that the unit is square using a spirit level, and consider securing it to the wall to eliminate movement.

Community discussion
Share your experience or ask a question. Comments are reviewed before publication.