
Maximizing your desk space with a modular desktop organizer involves a systematic approach: measuring your workspace, assembling a stable base frame, and customizing the shelf heights and accessories to match your daily workflow. By utilizing vertical space and keeping frequently used items within arm’s reach, you can free up valuable surface area on your desk. This guide walks you through the entire process, from initial measurements to troubleshooting alignment issues, ensuring a sturdy and personalized setup.
Assessing Your Desk Space and Gathering Tools
In compact Singapore apartments where home offices often share space with bedrooms, maximizing every square centimeter of your desk is essential. A modular desktop organizer offers a highly customizable solution to clear surface clutter, but a successful setup begins long before you open the box. Properly evaluating your physical workspace and preparing your assembly area ensures that your new shelving unit fits seamlessly into your daily routine without obstructing your workflow.
Begin by using a metal measuring tape to record the exact width, depth, and height clearance of your desk. Pay close attention to any existing fixtures that might limit your vertical space, such as wall-mounted cabinets, floating shelves, window sills, or monitor arms. If you use a dual-monitor setup, measure the height of your screens to ensure the modular shelves can either sit beneath them or clear them entirely without blocking your view.
Products mentioned in this guide
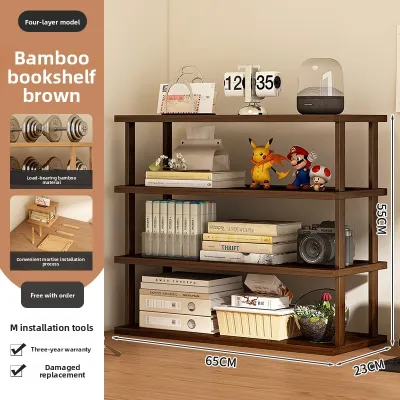
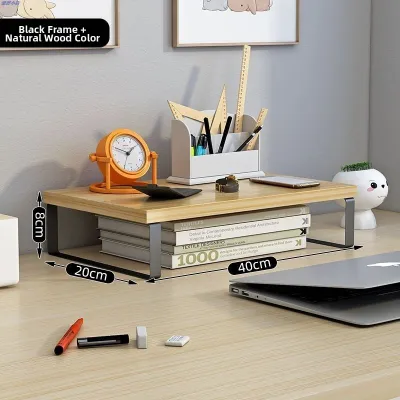
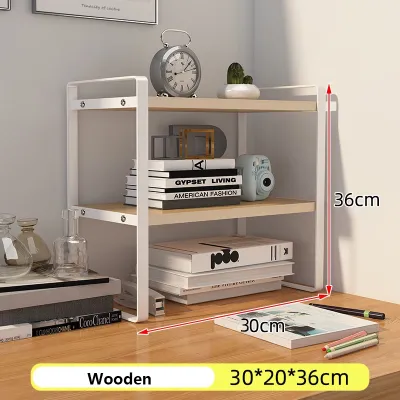
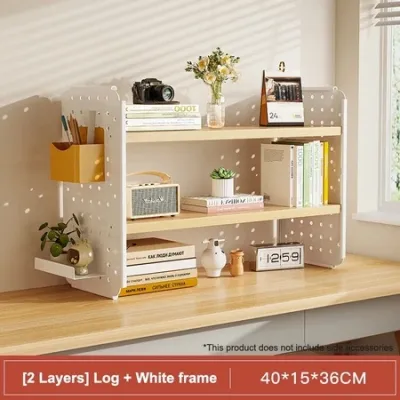
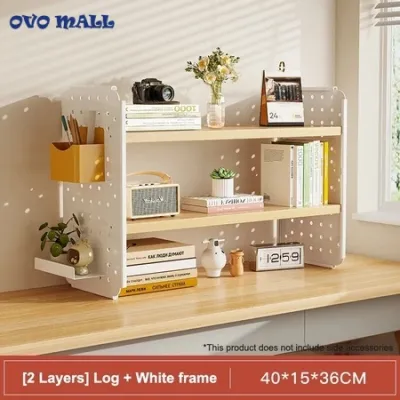
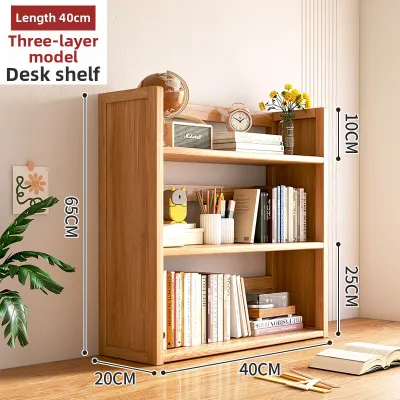
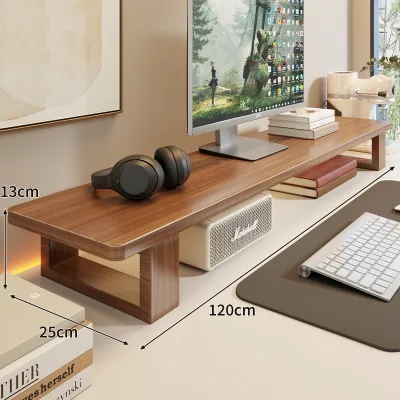
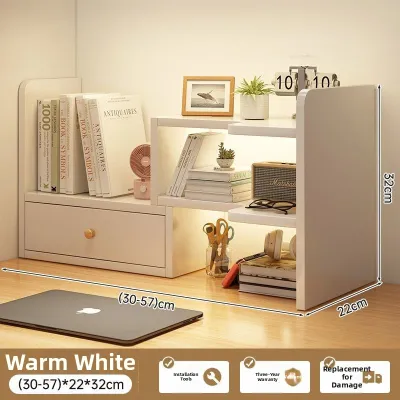
Prices are valid at publication and may change. Please refer to the product page for the latest price.
Next, compare these measurements against the finished dimensions of the modular shelf you plan to purchase. It is crucial to account for the footprint of the organizer’s base to ensure it does not overhang the edges of your desk or crowd your keyboard and mouse area. Additionally, verify that your desk’s material and construction can support the concentrated weight of a fully loaded organizer; for instance, tempered glass or thin hollow-core desks may require lighter storage solutions compared to solid wood or steel-framed workstations.
Before unboxing, gather the basic tools recommended in the manufacturer’s manual, which typically include a manual Phillips-head screwdriver, a measuring tape, and a small spirit level. While it might be tempting to speed up the process with an electric drill, manual tools are highly recommended for desktop furniture to prevent over-tightening, which can strip pre-drilled holes or crack delicate composite panels. Finally, clear a spacious, clean area on your floor or desk, and lay down a soft blanket or the cardboard packaging to protect both your desk surface and the organizer components from scratches during the assembly process.
Assembling the Base Modular Unit Safely
Unboxing your modular desktop organizer systematically is the first step toward a stable and safe assembly. Carefully remove all components from the packaging and group them by type, separating the vertical supports, horizontal shelves, and hardware packets. Before proceeding, cross-reference every item with the parts list provided in the manufacturer’s instruction manual to ensure no screws, dowels, or brackets are missing or damaged.

Lay out the main structural components on your protected work surface in the exact orientation illustrated in the manual’s diagrams. Identifying the top, bottom, front, and back of each panel at this stage prevents the common mistake of assembling pieces upside down, which can lead to misaligned screw holes later. If your unit utilizes wooden dowels, insert them gently into the designated holes first, ensuring they sit flush without forcing them.
When connecting the base frames and vertical supports, always follow the manufacturer’s specified sequence to maintain structural integrity. Insert the screws or connector bolts and tighten them only halfway; leaving the hardware slightly loose allows the frame to flex and adjust as you align the remaining panels. This technique prevents the frame from warping or becoming locked into an uneven shape, which is a primary cause of post-assembly wobbling.
Once all the primary structural elements are connected, place the partially assembled frame upright on a completely flat surface. Use your spirit level to verify that the vertical supports are perpendicular to the base and that the frame sits evenly without rocking. Once you have confirmed the alignment, gradually tighten all the screws in a diagonal or cross-pattern, distributing the tension evenly across all joints to lock the structure securely in place.
Inspect each joint closely to ensure there are no visible gaps between the panels and that all hardware is flush with the surface. If you notice that any pre-drilled holes do not align properly, or if a structural component appears cracked or warped, stop the assembly immediately. Forcing mismatched parts together can compromise the load capacity of the shelf, so it is best to contact the manufacturer for replacement parts rather than risking a structural failure on your desk.
Configuring Shelves and Add-Ons for Your Workflow
The primary advantage of a modular desktop organizer is its ability to adapt to your specific daily tasks and ergonomic needs. Once the main frame is securely assembled, take time to plan the layout of your shelves, dividers, and accessories based on how you interact with your workspace. A well-thought-out configuration not only maximizes storage but also reduces physical strain by keeping essential items within your natural line of sight and reach.
Start by adjusting the heights of the main shelves to accommodate your primary work tools, such as computer monitors, laptops, or large reference binders. If your modular system features adjustable support pins, position the shelves so that your monitor sits at an ergonomically correct height—ideally with the top of the screen at or slightly below eye level. Ensure there is sufficient clearance beneath the lowest shelf to slide your keyboard and mouse out of the way when you need open desk space for writing or offline tasks.
When placing items on the shelves, apply the principles of weight distribution and frequency of use to maintain balance and safety. Position frequently used items, such as notebooks, writing utensils, and external hard drives, on the middle tiers or within easy arm’s reach. Heavier items, such as printers, heavy books, or storage boxes filled with paperwork, should always be placed on the lowest shelves to keep the center of gravity low and prevent the organizer from tipping forward.
If your modular organizer includes specialized add-ons like pegboards, side hooks, or magnetic strips, configure them to clear up valuable horizontal space. Hang lightweight items like headphones, cables, or scissors on side hooks, and use magnetic strips to secure paperclips or small metal tools. Be mindful of the weight limits specified for these accessories, as overloading side-mounted attachments can cause the entire unit to lean or slide.
Finally, integrate cable management solutions to keep your customized setup looking clean and organized. Route power cords, charger cables, and monitor wires through the organizer’s built-in channels, clips, or rear openings. Grouping cables together and securing them to the frame not only prevents a cluttered appearance but also eliminates the risk of accidentally snagging a cord and pulling a device off the shelf.
Optimizing Vertical Space and Ensuring Stability
Utilizing the vertical space above your desk is an excellent way to reclaim surface area, but it must be done with a strong focus on long-term stability and safety. Desktop organizers are subject to constant vibrations from typing, writing, and moving equipment, which can gradually loosen joints over time. To ensure your setup remains secure, you must adhere strictly to the manufacturer’s guidelines regarding weight distribution and anchoring.
Always respect the maximum weight capacity specified for each individual shelf tier as well as the cumulative weight limit for the entire modular unit. Overloading a shelf can cause it to sag, which not only damages the material’s finish and joints but also increases the risk of items sliding off. If you are unsure of an item’s weight, use a small kitchen scale to verify it before placing it on an upper tier.
For taller modular units or setups that feature multiple stacked tiers, securing the organizer is essential to prevent tip-over accidents. If the manufacturer provides wall-anchoring brackets, safety straps, or desk clamps, install them exactly as directed. Desk clamps are particularly useful in rental properties where drilling into walls is not permitted, providing a secure connection directly to the back edge of your desktop.
If you use a height-adjustable standing desk, stability becomes even more critical during transitions. The movement of the desk can amplify any slight wobble in a desktop organizer, potentially causing top-heavy items to fall. Ensure that the organizer is securely fastened or weighted at the base, and double-check that all cables have enough slack to accommodate the desk’s full range of motion without pulling on the shelving unit.
To maintain safety over time, establish a routine inspection habit every few months to check the structural integrity of your organizer. Gently wiggle the frame to identify any shifting joints, and use your manual screwdriver to tighten any screws that may have loosened from daily use. Regularly inspect the joints and the finish for signs of stress, such as hairline cracks in wooden panels or bending in metal brackets, and adjust your storage load accordingly if you notice any wear.
Troubleshooting Common Setup and Alignment Issues
Even with careful preparation, you may encounter minor alignment or stability issues during the assembly of a modular desktop organizer. Knowing how to troubleshoot these common problems safely ensures that you do not damage the components or compromise the final structure. Most issues can be resolved with simple adjustments rather than forcing parts together or starting the process over from scratch.
If you find that pre-drilled holes do not line up when trying to attach a shelf or support beam, the most common cause is that the surrounding frame screws were tightened too early. To resolve this, slightly loosen the screws on the adjacent panels to allow the frame to flex. Once the misaligned holes are brought into alignment and the screw is successfully started, gradually retighten all the frame screws in an alternating pattern to pull the structure back into square.
A minor wobble on an otherwise flat desk surface is often caused by slight imperfections in the desk itself or uneven floor levels. If your modular organizer features adjustable leveling feet, turn them clockwise or counterclockwise until the unit sits perfectly stable and level. If your unit does not have adjustable feet, you can easily correct the wobble by placing small adhesive felt pads or thin plastic shims under the low corners of the base frame.
Uneven shelving tiers are typically the result of support pins or brackets being placed in mismatched holes on the vertical panels. Double-check the height of the pins on both the left and right sides by counting the holes from the bottom up to ensure they are identical. If the shelf still sits at an angle, verify that the vertical side panels themselves were not installed upside down or swapped, as this can offset the hole patterns.
If you encounter a persistent structural issue that cannot be resolved through basic adjustments—such as a severely warped panel, stripped screw threads, or a cracked joint—do not attempt to use the organizer. Using damaged or improperly fitting components can lead to a sudden collapse, risking damage to your expensive computer equipment and personal items. In these situations, stop using the unit immediately and contact the manufacturer’s customer service department to request replacement parts or professional technical support.
Frequently Asked Questions (FAQ)
Can I mix and match components from different modular shelf brands?
Mixing components from different modular shelf brands is generally not recommended due to variations in dimensions, hole spacing, and connection mechanisms. Even minor differences in screw thread sizes or bracket designs can compromise the structural integrity and stability of the unit. Before attempting to combine parts, carefully check the connection specifications and consult the manufacturers to verify compatibility.
How do I clean and maintain a wooden or metal desktop organizer?
To clean a wooden or metal desktop organizer, regularly dust the surfaces with a dry, soft microfiber cloth to prevent buildup. For deeper cleaning, use a slightly damp cloth with mild soap, immediately followed by a dry cloth to prevent moisture from damaging wooden finishes or causing rust on metal components. Always check the manufacturer’s care label for specific instructions regarding finishes, protective coatings, and approved cleaning agents.

Community discussion
Share your experience or ask a question. Comments are reviewed before publication.