
Assembling and configuring modular shelf rack storage cabinets is a highly effective way to maximize storage in space-constrained homes, such as modern apartments or HDB flats. By following a systematic, step-by-step approach—measuring your space, building a stable base, securing the vertical uprights, and customizing the shelf heights—you can create a tailored storage solution that fits your exact needs. This guide walks you through the entire process, ensuring your new shelving unit is both highly functional and structurally safe.
Pre-Assembly Preparation and Space Planning
Before opening any boxes, you must carefully plan where the modular shelving unit will stand. Start by measuring the width, depth, and height of the designated floor and wall space. Remember to account for architectural details like skirting boards, which can prevent the unit from sitting flush against the wall, as well as the location of power outlets and light switches that you might need to access.
Consider the path the packages must take to reach the room. Measure your doorway clearances and lift dimensions to ensure the flat-pack boxes can be easily transported into your home. If you live in a high-rise apartment, verifying these entry points beforehand prevents unexpected delivery bottlenecks.
Products mentioned in this guide
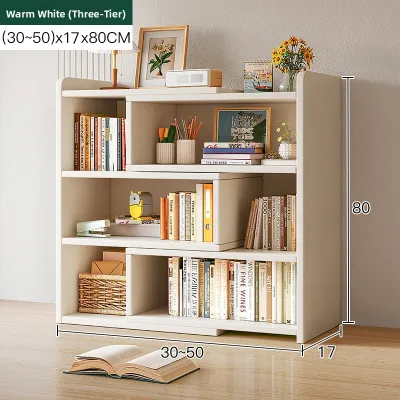
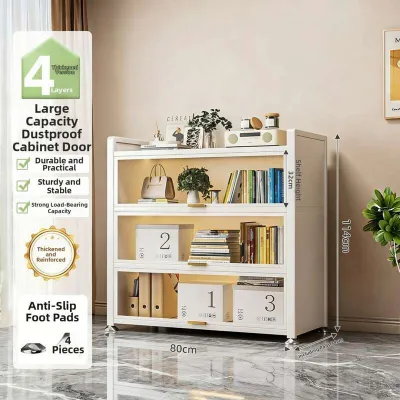
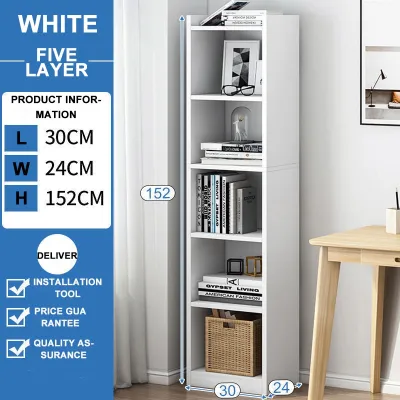
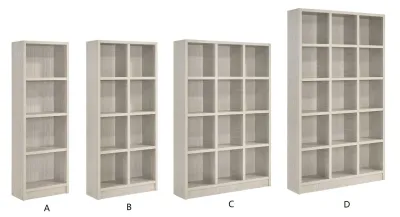
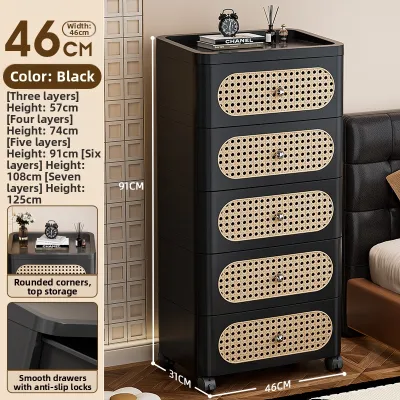
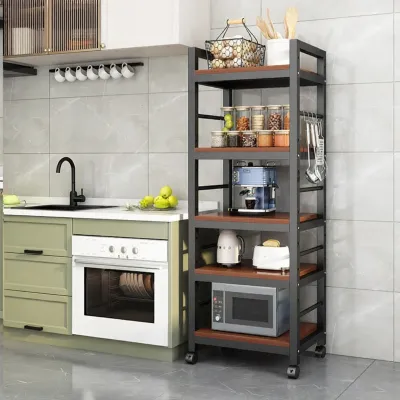
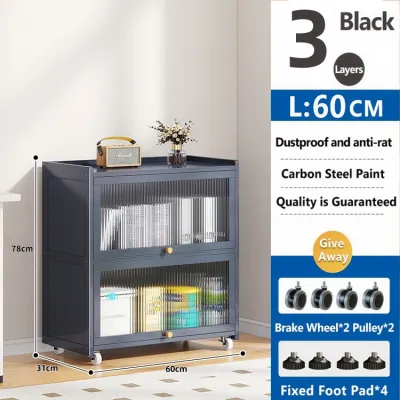
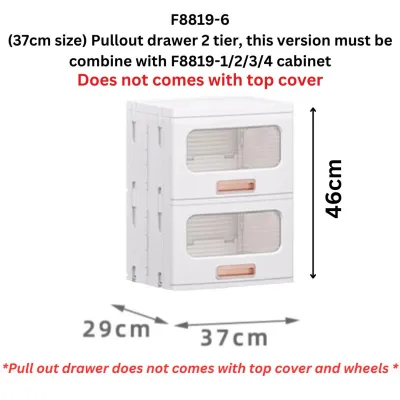
Prices are valid at publication and may change. Please refer to the product page for the latest price.
Once the boxes are in the room, unbox all components carefully. Lay out the panels, vertical uprights, connectors, and hardware on a clean, flat surface. Use a soft blanket or the cardboard packaging itself to protect your flooring from scratches during this stage.
Conduct a thorough inventory of all parts against the manufacturer’s assembly manual. Grouping similar screws, dowels, and brackets into small containers or trays will save you time and prevent small pieces from rolling away. If you notice any missing or damaged components, contact the retailer or manufacturer before starting the build.
Gather the basic tools required for the job. While many modular systems include simple hex keys, having a manual screwdriver set, a rubber mallet, and a tape measure nearby will make the process much smoother. Ensure the workspace is well-lit and free of clutter so you can move around the unit safely as you work.
Step-by-Step Assembly of the Main Frame
The foundation of any stable modular shelf rack storage cabinet is its base. Begin by assembling the bottom frame or the lowest shelf level according to the manufacturer’s instructions. If your system features adjustable leveling feet, screw them into the underside of the base frame now, as adjusting them later when the unit is fully loaded is extremely difficult.

Place the assembled base in its approximate final position to check how it sits on the floor. A level base ensures that the entire vertical structure remains straight and does not lean, which could compromise its weight capacity and overall stability.
With the base securely positioned, begin attaching the vertical uprights or side panels. Depending on the design, these may slide into pre-drilled slots, snap into plastic connectors, or secure with metal cam locks and screws. Work from one side to the other, ensuring each upright is perpendicular to the base.
If you are working alone, support the uprights temporarily so they do not tip over and damage the joints before the horizontal supports are installed. Having a second person hold the vertical pieces can make this step significantly easier and safer.
Next, install the horizontal shelves or crossbars starting from the bottom and working your way up. For systems that use interlocking brackets or keyhole slots, use a rubber mallet to gently tap the shelves into place. Ensure that each corner is fully seated and locked; an unevenly seated shelf can cause the frame to twist.
As you add each level, double-check that the frame remains square. You can verify this by measuring diagonally from corner to corner of each rectangular section; the two diagonal measurements should be equal.
Once the primary shelves are in place, install the back panels or diagonal cross-braces. Many people mistake back panels as purely cosmetic, but they are actually critical for lateral stability. They prevent the shelving unit from swaying or collapsing sideways under a load. Secure the back panel firmly using the provided nails, screws, or clips, paying close attention to the spacing recommended in the manual.
Configuring the Layout for Specific Storage Needs
One of the greatest advantages of modular shelf rack storage cabinets is the ability to customize the interior layout. Before locking all adjustable shelves into permanent positions, gather the items you plan to store and group them by height and frequency of use.
Position your shelves to accommodate different item dimensions efficiently. For example, leave a taller clearance at the bottom for large storage bins, heavy kitchen appliances, or luggage. Smaller clearances can be set up higher for books, document organizers, or small decorative baskets, minimizing wasted vertical space.
Proper weight distribution is essential for maintaining the structural integrity of your shelving. Always place your heaviest items on the lowest shelves to keep the center of gravity as low as possible. Lighter items, such as linens, small toys, or seasonal decorations, should go on the upper shelves. This distribution prevents the unit from becoming top-heavy and reduces the risk of accidental tipping.
If your modular system supports accessories, integrate them during this configuration phase. Drawers, pull-out baskets, and cabinet doors can be added to conceal clutter and organize smaller items. Ensure that these accessories have enough clearance to open fully without hitting nearby walls or furniture.
For units placed in high-humidity environments, such as utility yards or kitchens, ensure there is adequate airflow around the stored items. Avoid packing shelves so tightly that air cannot circulate, as this can lead to moisture buildup and potential damage to both the shelves and your belongings.
Safety Verification and Ongoing Maintenance
Once assembly and configuration are complete, you must verify that the unit is safe for daily use. Perform a simple stability test by gently shaking the shelf rack from the side and front. If you notice any wobbling, check that all screws are fully tightened and that the leveling feet are adjusted correctly to make contact with the floor.
For tall, narrow, or top-heavy units, anchoring them to the wall is a critical safety step. This is especially important in households with young children or pets who might attempt to climb the shelves. Use the anti-tip brackets or wall straps included in the packaging.
When anchoring, identify the wall type to select the correct hardware. For drywall or plasterboard, use heavy-duty toggle bolts or wall anchors. For concrete or brick walls, which are common in many modern apartments, use masonry plugs and matching screws. Ensure the anchor is secured into a solid wall stud if you are mounting to a framed wall.
Over time, daily use and shifting loads can cause fasteners to loosen slightly. Establish a routine to inspect your modular shelving unit every few months. Check for any signs of material stress, such as bowing shelves or hairline cracks in plastic connectors.
Tighten any loose screws or cam locks immediately, and redistribute weight if you notice a shelf beginning to sag. Keeping the unit clean by wiping it down with a damp cloth and avoiding harsh chemical cleaners will preserve the finish and extend its lifespan.
Frequently Asked Questions (FAQ)
Can I assemble a modular shelf rack without power tools?
Yes, most consumer-grade modular shelf rack storage cabinets are designed to be assembled using basic hand tools. The manufacturer typically includes any specialized hex keys or wrenches required for the locking mechanisms. A simple manual screwdriver and a rubber mallet are usually all you need to complete the build. While a cordless drill can speed up the process, you must use it on a very low torque setting to avoid stripping the pre-drilled holes or cracking the composite wood panels.
How do I know if my floor is level enough for assembly?
You can check the levelness of your floor by placing a standard spirit level directly on the floor surface where the unit will stand, and then again on the base frame once it is assembled. If the bubble in the spirit level is not centered, your floor has a slope. To correct this, adjust the built-in leveling feet on your shelving unit until the frame is perfectly level. If your unit does not have adjustable feet, you can place sturdy, non-slip shims under the base corners to prevent the rack from leaning or warping over time.

Community discussion
Share your experience or ask a question. Comments are reviewed before publication.