
Assembling a modular storage shelf rack is one of the most practical ways to maximize vertical space in your home, storeroom, or utility area. Unlike fixed shelving, modular systems offer the flexibility to adjust shelf heights, add accessories, and reconfigure the layout as your storage needs evolve over time. Taking a systematic approach to the unboxing, assembly, and configuration processes ensures that your new shelving unit remains stable, safe, and fully optimized for your belongings.
While the prospect of building a storage shelf rack from scratch might seem daunting to a beginner, modern modular kits are designed for straightforward DIY installation. Most systems utilize interlocking joints, friction-fit collars, or simple bolt-together frames that require only basic household tools. By understanding the structural logic of your specific shelving system and preparing your workspace beforehand, you can complete the assembly efficiently and avoid common pitfalls like misaligned frames or unstable tiers.
This guide walks you through every stage of the process, from measuring your space and inventorying components to erecting the frame, positioning the shelves, and securing the final structure. Whether you are setting up a heavy-duty metal rack in a utility room or a lightweight decorative shelving unit in your living area, these steps will help you achieve a professional, sturdy result.
Products mentioned in this guide
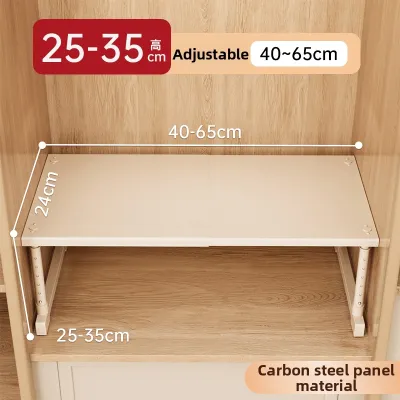
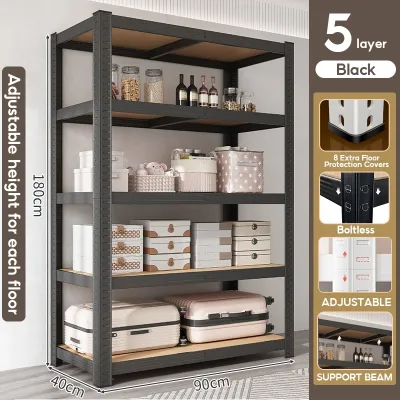
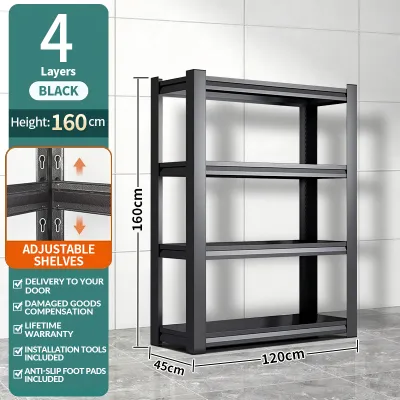
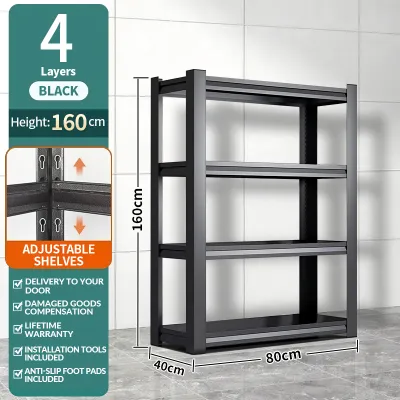
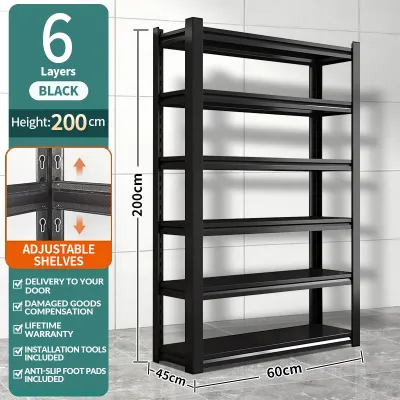
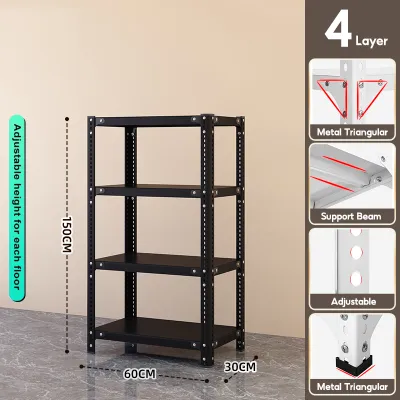
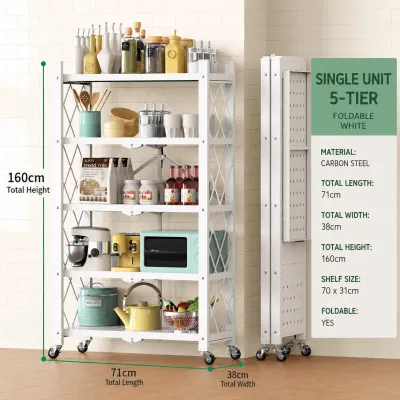
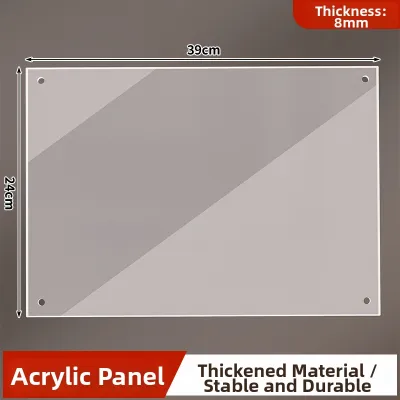
Prices are valid at publication and may change. Please refer to the product page for the latest price.
Prepare Your Space and Inventory Components
Before you open the packaging of your new storage shelf rack, it is essential to prepare the physical space where the unit will stand. Begin by measuring the floor footprint and the total vertical clearance of the designated area, keeping a close eye on architectural details such as baseboards, skirting boards, wall cornices, and ceiling fixtures. Remember to account for any nearby doors, windows, or electrical outlets that must remain accessible after the shelving unit is fully assembled and loaded.
If your home features tight corridors, narrow doorways, or lift access constraints, verify that the packaged boxes can be easily transported to the assembly site. Clear a generous working area on the floor that is at least twice the size of the fully assembled rack’s footprint. This extra space gives you room to lay out components systematically, move around the structure safely, and prevent accidental scratches to your flooring or walls during the build process.
Unbox all the components carefully and lay them out on a protective surface, such as a large piece of cardboard or a drop cloth. Locate the manufacturer’s instruction manual and perform a thorough inventory of all parts, including vertical posts, horizontal beams, shelf panels, connectors, and hardware packets. If you discover any missing, bent, or damaged pieces, it is best to halt the process and contact the manufacturer or retailer immediately rather than attempting to build a compromised structure.
Gather the basic household tools recommended in your product manual before you begin joining any parts. While many modular systems feature tool-free assembly, having a rubber mallet, a spirit level, a measuring tape, and a pair of work gloves on hand will make the process significantly smoother. A rubber mallet is particularly useful for seating interlocking joints firmly without denting or chipping the protective finish of metal or plastic components.
Build the Base and Vertical Frame Structure
The foundation of any stable storage shelf rack lies in its base and vertical frame structure. Start by identifying the bottom sections of the vertical posts, which often feature threaded inserts for leveling feet or protective plastic end caps. Install these feet or caps first, as they protect your flooring from concentrated weight and provide the necessary adjustment points for leveling the unit later on.

Connect the base plates or bottom crossbars to the vertical posts according to the sequence outlined in your manual. Ensure that each joint is fully seated and aligned before moving on to the next connection. If your system uses a keyhole slot and rivet design, make sure the rivets are pointing in the correct direction—usually downward—so that gravity naturally pulls the joints tighter as weight is added to the shelves.
Follow the manufacturer’s specified sequence for attaching the upright posts to prevent structural misalignment or wobbling. For taller units that use multi-piece vertical posts, join the upper and lower post sections using the provided coupling inserts or splice plates. Ensure these couplers are fully inserted and locked in place, as any gap or misalignment at this stage will compound as you build upward, resulting in a crooked frame.
If you encounter parts that require excessive force to join, or if pre-drilled holes do not align naturally, stop and consult the instructions again. Forcing components together can bend the metal, strip the threads, or crack plastic connectors, permanently weakening the structural integrity of the rack. Double-check that you have not accidentally oriented a post upside down or swapped a left-side component with a right-side one, as minor orientation errors are the most common cause of alignment issues.
Install and Position the Shelving Tiers
With the vertical frame securely standing, you can begin planning the placement of your shelving tiers. Determine the ideal shelf spacing based on the tallest items you plan to store, such as storage bins, luggage, or large kitchen appliances. It is wise to leave a few centimeters of extra vertical clearance above your tallest items so you can slide them in and out easily without scraping the shelf above.
Secure the shelf clips, brackets, or support pins at matching heights on all vertical posts. Use the pre-marked increments, notches, or holes on the posts to ensure perfect alignment across all four corners. If your posts do not have clear markings, use a measuring tape to verify that each support bracket is positioned at the exact same height from the floor, preventing slanted shelves that could cause items to slide or roll.
Place the shelf panels onto the installed supports, starting from the lowest tier and working your way upward. For systems that rely on a friction fit, such as wire shelving with split-sleeve collars, tap the corners of the shelf gently with a rubber mallet to seat the shelf collar firmly over the plastic sleeves. You will know the shelf is properly seated when it no longer shifts or slides down the post under light downward pressure.
For solid wood, engineered wood, or metal sheet panels, ensure they sit flush within the recessed edges of the support beams. Any warping, bowing, or improper seating of the panel can compromise its load capacity and cause uneven weight distribution. Take a moment to inspect each tier from multiple angles to confirm that all support pins or brackets are fully engaged and that the shelf surface is completely flat.
Customize the Layout for Your Storage Needs
One of the greatest advantages of a modular storage shelf rack is the ability to customize the layout to match your specific storage habits. If your kit supports optional modular accessories, this is the ideal time to integrate them. Consider adding drawer inserts for smaller loose items, hanging rods for garments, or side panels and pegboards to hang tools and utility accessories on the exterior of the frame.
When loading your newly assembled rack, always arrange the heaviest items on the lowest tiers. Placing heavy boxes, water bottles, or appliances near the ground maintains a low center of gravity for the entire structure, which significantly reduces the risk of the rack tipping over. Reserve the middle shelves for frequently accessed, medium-weight items, and place lightweight or seasonal items on the very top tiers.
Review the manufacturer’s weight distribution guidelines carefully to avoid overloading individual shelves or exceeding the overall weight capacity of the unit. Keep in mind that load capacities are almost always calculated based on uniformly distributed loads rather than concentrated weight. Avoid placing a single heavy object in the dead center of a shelf; instead, distribute the weight evenly across the entire surface of the panel to prevent sagging or structural failure.
Level the Unit and Verify Structural Stability
Before declaring your assembly project complete, you must finalize the setup by ensuring the rack is perfectly level and structurally sound. Place a spirit level on the top shelf, checking both the left-to-right and front-to-back axes. If the bubble is not centered, adjust the leveling feet at the base of the vertical posts until the entire unit is perfectly plumb and stable.
Check all connections, bolts, and fasteners one last time to ensure nothing has loosened or shifted during the assembly process. If your rack uses a bolt-together design, use a hand wrench or screwdriver to snug up any loose hardware, but avoid over-tightening, which can deform the metal frame. For interlocking systems, give the frame a gentle shake to verify that all joints remain firmly seated in their slots.
Evaluate the necessity of wall anchoring based on the rack’s height, depth, and the manufacturer’s safety warnings. Tall, narrow shelving units are inherently more susceptible to tipping, especially when placed on carpeted floors or in high-traffic areas. If your kit includes an anti-tip wall anchor kit, or if the manufacturer recommends anchoring for units over a certain height, take the time to secure the rack to a wall stud or solid masonry wall using the appropriate hardware.
Frequently Asked Questions (FAQ)
Do I need to anchor a modular shelf to the wall?
Whether you need to anchor your modular storage shelf rack to the wall depends largely on its height-to-depth ratio, the weight of the stored items, and the environment in which it is placed. As a general safety rule, any tall and narrow shelving unit should be anchored to prevent accidental tip-overs. This is especially critical in households with young children or pets, who might attempt to climb the shelves, or in regions prone to minor seismic activity.
Always consult the manufacturer’s instructions, as many brands specify a height threshold above which wall anchoring is mandatory for safe operation. When installing wall anchors, identify your wall material—such as drywall, concrete, or brick—to select the correct plugs, screws, or toggle bolts. Anchoring into a solid wall stud or masonry provides the highest level of security, ensuring the rack remains upright even under uneven loads.
Can I add more tiers to my modular rack later?
Yes, most modular shelving systems allow you to add extra tiers or extend the height of the unit later, provided the vertical posts have unused slots or connection points. Before purchasing additional shelves, verify that the total weight of the existing items plus the new additions will not exceed the manufacturer’s maximum load capacity for the entire frame. Adding more shelves does not increase the overall weight limit of the vertical posts.
To ensure perfect compatibility and maintain structural integrity, always purchase official extension kits or matching components from the original manufacturer. Avoid mixing parts from different brands, as even minor differences in millimeter measurements or locking mechanisms can lead to unstable connections. When adding new tiers, remember to re-evaluate the unit’s center of gravity and adjust your wall anchors if the overall height of the rack has increased.

Community discussion
Share your experience or ask a question. Comments are reviewed before publication.