
Assembling a modular storage shelf cabinet allows you to customize your home organization, but a successful build requires systematic planning and execution. By measuring your space carefully, preparing your tools, and following a sequential assembly process, you can construct a stable and highly functional storage system from scratch.
Whether you are setting up a pantry organizer, a living room display, or a bedroom wardrobe system, taking a methodical approach prevents common assembly mistakes. This guide walks you through the entire process, from initial spatial planning to the final safety checks.
Planning Your Space and Modular Layout
Singapore homes, particularly HDB flats and condominiums, often feature specific architectural details like skirting boards, low-mounted power outlets, and surface-mounted air-conditioner trunking. These elements can prevent a cabinet from sitting flush against the wall. Measure the exact floor width, depth, and height of your target area, subtracting at least 2 to 3 centimeters to account for these obstructions.
Products mentioned in this guide
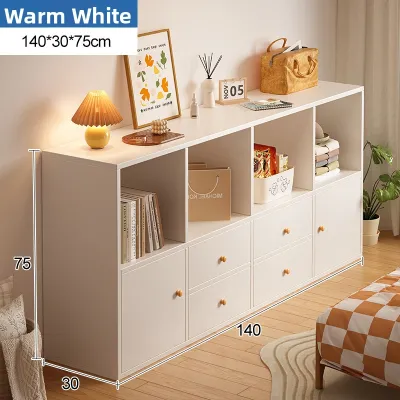
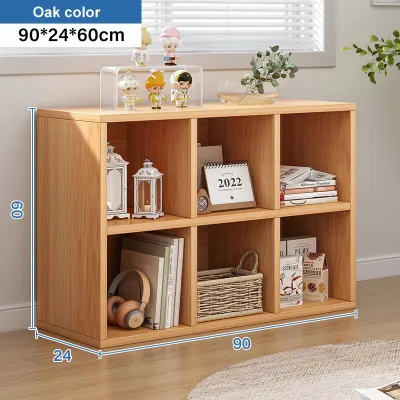
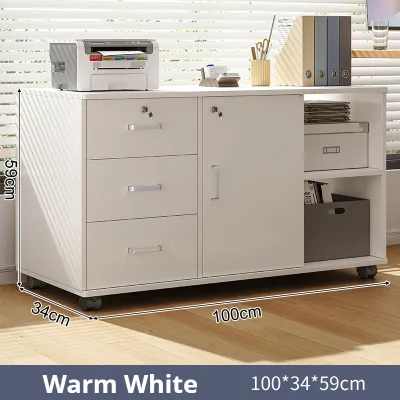
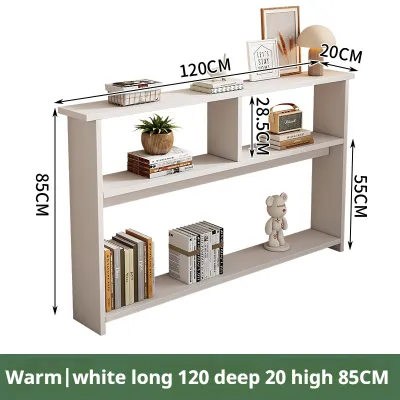

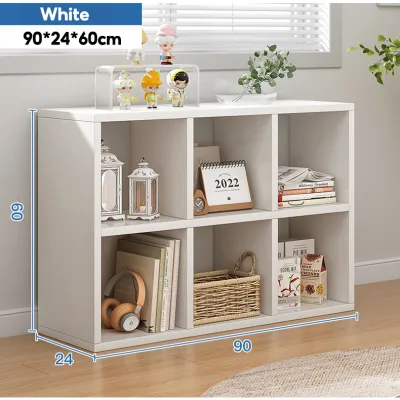
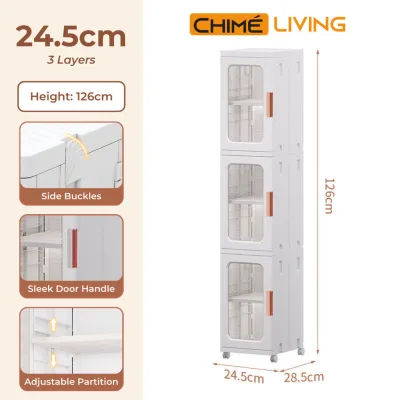

Prices are valid at publication and may change. Please refer to the product page for the latest price.
Logistics are equally critical before you make a purchase. Verify the packaged dimensions of the boxes to ensure they can fit inside your building’s lift, navigate narrow common corridors, and clear your main doorway. An assembled unit’s footprint must not block natural traffic paths, light switches, or household access points.
Decide on your configuration early based on your specific storage needs. Tall vertical structures maximize vertical space in high-ceiling rooms but require mandatory wall anchoring. Wide horizontal layouts work well under windows or as room dividers but consume more floor space. Choose between open shelving for easy access or closed cabinet sections to hide clutter.
Unpack the boxes carefully and lay out all components in a clear area. Match every panel, shelf, screw, and bracket against the manufacturer’s inventory list. If any parts are missing or damaged, pause the assembly and contact the retailer before proceeding, as missing structural hardware can compromise the stability of the entire unit.
Gathering Tools and Preparing Your Workspace
Having the correct tools on hand prevents delays and protects your new furniture during assembly. Gather a rubber mallet for tapping wooden dowels, a high-quality manual Phillips screwdriver, a spirit level to check alignment, a measuring tape, and the Allen keys usually provided in the hardware pack.

While a power drill can speed up the process, it introduces a high risk of damage to engineered wood. High torque can easily strip screw holes in materials like medium-density fibreboard (MDF) or particleboard. If you choose to use a power drill, set it to its lowest clutch setting, or stick to manual screwdrivers for the final tightening steps to avoid cracking the joints.
Clear an assembly area that is at least twice the size of the fully completed cabinet. Lay down the flattened cardboard packaging or a thick rug on the floor. This soft barrier protects both your home’s flooring (such as vinyl, parquet, or polished tiles) and the cabinet’s finished surfaces from scratches and dents during the build.
Step-by-Step Assembly of the Main Frame
Building the primary structure of your storage shelf cabinet requires a logical, step-by-step approach to ensure the frame remains square and stable.
Step 1: Base Assembly
Begin by constructing the bottom frame or attaching the base plinth. This foundation supports the entire weight of the structure. Place the base on your flat workspace and use a spirit level to check its alignment. If the base is not perfectly level from the start, every subsequent panel will lean slightly, leading to misaligned doors and unstable shelves.
Step 2: Vertical Panels
Position the side panels and internal dividers. Most modular systems use a combination of wooden dowels, cam locks, and connecting bolts. Insert the wooden dowels into their designated pre-drilled holes, tapping them gently with a rubber mallet if needed. Screw the cam pins into the adjacent panels, slide the panels together, and insert the cam locks. Turn the locks clockwise with a manual screwdriver until they lock firmly into place.
Step 3: Back Panel Installation
Slide or nail the back panel into place. Do not skip this step, even if you prefer an open look, unless the manufacturer explicitly states it is optional. The back panel is not merely cosmetic; it provides the essential diagonal rigidity that keeps the entire cabinet square. Use the provided backboard nails or screws, distributing them evenly along the perimeter while checking that the frame’s corners form perfect 90-degree angles.
Step 4: Top Panel and Shell Completion
Lower the top panel onto the vertical dividers and side walls. Align the top connectors carefully with the vertical panels. Secure the top panel using the specified hardware, completing the outer shell of your cabinet.
Troubleshooting Tip
If panels do not align naturally, do not force them. Forcing modular connectors can strip the pre-drilled holes, break the cam locks, or crack the laminate finish, which may void your warranty. Instead, loosen the adjacent connectors, check if a panel is oriented backward, and realign before retightening.
Configuring Shelves and Adding Modular Accessories
Once the main frame is secure, customize the interior layout to accommodate your specific storage items.
Adjust the shelf heights using the rows of pre-drilled holes along the inner vertical walls. Insert shelf support pegs at your desired heights, ensuring all four pegs for a single shelf are on the exact same horizontal plane to prevent tilting.
Integrate your chosen modular accessories according to their specific sub-instructions. Slide-out drawer units, wire baskets, and hanging rails should be installed starting from the bottom up. If you are adding doors, attach the hinge plates to the pre-drilled holes on the side panels first, then clip the door hinges onto the plates.
Plan your weight distribution carefully to maintain structural stability. Always place your heaviest items, such as books, storage boxes, or heavy kitchen appliances, on the lowest shelves. This lowers the unit’s center of gravity and reduces the risk of tipping. Keep lighter decorative items and everyday essentials on the upper shelves.
Check the manufacturer’s label or instruction manual for the maximum load capacity of each shelf. Do not exceed these limits, as overloaded shelves will sag over time, potentially damaging the supporting pegs and causing the shelf to collapse.
Stabilizing, Anchoring, and Final Safety Checks
Before loading the cabinet with your belongings, perform a stability check to ensure the unit is safe for daily use.
Identify any wobble by gently shaking the unit. If your floor is slightly uneven, adjust the cabinet’s leveling feet. Screw them inward or outward until the spirit level shows the unit is perfectly horizontal and vertical.
For any tall modular unit, anchoring to the wall is a critical safety step to prevent accidental tip-overs, especially in homes with children or pets. Use the anti-tip brackets provided by the manufacturer. For solid concrete walls common in Singapore, use a masonry drill bit and plastic wall plugs. For drywall partitions, locate the timber studs or use specialized hollow-wall anchors.
Test all moving parts. Open and close every door and drawer to ensure they move smoothly without catching. If a door hangs unevenly, adjust the screws on the cabinet hinges to shift the door panel left, right, forward, or backward until it aligns perfectly.
Wood and engineered materials naturally expand, contract, and settle under load and changing humidity levels. Schedule a quick maintenance check two to four weeks after assembly. Use a manual screwdriver to gently retighten all cam locks, screws, and hinge plates to ensure long-term stability.
Frequently Asked Questions (FAQ)
Can I disassemble and reconfigure my modular storage shelf cabinet later?
Yes, most modular systems designed with cam locks and dowels can be disassembled. However, engineered woods like particleboard and MDF are susceptible to wear. Repeatedly inserting and removing screws or dowels can enlarge the pre-drilled holes, reducing their grip. To minimize damage, disassemble the unit gently, label every panel with masking tape, and store all hardware in labeled bags. When rebuilding, avoid over-tightening the connectors.
How do I fix a stripped cam lock or screw hole during assembly?
If a wooden dowel hole or screw hole becomes slightly stripped, you can repair it using a classic woodworker’s trick. Fill the hole with a small amount of PVA wood glue, insert a wooden toothpick or matchstick (with the strike head removed), and let it dry. Once dry, cut the excess wood flush with the surface and re-insert the screw or dowel. If a metal cam lock breaks or strips, do not attempt to glue it. Stop assembly and contact the manufacturer or visit a local hardware store to obtain an identical replacement hardware piece to preserve structural safety.

Community discussion
Share your experience or ask a question. Comments are reviewed before publication.