
Assembling a DIY modular storage rack organizer is an excellent way to maximize vertical space, clear floor clutter, and customize your home storage. Whether you are setting up a utility rack in a bomb shelter, organizing a pantry, or configuring a display unit in your living room, the process is highly manageable without professional assistance. By understanding the mechanics of your specific modular system and following a systematic assembly sequence, you can build a stable, high-capacity shelving unit tailored to your exact needs. Success relies on careful preparation, methodical frame construction, and smart weight distribution.
Pre-Assembly Preparation and Space Planning
Before unboxing your new storage rack organizer, you must thoroughly evaluate the designated installation area. Start by measuring the available floor width, depth, and total ceiling height using a reliable measuring tape. It is equally important to measure the clearance of doorways, hallways, and lift access points, especially if you need to transport long uprights or heavy flat-pack boxes into a high-rise apartment. Ensure there is enough physical clearance around the assembly site so you can easily rotate panels and access all sides of the unit during construction.
Once the space is cleared, unbox all components carefully and perform a complete inventory check. Lay out the upright posts, horizontal beams, shelf panels, connectors, and any included hardware on a clean, flat surface. Cross-reference every item with the manufacturer’s packing list to ensure no critical parts are missing or damaged. Staging the components in organized groups before you begin prevents confusion and saves significant time during the actual build.
Products mentioned in this guide
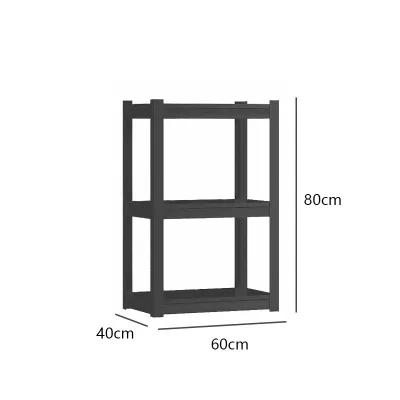
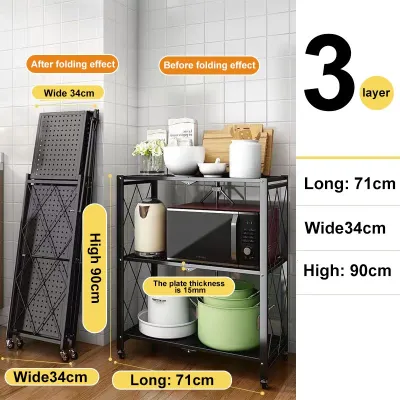
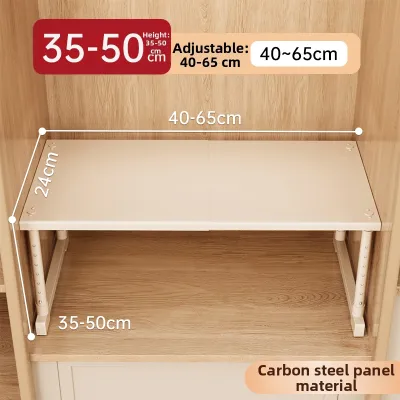
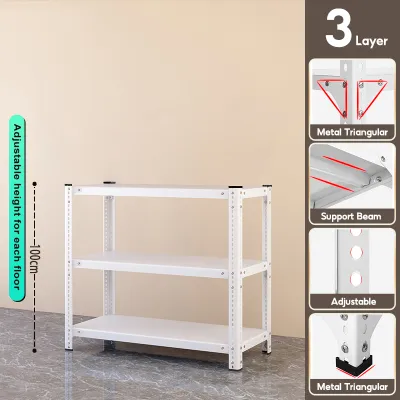
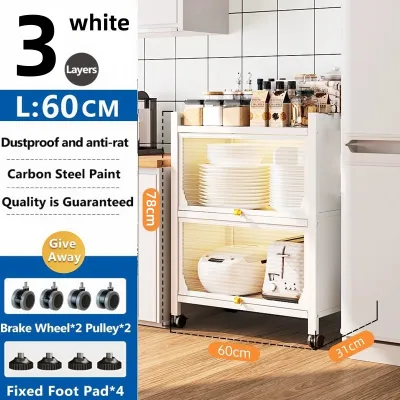
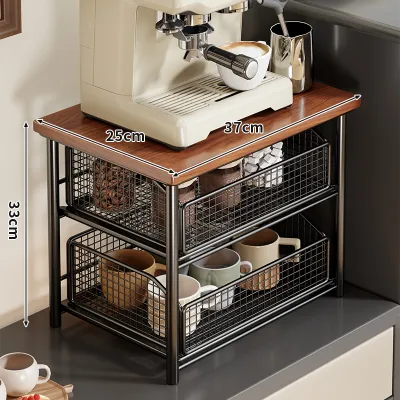
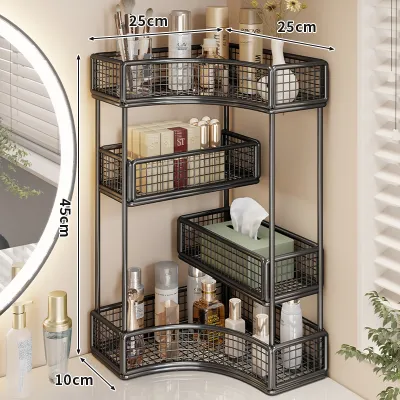

Prices are valid at publication and may change. Please refer to the product page for the latest price.
To protect both your new shelving components and your home’s flooring, prepare a dedicated assembly zone. Laying down a large piece of clean cardboard from the packaging, a drop cloth, or an old rug provides an excellent protective barrier against scratches and dents. Gather basic hand tools such as a rubber mallet, a screwdriver, a spirit level, and a pair of safety gloves. Having these tools within arm’s reach ensures a smooth, uninterrupted workflow.
Step-by-Step Frame and Shelf Assembly
The foundation of any stable storage rack organizer is a perfectly square and secure base frame. Begin by identifying the bottom sections of the upright posts, which often feature pre-installed feet or threaded inserts for leveling. Connect the bottom horizontal support beams to these uprights to form the initial base footprint. If your system uses a boltless keyhole design, insert the rivets of the beams into the corresponding slots on the posts and tap them firmly downward with a rubber mallet.

Once the base is established, attach the primary upright extensions if your unit comes in multiple vertical sections. Ensure that all uprights are oriented correctly, as many modular systems have directional slots or tapered sleeves that must point upward to hold the shelves securely. If you are using a wire shelving system, snap the plastic tapered sleeves onto the marked grooves of the uprights at your desired base height, ensuring they click locked.
With the uprights in position, you can begin installing the individual shelf supports or panels. Slide the shelf collars down over the tapered sleeves or lock the shelf brackets into the vertical slots, working from the bottom shelf upward. For systems that use screws or bolts, thread them into the joints by hand first rather than tightening them completely with a tool. This preliminary tightening keeps the structure cohesive while allowing enough flexibility for minor alignments.
Before finalizing the main structure, check that all panels and beams are flush and properly seated in their joints. Use your rubber mallet to gently tap any stubborn connections into place, ensuring they are fully bottomed out in their slots. Once you verify that the frame is square and all components are aligned, perform a systematic tightening pass on all joints. If your system uses bolts, tighten them in an alternating diagonal pattern to distribute the tension evenly across the frame.
Configuring the Layout for Your Storage Needs
One of the greatest advantages of a modular storage rack organizer is the ability to customize the layout to fit your specific belongings. Before locking the upper shelves into permanent positions, measure the height and depth of the primary items you plan to store, such as plastic storage bins, luggage, or kitchen appliances. Allow for at least five to ten centimeters of clearance above the tallest item on each shelf to ensure you can slide objects in and out without scraping the shelf above.
If your storage needs change over time, adjustable shelves allow you to reconfigure the vertical spacing easily. For tall or bulky items, you can omit a middle shelf entirely to create a double-height compartment, provided this does not compromise the structural integrity outlined by the manufacturer. If you are using a cube-based modular system, you can arrange the cubes horizontally to fit under a low window or stack them vertically to utilize narrow, unused wall space.
For those looking to expand their storage capacity, many modular systems support the addition of extension modules. These add-on units typically share a common upright post with the existing rack, saving space and material costs. When planning an extension, ensure the combined configuration fits comfortably within your room’s boundaries and does not block light switches, electrical outlets, or ventilation grilles.
Stability Checks and Safety Anchoring
A fully assembled storage rack organizer must be structurally sound and perfectly upright to prevent accidents. Place a spirit level against the upright posts on both the front-to-back and side-to-side axes to verify that the unit is plumb. If the rack leans even slightly, it can place uneven stress on the joints, significantly reducing its overall stability and load-bearing capacity.
After confirming the levelness, perform a final, comprehensive tightening pass on every single joint, screw, and locking mechanism. Over time, minor vibrations from daily use can cause loose connections to back out, so ensuring everything is fully secured at the start is crucial. If your rack features adjustable leveling feet, rotate them individually until the unit sits firmly on the floor without any wobbling when pushed gently.
To mitigate the risk of accidental tip-overs, installing anti-tip wall anchors is highly recommended, particularly for tall units or in homes with active children and pets. In Singapore, where interior walls are frequently made of solid concrete or masonry, you will need a hammer drill and appropriate masonry wall plugs to secure the anchoring brackets. If you are mounting to drywall, ensure the anchors are screwed directly into the wooden wall studs or use heavy-duty hollow-wall anchors designed for the specific wall thickness.
Load Management and Routine Maintenance
Proper load management is essential for preserving the structural integrity of your storage rack organizer over its lifespan. Always apply the heavy-bottom, light-top loading principle by placing your heaviest items, such as liquid containers, heavy tools, or large storage boxes, on the lowest shelf level. This practice keeps the overall center of gravity low, which dramatically improves the rack’s resistance to tipping and reduces stress on the upper frame.
Routine maintenance involves periodic inspections of the rack’s components to catch potential issues before they lead to structural failure. Every few months, check the connectors, joints, and wall anchors to ensure they remain tight and secure. If you notice any slight shifting or loosening, especially after moving heavy items on or off the shelves, immediately retighten the affected hardware.
Finally, follow the manufacturer’s cleaning guidelines to protect the surface finish of your storage rack. For powder-coated steel or plastic-coated wire racks, a simple wipe-down with a damp microfiber cloth and mild soapy water is usually sufficient to remove dust and grime. Avoid using abrasive scrubbing pads or harsh chemical solvents, which can strip away protective coatings and expose the underlying metal to moisture and rust.
Frequently Asked Questions (FAQ)
Can I assemble a modular storage rack on uneven floors?
If your floor surface is not perfectly flat, you can still stabilize your storage rack organizer using a few practical methods. Many modern modular racks come equipped with adjustable leveling feet that can be threaded in or out to compensate for minor floor variations. If your unit does not have adjustable feet, you can place sturdy, non-slip shims under the base corners of the uprights. Once the rack is perfectly level, carefully trim any protruding edges of the shims flush with the base for a clean, professional finish.
How do I know if I have exceeded the weight capacity?
Identifying the physical warning signs of overloading is critical to preventing sudden structural failure. Inspect the shelves regularly for any visible bowing or sagging in the center, and check the upright posts for bending or warping. You should also look closely at the joints and connectors for stress marks, hairline cracks, or slipping components. If you hear creaking, popping, or groaning sounds when placing items on the rack, the unit is under excessive stress, and you must redistribute or remove the weight immediately.

Community discussion
Share your experience or ask a question. Comments are reviewed before publication.