
Assembling a modular shelves rack is one of the most effective ways to maximize vertical storage space in your home, especially in compact areas like bomb shelters, utility closets, or service yards. By following a systematic, bottom-up approach, you can construct a highly stable and customized storage system without paying for professional installation. The key to a successful setup lies in precise space measurements, methodical joint alignment, and proper weight distribution to ensure long-term structural integrity.
Pre-Assembly Preparation and Space Checks
Before unboxing your new shelves rack, you must thoroughly evaluate the installation site. Measure the width, depth, and height of the designated area, taking into account any architectural obstructions such as skirting boards, wall-mounted pipes, electrical outlets, or light switches. In tight spaces like home storerooms, even a discrepancy of a few millimeters can prevent a rigid metal frame from fitting into its intended alcove. Ensure there is sufficient clearance for doors to swing fully open and for you to safely maneuver during the assembly process.
Once the space is verified, clear a clean, flat work area on the floor. Unbox all components carefully and lay them out systematically. Group identical parts together—such as upright posts, horizontal beams, shelf panels, and joint connectors—and cross-reference them with the parts list in the manufacturer’s instruction manual. If you discover any missing hardware, bent frames, or chipped powder coating, pause the assembly and contact the supplier immediately, as compromised components can severely undermine the structural safety of the rack.
Products mentioned in this guide
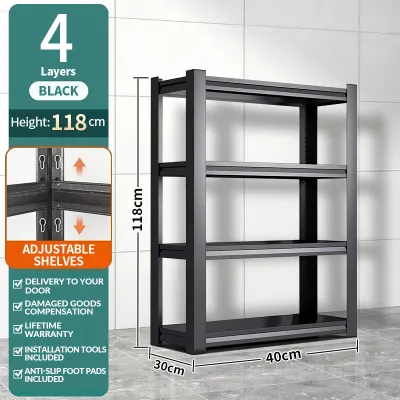
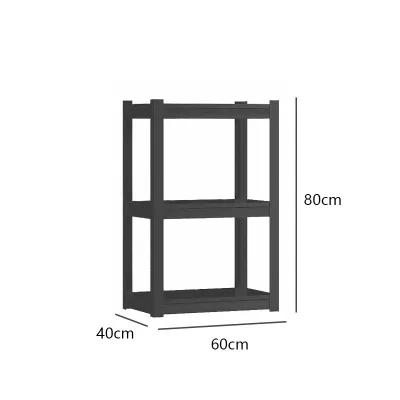
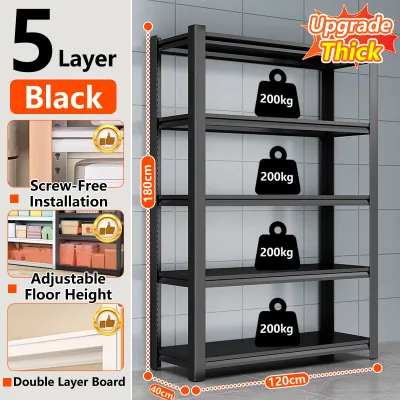
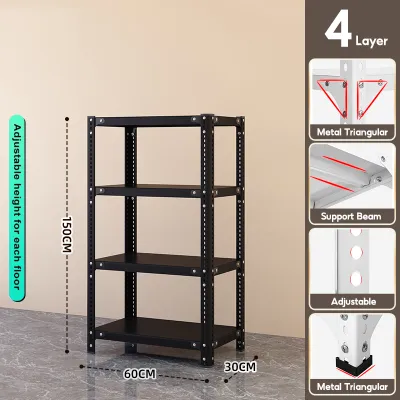
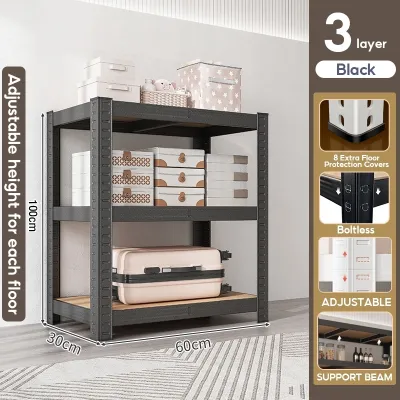
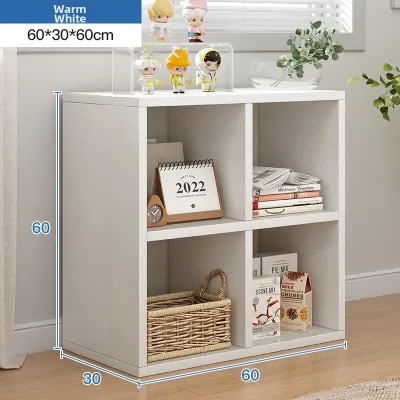
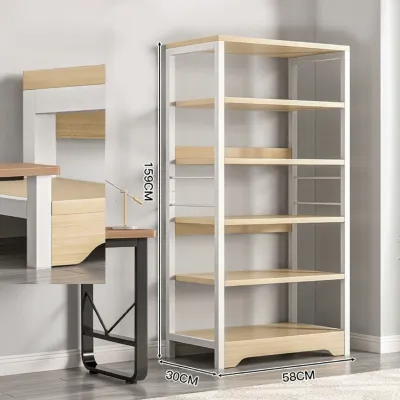
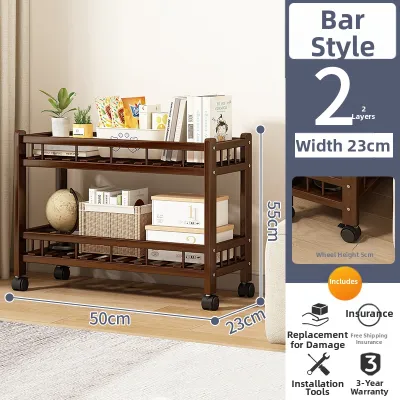
Prices are valid at publication and may change. Please refer to the product page for the latest price.
Gathering the correct tools beforehand prevents unnecessary delays and damage to the materials. For most boltless modular racks, a rubber mallet is the most critical tool, allowing you to secure joints firmly without denting the metal or chipping the protective finish. You will also need a reliable spirit level to verify alignment, a measuring tape to confirm shelf spacing, and protective work gloves to prevent pinches or cuts from sharp metal edges. Avoid using high-torque power tools unless explicitly recommended by the manufacturer, as excessive force can easily strip threads or warp the structural slots.
Finally, consider how the assembled unit will access its final position. If you are building the rack in a spacious living room with plans to move it into a narrow hallway or utility room, measure your doorways, corridors, and ceiling heights along the transit route. For high-rise apartments, verify that the dimensions of the individual components or the partially assembled frame can easily fit inside your building’s passenger lift if you need to transport them between floors.
Step-by-Step Assembly Process
The foundation of a stable shelves rack begins with the base and the upright support posts. Start by attaching the plastic or rubber feet pads to the bottom of each upright post. These pads are essential for protecting your flooring—whether it is vinyl, laminate, or homogeneous tiles—from scratches and deep indentations caused by the heavy concentrated load of the rack. Position the bottom-most horizontal beams close to the floor to create a rigid base frame, ensuring that the locking tabs or rivets point in the correct direction as specified in the manual.

When inserting the vertical poles or connecting upright segments, make sure they are fully seated and perfectly aligned. For multi-tier racks that use joint couplers to join two upright posts vertically, ensure the coupler is centered evenly between the two posts. Use your rubber mallet to tap the joints firmly into place, listening for a solid, dull thud that indicates the metal components have bottomed out in their slots. Misaligned uprights will cause the entire frame to twist, making it difficult to install the shelves and compromising overall stability.
With the base frame secure, begin installing the shelves from the bottom up. Working upward keeps the center of gravity low during the build process, preventing the partially completed frame from tipping over. Position the support beams for the first shelf at your desired height, ensuring they are level across all four uprights. Engage the locking mechanisms, rivets, or plastic sleeves, and tap them down with the mallet. Once the beams are locked, carefully place the shelf panel—whether it is wire mesh, fiberboard, or steel—onto the support ledge, verifying that it sits flush without any rocking.
Repeat this process for each subsequent tier, maintaining consistent spacing or adjusting the heights according to your storage plan. As you reach the top layer, install the final set of horizontal beams to tie the upright posts together securely. If your modular kit includes stabilizing crossbars, diagonal tension braces, or side panels, install them at this stage. These bracing elements are critical for resisting lateral forces and preventing the rack from swaying or leaning over time.
Configuring and Customizing the Layout
Customizing your modular shelves rack allows you to optimize every cubic centimeter of storage space based on the specific items you plan to store. Before locking the shelf heights permanently, group your storage items by size and frequency of use. Place tall, bulky items like luggage, plastic storage tubs, or heavy kitchen appliances on the lower levels, and adjust the shelf heights to leave just enough clearance above them. This strategy not only maximizes vertical space but also maintains a low center of gravity, which is essential for preventing tip-over accidents.
Many modular systems allow for easy expansion through compatible add-on bays, side hooks, or integrated drawer units. When expanding your setup, always use official accessories designed specifically for your rack’s locking system to ensure a secure fit. If you are connecting two bays together, use the manufacturer’s recommended joining clips or shared upright configurations. Never attempt to daisy-chain or stack racks beyond their engineered limits, as this can cause catastrophic structural failure.
If you need to reconfigure the layout or adjust shelf heights after the initial assembly, always do so on a flat, level surface. Empty the entire rack completely before attempting any adjustments; trying to move shelves while items are still on them is highly dangerous and can warp the frame. Gently tap the support beams upward from underneath using a rubber mallet to disengage the locking tabs, taking care not to bend the metal connectors. Re-align the beams at their new positions and verify that they are perfectly level before reloading the shelves.
Safety Checks, Anchoring, and Weight Distribution
Before placing any items on your newly assembled shelves rack, you must perform a rigorous stability check. Stand in front of the empty rack and gently shake the frame from side to side and front to back to check for any excessive play, wobble, or loose joints. Place a spirit level on each shelf panel and along the vertical uprights to ensure the unit is perfectly level and plumb. A rack that leans even slightly will experience uneven weight distribution, which can cause the joints to fatigue and eventually fail under load.
For safety, especially in households with young children, elderly family members, or pets, anchoring the shelves rack to the wall is highly recommended. Tall units or racks with a high height-to-depth ratio are particularly susceptible to tipping if someone climbs on them or pulls on a shelf. Identify your wall type to select the correct mounting hardware: concrete or brick walls require masonry wall plugs and a hammer drill, while drywall requires specialized toggle bolts or anchoring screws secured directly into the wall studs. Secure the anti-tip brackets or straps near the top of the rack’s frame to provide maximum leverage against tipping.
Proper weight distribution is the final and most critical factor in maintaining a safe shelving system. Always place the heaviest items on the bottom shelf and gradually place lighter items on the upper levels. Refer to the manufacturer’s manual to identify the maximum load capacity per shelf tier and for the entire unit, and ensure you do not exceed these limits. Distribute the weight evenly across the surface of each shelf rather than concentrating heavy loads in the center, which can cause the shelf panels or support beams to sag and permanently deform.
Frequently Asked Questions (FAQ)
How do I fix a wobbly shelves rack after assembly?
A wobbly rack is usually caused by an uneven floor surface or incomplete joint engagement during assembly. First, use a spirit level to check the floor beneath the rack; if the floor is uneven, adjust the leveling feet pads on the bottom of the uprights to eliminate any gaps and stabilize the base. If your rack does not have adjustable feet, you can use durable, non-slip shims designed for furniture. Next, inspect all horizontal beams and vertical connectors to ensure they are fully seated in their slots, and use a rubber mallet to tap any loose joints firmly into place.
Can I disassemble and move the modular rack to another room?
Yes, one of the primary benefits of a modular shelves rack is its portability, but disassembly must be done carefully to avoid damaging the components. Begin by completely emptying all items from the shelves, then work in the exact reverse order of the assembly process, starting from the top shelf and working down. Use a rubber mallet to tap the underside of the support beams gently to disengage the locking tabs without bending or warping the metal. Before reassembling the rack in its new location, inspect all connectors, rivets, and upright slots for any signs of wear, bending, or fatigue to ensure the rebuilt structure remains safe and stable.

Community discussion
Share your experience or ask a question. Comments are reviewed before publication.