
Assembling a modular shelf rack system is one of the most effective ways to maximize vertical space in your home, office, or utility room. Whether you are setting up a heavy-duty steel rack in a household bomb shelter or a sleek wooden shelving unit in the living room, a systematic approach ensures the structure remains safe, stable, and highly functional. Proper assembly of your shelf rack storage does not require advanced carpentry skills, but it does demand careful preparation, precise leveling, and a logical sequence of steps. By taking the time to configure the unit correctly from the very beginning, you avoid common pitfalls such as structural wobbling, misaligned shelves, or compromised load capacities.
Preparation and Tools Required for a Smooth Assembly
Before unboxing your modular shelf rack system, it is vital to prepare a suitable workspace. You will need a flat, clean, and spacious area that is large enough to lay out all the individual components, including upright posts, horizontal beams, shelf panels, and hardware. If you are working on sensitive flooring, such as polished tiles, vinyl, or parquet common in modern Singapore apartments, lay down a large piece of cardboard, a drop cloth, or a protective foam mat. This simple step prevents accidental scratches to both your floor and the shelf components during the assembly process. Additionally, verify that the package dimensions and the final assembled dimensions of the rack will fit comfortably within your designated space, ensuring there is enough clearance from doorways, ceiling fans, and light fixtures.
While many modular systems are marketed as “boltless” or “tool-free,” having a basic set of household tools on hand will make the process significantly smoother. A rubber mallet is highly recommended for tapping components securely into place without chipping the protective powder coating or denting the metal frames. You should also gather an adjustable wrench, a spirit level, a measuring tape, and both Phillips and flathead screwdrivers. Always refer to the manufacturer’s instructions first, as some systems require specific hex keys or proprietary tension clips that are included in the packaging.
Products mentioned in this guide
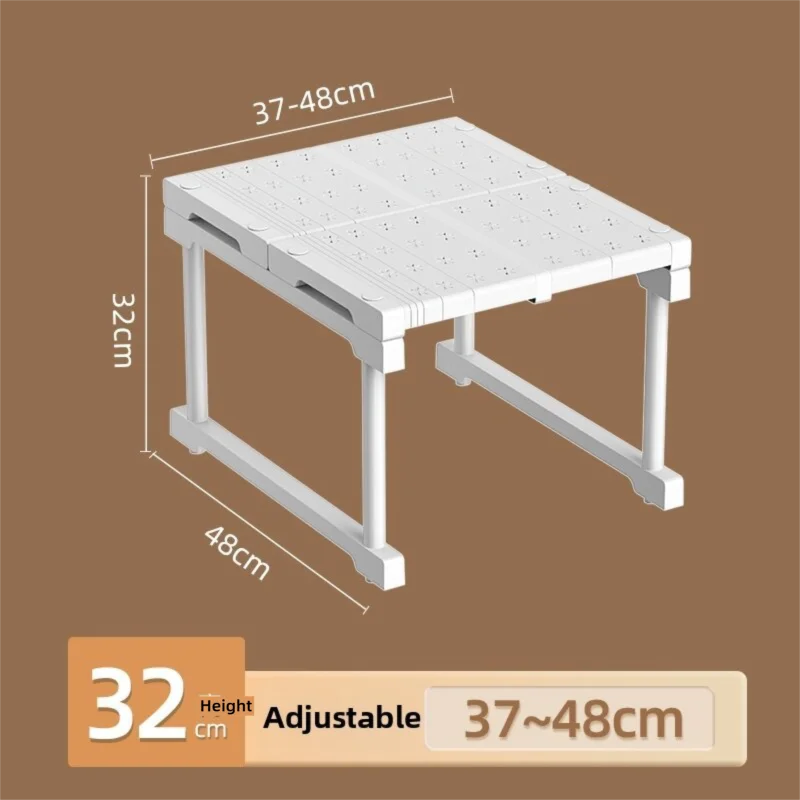
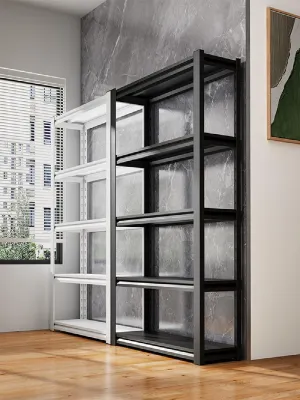
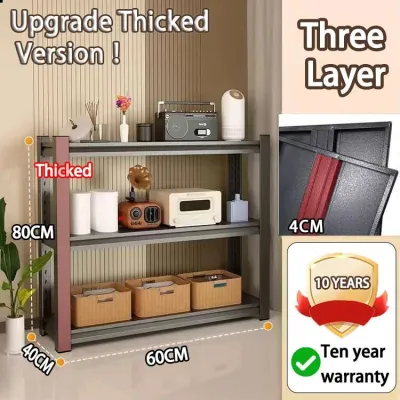
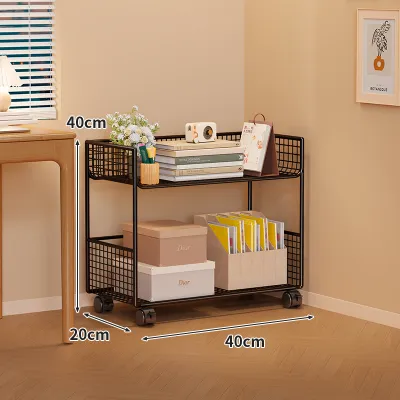
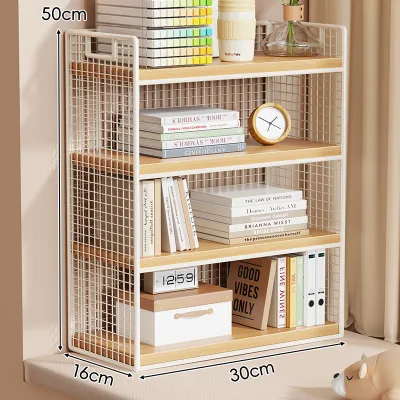
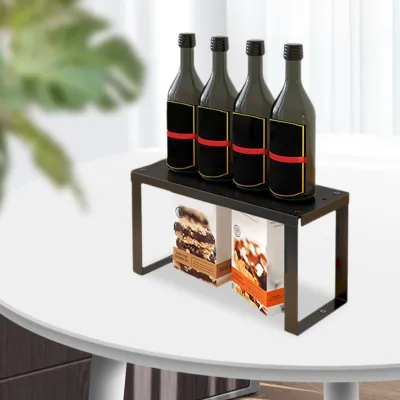
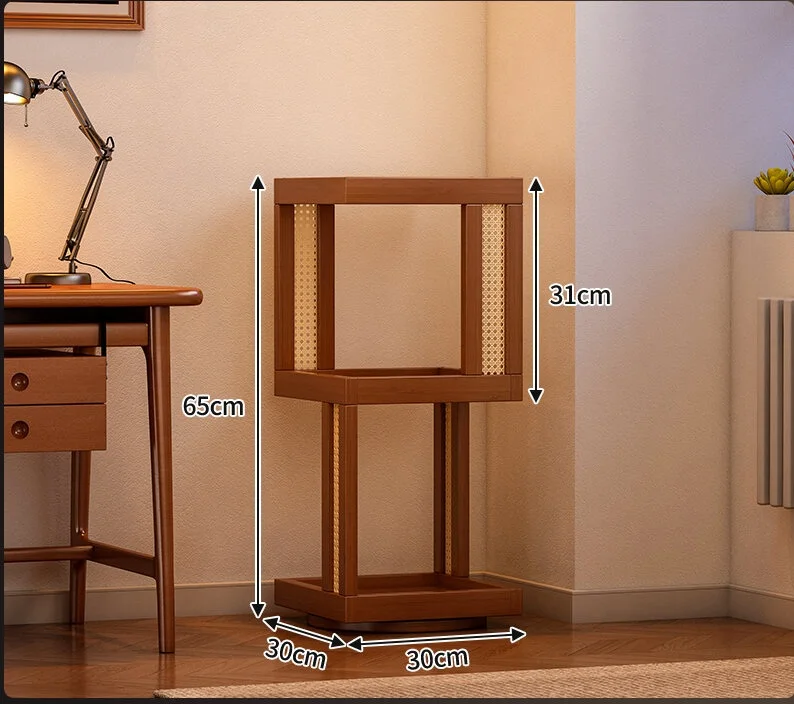
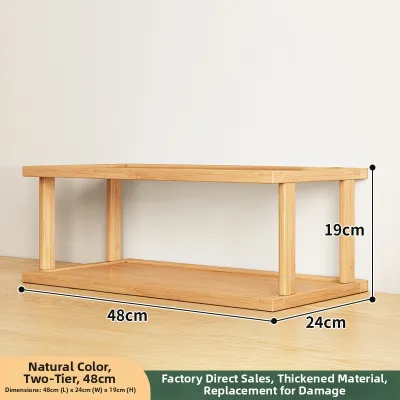
Prices are valid at publication and may change. Please refer to the product page for the latest price.
Once your workspace is ready, carefully unbox all parts. Avoid using a deep utility knife that could slice through the packaging and scratch the shelf panels inside. Lay out all the components systematically, grouping the upright posts, horizontal supports, shelf inserts, and small hardware pieces like screws, bolts, or plastic clips. Conduct a thorough inventory against the parts list in the assembly manual. Identifying any missing or damaged pieces before you begin saves significant frustration halfway through the build.
Safety should always be your top priority. When handling heavy steel frames, dense composite wood boards, or wire mesh panels, wear a pair of lightweight work gloves to protect your hands from sharp metal edges, burrs, or splinters. It is also wise to wear sturdy, closed-toe shoes during assembly to prevent painful crush injuries in case a heavy upright post or horizontal beam is accidentally dropped.
Building the Base and Upright Frame Step by Step
The structural integrity of your entire shelf rack storage system relies heavily on a square, level, and solid foundation. Any minor misalignment or tilt at the base will compound as you build upward, leading to a warped frame that is difficult to assemble and unsafe to load.

Step 1: Attaching the Base Plates or Feet Begin by identifying the bottom end of each upright post. Most modular systems use either protective plastic snap-on caps or adjustable screw-in leveling feet. If your kit includes simple plastic caps, press or tap them firmly onto the bottom of the posts to protect your floors from direct metal contact. If your system features threaded leveling feet, screw them into the base of the uprights, leaving a small amount of thread exposed for adjustments later. Adjustable feet are incredibly valuable when assembling racks on uneven floors, which are common in utility yards, wet kitchens, or older tiled balconies.
Step 2: Connecting the Horizontal Base Beams With the feet attached, position two upright posts parallel to each other on the floor or stand them upright if you have an assistant. Align the lowest horizontal beams with the designated slots or holes near the bottom of the posts. For boltless rivet systems, insert the rivets on the beam into the keyhole slots on the uprights. Use your rubber mallet to tap the beam downward until it is fully seated at the bottom of the slot. To avoid bending the steel, tap directly over the joint area rather than in the middle of the beam. Repeat this process for the side beams to create a rigid, rectangular base frame.
Step 3: Adding Cross-Braces Many heavy-duty or tall modular racks incorporate diagonal or horizontal cross-braces on the rear and sides of the frame. These braces are essential for preventing lateral sway, also known as “racking.” If your system includes these components, install them on the lower section of the frame now, following the manufacturer’s specified bolt pattern or clip mechanism. Do not tighten the bolts completely at this stage; leaving them slightly loose allows for minor adjustments as you align the rest of the frame.
Stop and Check Warning Before moving on to the upper sections, stop and perform a critical alignment check. Use a measuring tape to measure diagonally from corner to corner of your base rectangle. If the two diagonal measurements are identical, your base is perfectly square. Next, place a spirit level on top of the horizontal base beams. If the bubble is not centered, adjust the screw-in feet until the base is perfectly level. If your system does not have adjustable feet, you may need to reposition the unit to a flatter area or use thin, durable shims approved by the manufacturer. Never proceed with assembly if the base is visibly tilted or out of square.
Configuring Shelf Heights and Installing the Panels
One of the greatest benefits of a modular shelf rack system is the ability to customize the height of each shelf to suit your specific storage needs. Planning this layout before installing the remaining beams will save you from having to disassemble the upper sections later.
To begin, analyze the items you plan to store on the rack. Measure the heights of your tallest storage bins, suitcases, kitchen appliances, or storage boxes. Keep in mind that you should leave at least two to three centimeters of clearance above the tallest item on each shelf to allow for easy retrieval. If you are organizing a utility room or bomb shelter, placing larger, bulkier items like plastic storage tubs at the bottom and smaller, lighter items near the top is the most efficient configuration.
Step 1: Marking the Heights Using your measuring tape and a pencil, mark the desired positions for each shelf level on one of the upright posts. Once you have determined the ideal spacing, transfer these measurements to the other three upright posts. To ensure perfect horizontal alignment, count the physical slots, holes, or ridges on the uprights from the bottom up. Relying solely on a tape measure can sometimes lead to slight discrepancies if the posts are not resting on a completely flat surface.
Step 2: Installing Shelf Supports Once the heights are marked, attach the shelf support clips, brackets, or secondary horizontal beams at the designated levels. For systems that use wrap-around plastic sleeve clips (common in wire shelving), snap the halves together around the post at the desired groove until they click into place. For heavy-duty steel racks, tap the horizontal support beams into the keyhole slots at your marked heights. Ensure that all four corners of each shelf tier are locked into the exact same height increment.
Step 3: Placing the Panels With the supports securely in place, carefully lower the shelf panels onto the frame. Depending on your system, these panels may be made of dense engineered wood (like MDF), solid steel sheets, or wire mesh. Ensure the panels sit completely flush within the recesses of the horizontal beams or brackets. If a panel does not sit flat, do not force it down. Instead, double-check that the horizontal support beams are fully seated and that the frame has not twisted out of square.
Configuration Tip To maximize the structural stability of your shelf rack storage, always configure the lowest shelf as close to the ground as practically possible. Placing your heaviest items on the lowest levels lowers the unit’s overall center of gravity. This simple layout choice drastically reduces the risk of the rack tipping over and minimizes the stress placed on the upper joints of the frame.
Securing the Unit and Performing Final Safety Checks
Once all the shelves are installed and the rack is fully assembled, you must perform several critical safety checks before loading it with your belongings.
First, conduct a final tightening pass. If your modular system uses nuts, bolts, or screws, use your wrench or screwdriver to tighten every connection securely. As you assembled the upper sections, the weight of the components may have caused the lower frame to settle, which can occasionally loosen connections that were tightened early in the process. For boltless systems, give each horizontal beam a final firm tap with the rubber mallet to guarantee they are fully wedged into their slots.
Wall Anchoring Wall anchoring is a critical safety step that must not be overlooked, especially if your modular rack is tall (typically exceeding 1.5 meters), top-heavy, or located in a home with active children or pets who might attempt to climb the shelves. Most reputable modular shelving systems include wall-mounting brackets or safety straps.
- Concrete and Masonry Walls: In Singapore, many internal walls—particularly in HDB flats and bomb shelters—are constructed of dense concrete or structural brick. Anchoring to these surfaces requires a rotary hammer drill, masonry drill bits, and high-quality plastic or metal wall plugs (expansion anchors).
- Drywall and Partition Walls: If you are anchoring to a drywall partition, you must locate the wooden or metal studs behind the plasterboard using a stud finder, or use specialized heavy-duty hollow-wall anchors (such as toggle bolts).
- Professional Consultation: If you are unsure about your wall material, do not have the appropriate drilling tools, or are concerned about hitting hidden electrical conduits or water pipes, always consult a qualified professional contractor to handle the installation safely.
Final Verification After securing any wall anchors, perform a gentle “shake test.” Place your hands on the middle shelves and give the unit a light shake from side to side and front to back. There should be minimal to no wobble. Re-verify the levelness of the top shelf using your spirit level. If the unit has shifted during the anchoring process, make final minor adjustments to the leveling feet.
Load Capacity Warning Always strictly adhere to the manufacturer’s specified maximum weight limits, both for individual shelves and the total weight capacity of the entire unit. Never exceed these limits. When loading the rack, distribute the weight evenly across the entire surface of each shelf panel. Concentrating heavy items in the center of a shelf can cause wood panels to sag or warp over time and can bend metal supports, compromising the structural integrity of the entire system.
Maximizing Your Shelf Rack Storage with Smart Organization
With your modular shelf rack safely assembled and secured, you can focus on organizing your items to make the most of the vertical space.
To prevent smaller items from falling through wire shelving or sliding off flat steel panels, utilize stackable plastic storage bins, fabric baskets, or clear drawer organizers. Labeling these containers makes retrieving items quick and efficient. If you are using wire shelving, consider purchasing thin, flat plastic shelf liners. These liners provide a solid surface for unstable items like bottles or small canisters while still allowing light to pass through the wire grids.
The true power of a modular system lies in its adaptability. As your lifestyle or storage needs evolve, do not hesitate to reconfigure the layout. Many systems allow you to purchase additional shelf panels, add hanging accessory bars, or even link multiple units together side-by-side using special metal joining clips. This flexibility makes modular shelving a highly cost-effective, long-term storage solution.
Maintenance Advice To ensure your shelf rack storage remains safe and functional for years to come, establish a routine maintenance schedule. In Singapore’s hot and highly humid tropical climate, environmental factors can impact storage furniture. Fluctuations in moisture levels can cause wood-based panels to swell or warp if they are not properly sealed. Similarly, metal frames—even those with powder coatings—can develop rust if the finish is scratched or if they are placed in poorly ventilated areas like utility yards or damp storerooms. Every few months, conduct a quick visual inspection. Check for any signs of sagging panels, surface corrosion, or loose joints, and tighten any hardware that may have loosened due to daily use or thermal expansion.
Frequently Asked Questions (FAQ)
Can I assemble a tall modular shelf rack by myself?
While it is entirely possible to assemble small, lightweight, or low-profile modular shelving units on your own, we strongly recommend having a second person assist you when building tall or heavy-duty racks. A second set of hands is invaluable for holding the long upright posts steady while you align the first few horizontal beams. Attempting to balance tall, heavy metal frames alone increases the risk of the components tipping over during assembly, which can cause personal injury or damage to your walls and floors.
What should I do if the shelf rack wobbles after assembly?
If your shelf rack exhibits a wobble, follow a systematic troubleshooting sequence. First, check if the floor surface is completely flat; if your rack has adjustable leveling feet, adjust them individually until the frame is stable. Second, check if the frame is square by measuring the diagonals of the base and upper tiers. Third, ensure that all horizontal beams are fully tapped down into their locking slots or that all bolts are completely tightened. Finally, if the wobble persists, verify that the unit is properly anchored to a solid wall, which eliminates lateral movement.
How do I clean and maintain a metal modular shelving unit?
To clean a metal modular shelving unit, wipe down the frames and panels with a soft, damp microfiber cloth. For stubborn dust or light grime, use a mild mixture of water and a few drops of gentle dishwashing liquid. Avoid using harsh chemical solvents, bleach, or abrasive scrubbing pads, as these can strip away the protective powder coating or zinc plating, leaving the underlying steel vulnerable to rust. Periodically inspect the joints, corners, and any scratched areas for signs of moisture buildup or early corrosion, especially in humid environments.

Community discussion
Share your experience or ask a question. Comments are reviewed before publication.