
Assembling a modular bookshelf with doors transforms open storage into a clean, dust-free, and organized system. The process requires a systematic approach, starting with precise measurements and ending with fine-tuning the door hinges. By understanding how the components lock together and how to adjust the hardware, you can build a stable unit that fits your space. In Singapore’s humid climate, taking the time to secure joints and align doors properly prevents long-term warping and ensures smooth operation for years to come.
Pre-Assembly Preparation and Space Checks
Before opening any boxes, you must verify the physical limits of your room. Measure the width, height, and depth of the designated wall space. Remember to account for skirting boards, which can prevent the bookshelf from sitting completely flush against the wall. Check the locations of power outlets to ensure you do not block access to essential plugs, and measure the clearance zone in front of the unit so the doors can swing open fully without hitting other furniture.
Once the space is cleared, unbox the components carefully. Lay out all the wooden panels, shelves, door fronts, and hardware packs. Group similar screws, dowels, cam locks, and hinges together, and count them against the manufacturer’s parts list. Identifying a missing screw or a damaged panel now saves you from stopping midway through the build.
Products mentioned in this guide


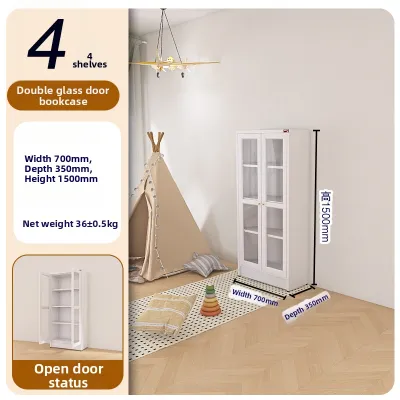
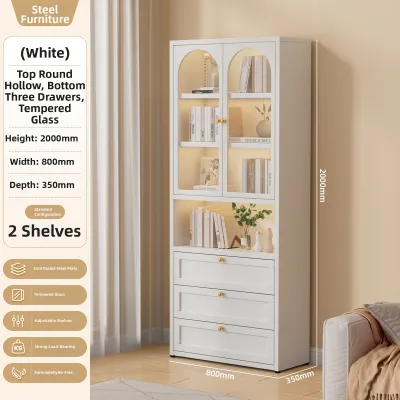

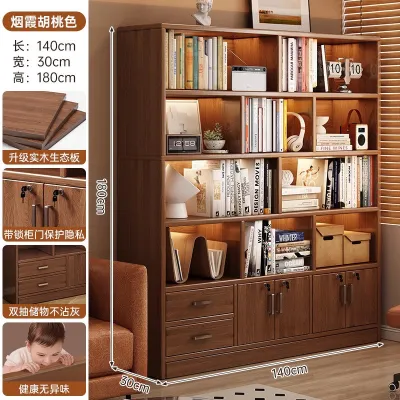
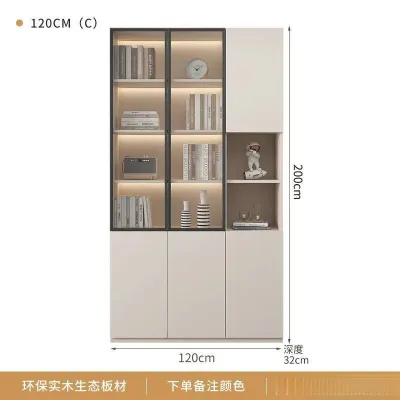
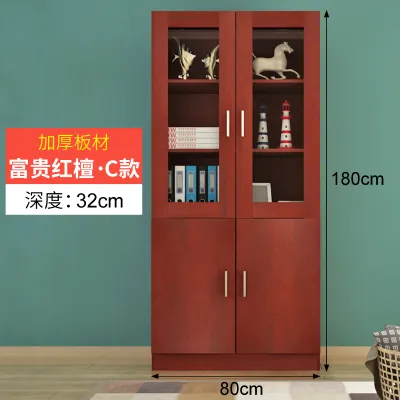
Prices are valid at publication and may change. Please refer to the product page for the latest price.
To protect your flooring and the bookshelf’s finish, clear a working area that is at least twice the size of the assembled unit. Lay down the cardboard packaging or a soft blanket to act as a protective barrier against scratches. Gather your tools beforehand; a manual screwdriver, a rubber mallet, and a spirit level are typically all you need, as power drills can easily strip pre-drilled holes in composite wood.
Step-by-Step Frame and Shelf Assembly
The foundation of a stable modular bookshelf lies in its outer frame, often called the carcass. Begin by identifying the bottom panel and the side panels. Insert the wooden dowels and metal cam pins into their designated pre-drilled holes, ensuring they are fully seated. Connect the side panels to the base, then tighten the cam locks clockwise until they lock firmly. The joints must be completely flush to prevent the frame from leaning.

With the sides and base connected, slide or nail the back panel into place. Many builders overlook the back panel, viewing it as a cosmetic backing, but it is actually the primary source of lateral stability. Without a securely fastened back panel, the entire bookshelf can sway or rack sideways under weight. Use the provided small nails or screws to secure the backing along all four edges, keeping the frame perfectly square as you do so.
Once the main frame is upright, you can plan the interior layout. Insert the shelf support pins into the pre-drilled holes at your desired heights. Place the adjustable shelves onto the pins, pressing down gently to ensure they sit flat and stable. Use a spirit level to verify that each shelf is perfectly horizontal, and check that the front edges of the shelves are recessed slightly to leave enough clearance for the doors to close completely.
Attaching and Aligning the Door Panels
Mounting the doors requires patience and precision, starting with the hinge installation. Most modern modular systems use European-style concealed hinges, which consist of a hinge cup that fits into the door and a mounting plate that attaches to the cabinet frame. Secure the hinge cups into the circular recesses on the back of the door panels using the provided screws, ensuring they are aligned straight. Next, screw the mounting plates into the pre-drilled holes on the inside of the frame.
To hang the doors, align the hinge arms with the mounting plates on the frame and slide or clip them together until they click into place. It is highly recommended to have a second person hold the door steady while you secure the hinges. Once attached, you will likely notice that the doors do not sit perfectly straight or that the gap between them is uneven.
This misalignment is normal and can be corrected using the adjustment screws on the hinge arm. The front screw adjusts the lateral position, allowing you to center the doors or close the gap between a pair of doors. The middle screw adjusts the depth, moving the door closer to or further from the frame to prevent rubbing. The rear screw secures the hinge to the plate and allows for vertical adjustment. Make small, incremental turns on these screws, checking the door alignment after each adjustment until the gaps are uniform and the doors open smoothly.
Configuring the Interior and Final Adjustments
With the doors aligned, you can customize the interior space to suit your storage needs. Place heavier items, such as large reference books or heavy storage boxes, on the bottom shelves to keep the center of gravity low. Lighter items, decorative pieces, or smaller paperbacks can go on the upper shelves. Avoid overloading individual shelves beyond the manufacturer’s recommended weight limit to prevent sagging over time.
Stability is a critical safety consideration for any tall furniture piece. If your modular bookshelf is tall or narrow, it poses a tip-over risk, especially when doors are opened or if children attempt to climb it. Use the wall-anchoring brackets included in the packaging to secure the unit to the wall. Depending on your wall type—whether concrete, brick, or drywall—ensure you use the correct wall plugs and screws to create a secure hold.
Complete the assembly by installing the finishing touches. Attach the door handles or knobs using the pre-drilled holes on the door fronts, tightening them securely but without over-tightening, which could crack the door surface. If your unit uses magnetic catches or push-to-open mechanisms, mount them to the top or bottom of the frame and adjust their depth so the doors latch securely when closed.
Maintenance and Safety Checks for Enclosed Shelving
A modular bookshelf requires occasional maintenance to remain safe and functional. In Singapore, high relative humidity can cause composite wood panels to absorb moisture, leading to minor structural shifting. Every six months, take a few minutes to inspect the unit. Tighten any loose cam locks, structural screws, and hinge mounting plates to maintain the structural integrity of the frame.
Keep the surfaces clean by wiping them down with a dry or slightly damp microfiber cloth. Avoid using abrasive sponges or harsh chemical cleaners, which can strip the protective laminate or veneer finish. If your bookshelf has sliding door tracks, vacuum them regularly to remove dust and debris that can cause the doors to stick or jump off their tracks.
Regularly monitor the condition of the shelves. If you notice any visible bowing or sagging, immediately redistribute the weight or remove some items. Keeping the load balanced across all sections prevents permanent warping of the shelves and reduces stress on the frame joints.
Frequently Asked Questions (FAQ)
Can I add doors to an existing open modular bookshelf?
Yes, you can often add doors to an existing open modular bookshelf, provided the frame is designed to support them. Many modular furniture systems are built with standardized dimensions and pre-drilled internal holes that accommodate optional door kits. Before purchasing doors, check the manufacturer’s specifications to ensure compatibility with your specific model. If your bookshelf does not have pre-drilled hinge holes, retrofitting doors is still possible but will require precise measuring, drilling, and specialized hardware to avoid splitting the composite wood panels.
How do I fix bookshelf doors that won't close properly?
Bookshelf doors that stick, sag, or fail to close properly are usually caused by loose hinge screws or minor shifts in the cabinet frame. Start by checking if the bookshelf is sitting level on the floor; uneven flooring can twist the frame, causing the doors to misalign. If the frame is level, use a screwdriver to adjust the three adjustment screws on each hinge. Turning the lateral screw adjusts the side-to-side gap, while the depth screw moves the door closer to the frame to stop it from rubbing. Tighten any loose mounting screws to ensure the hinges are firmly anchored.

Community discussion
Share your experience or ask a question. Comments are reviewed before publication.