
Assembling a modular bookshelf rack is one of the most practical DIY projects you can undertake to optimize storage in your home. These versatile furniture systems allow you to customize shelf heights, add compartments, and expand your storage capacity as your collection grows. However, transitioning from a flat-pack box to a sturdy, plumb shelving unit requires careful preparation and a systematic assembly process. A rushed build can lead to misaligned shelves, structural instability, or damage to your flooring and the furniture itself.
By taking a methodical approach, you can construct a stable and secure shelving system without professional assistance. This guide walks you through the entire process, from preparing your workspace and gathering the necessary tools to assembling the frame, customizing the layout, and anchoring the unit safely to your wall.
Plan Your Space and Inventory Components Before Assembly
Before opening any packaging, precise spatial planning is essential. Measure the designated floor width, depth, and wall height where the bookshelf rack will stand. Be sure to account for skirting boards, baseboards, light switches, and wall sockets, as these architectural details can prevent a tall unit from sitting flush against the wall. If you live in a high-rise apartment or HDB flat in Singapore, also verify that the packaged boxes can fit through your doorway and inside the passenger lift before attempting to transport them to your unit.
Products mentioned in this guide
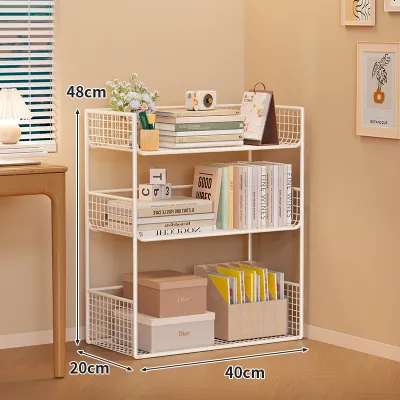
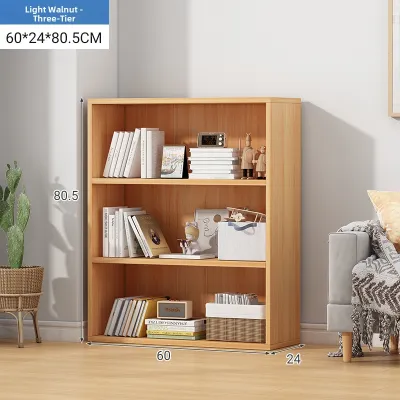
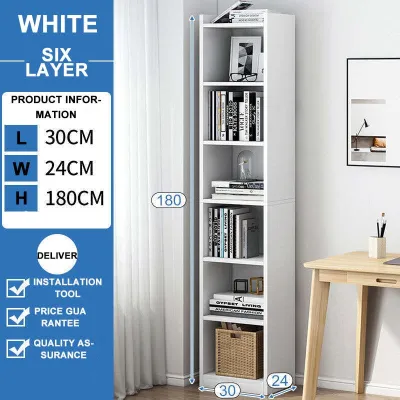
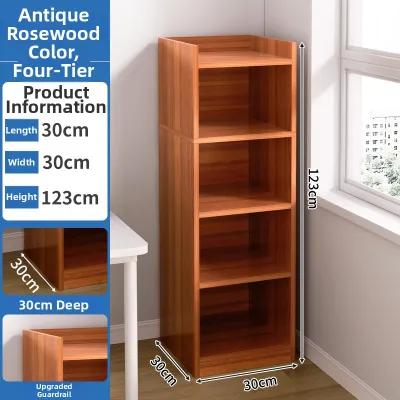
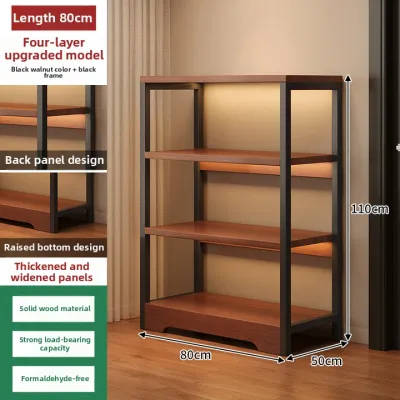
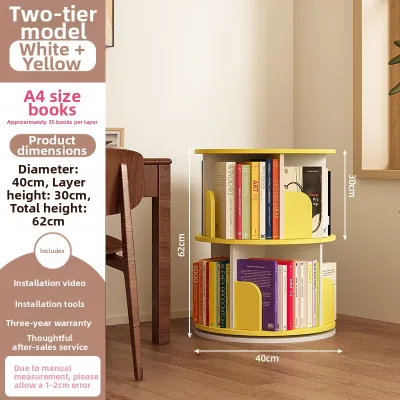
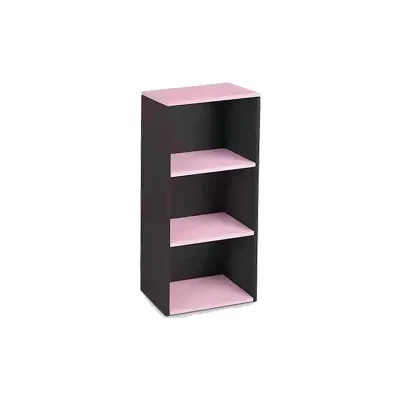
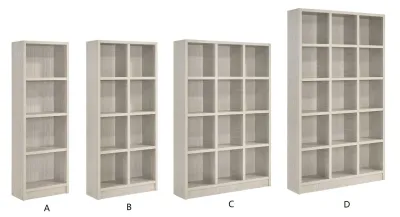
Prices are valid at publication and may change. Please refer to the product page for the latest price.
Once the space is cleared, carefully unbox all components and organize them systematically. Lay out the panels, shelves, vertical supports, connectors, and hardware packs. Check every item against the manufacturer’s printed parts inventory list to ensure no pieces are missing or damaged. Grouping screws, dowels, cam locks, and brackets into small bowls or trays prevents them from rolling away and makes them easy to locate during the build.
To protect both your new furniture and your home’s flooring, prepare a dedicated assembly zone. Clear a workspace that is at least twice the size of the fully assembled bookshelf rack. Lay down a protective barrier, such as a large canvas drop cloth, a clean rug, or the flattened cardboard packaging from the product box. This barrier prevents scratches on delicate flooring surfaces like polished tiles, vinyl planks, or natural parquet, while also protecting the bookshelf finishes from scuffs.
Gather the Right Tools and Materials for a Smooth DIY Build
Having the correct tools on hand before you begin prevents mid-assembly interruptions and ensures a more stable finished product. While many modular kits include basic tools like L-wrenches, relying solely on them can make the assembly physically tiring and less precise.

Standard Tools for Assembly
- Rubber Mallet: Essential for tapping tight joints, wooden dowels, and plastic connectors into place without denting the surfaces or cracking the materials.
- Phillips-Head Screwdriver: A medium-sized manual screwdriver provides the best tactile feedback to prevent over-tightening and stripping screws.
- Spirit Level: Crucial for verifying that the vertical supports are perfectly upright (plumb) and the shelves are completely flat (level).
Optional but Helpful Tools
- Power Drill with Adjustable Torque: If your unit requires driving many long screws, a power drill can speed up the process. Always set the torque to a low setting to avoid stripping pre-drilled holes in engineered wood or MDF.
- Measuring Tape: Used to double-check shelf spacing and alignment during customization.
- Stud Finder: Necessary if you are anchoring the bookshelf rack to a drywall or partition wall to locate solid structural framing.
Safety and Care Gear
- Work Gloves: Lightweight, rubber-coated work gloves protect your hands from sharp metal edges, wood splinters, and minor pinches while handling heavy panels or snapping tight connectors together.
Step-by-Step Guide to Assembling the Modular Bookshelf Rack
Build the Base and Vertical Supports
The foundation of your modular bookshelf rack dictates the alignment and stability of the entire structure. Begin by assembling the bottom frame or base plate on your protective mat. If your system uses cam lock fasteners, screw the cam pins into the pre-drilled holes on the base, align the joining panels, and insert the circular cam locks. Rotate the cam locks clockwise with your manual screwdriver until they lock firmly into place—typically about a half-turn. Do not force them past their natural resistance point, as this can break the cast metal connectors.
Once the base is secure, insert the vertical support poles or side panels into their corresponding slots or connectors on the base. If the joints are tight, use your rubber mallet to gently tap the top of the supports until they are fully seated. Never use a metal hammer directly on the furniture, as it will chip wood veneers and dent metal frames.
Before moving upward, check that the base assembly is perfectly square. You can verify this by measuring diagonally from corner to corner in an “X” shape. If both diagonal measurements are identical, your base is square. If they differ, gently nudge the frame until the measurements match, ensuring that all subsequent tiers will align perfectly.
Attach the Shelves and Reinforce the Frame
With the base and lower vertical supports established, you can begin adding the horizontal shelves. Depending on your modular design, shelves may slide into tracks, rest on adjustable shelf pins, or lock directly into side panels with specialized brackets. Insert the shelf supports at your desired heights, ensuring that all four corners of each shelf are set to the exact same level.
As the height of the bookshelf rack increases, structural reinforcement becomes critical to prevent lateral swaying. Install any back panels, crossbars, or metal diagonal X-braces included in your kit. Back panels are not merely cosmetic; they provide essential shear strength that keeps the unit from folding sideways under weight. If your unit uses a thin backboard, secure it using the provided nails or screws spaced evenly along the outer perimeter and center shelves according to the manufacturer’s guidelines.
Double-check that all shelf pins, locking screws, and brackets are fully seated and flush with the frame. Any loose hardware at this stage can cause shelves to slip or tilt when loaded with books, creating a safety hazard.
Secure the Top Tier and Install Leveling Feet
Complete the main frame by attaching the top panels or the final tier of shelving. Secure these top joints using the specified hardware, ensuring the entire frame is locked together as a rigid box. Install any decorative top caps, plastic end plugs, or side trim pieces to seal exposed edges and give the unit a finished appearance.
Next, tip the unit slightly or access the base to install the feet or adjustable leveling pads. If your bookshelf rack is resting on an uneven floor—such as older parquet, tiled surfaces with grout lines, or slightly sloped concrete floors—adjustable leveling feet are indispensable.
Place the bookshelf rack in its final position and place your spirit level on the bottom shelf, middle shelf, and top panel. Check both the left-to-right level and the front-to-back plumb. Rotate the adjustable leveling feet clockwise or counterclockwise to raise or lower individual corners until the bubble in the spirit level rests perfectly between the two center lines. A level unit distributes weight evenly and prevents structural stress on the joints.
Configure and Customize the Layout for Your Storage Needs
One of the primary benefits of a modular bookshelf rack is the ability to customize the layout to fit your specific storage requirements. Before loading your items, plan the configuration of your shelves to maximize space efficiency and visual balance.
Adjusting Shelf Heights
- Heavy and Tall Volumes: Set a wider gap between the bottom shelves to accommodate large textbooks, heavy binders, and oversized art books.
- Standard Paperbacks: Space the middle shelves closer together to fit standard novels and paperbacks, minimizing wasted vertical space.
- Decorative Items and Bins: Allocate specific zones for fabric storage baskets, decorative boxes, or display items, adjusting the shelf heights to frame them neatly.
Integrating Modular Add-ons
- If your system supports modular accessories like drawer inserts, cabinet doors, or vertical divider panels, install them now. Ensure that drawers slide smoothly and cabinet doors are aligned using the adjustment screws on their hinges.
Weight Distribution Principles
- Always distribute weight with gravity in mind. Place your heaviest items—such as large book collections, heavy file folders, or electronics—on the lowest shelves of the rack. This keeps the center of gravity low, significantly improving the overall stability of the unit and reducing the risk of tipping. Lighter paperbacks, decorative items, and lightweight storage bins should occupy the upper shelves.
Perform Safety Checks and Secure the Bookshelf Rack
Before declaring your DIY project complete, you must conduct thorough safety checks. A fully loaded bookshelf rack carries significant weight, and ensuring its structural integrity is paramount for preventing accidents, especially in homes with children, pets, or high foot traffic.
Begin by performing a physical wobble test. With the unit completely empty, gently push the bookshelf rack from different angles at chest height. If you notice any swaying, creaking, or uneven movement, inspect the joints to identify loose connectors, unseated shelves, or uneven leveling feet. Tighten any loose hardware before proceeding.
Wall Anchoring Guidance
- For any modular bookshelf rack exceeding 1.2 meters in height, wall anchoring is highly recommended to prevent accidental tipping. Most quality shelving units include an anti-tip kit consisting of nylon straps, L-brackets, or wire cables.
- For Drywall or Partition Walls: Use a stud finder to locate a solid wooden wall stud. Secure the wall bracket directly into the stud using wood screws. If no stud is available, use heavy-duty toggle bolts or drywall anchors designed for the weight of your loaded unit.
- For Concrete or Masonry Walls: (Common in Singapore HDB flats and condominiums) You will need a hammer drill, a masonry drill bit, and plastic wall plugs (rawplugs). Drill a hole into the concrete wall, tap the plastic plug flush with the surface, and secure the bracket firmly with a mounting screw.
- Safety Warning: Always refer to the manufacturer's specific instructions for wall anchoring. If the provided hardware does not match your wall type, consult a local hardware professional to select the correct anchors.
Conclude your assembly with a final visual and physical inspection. Ensure all cam locks are fully rotated, shelf support pins are securely in place, and no leftover screws or brackets remain in your workspace. A tidy, well-anchored modular bookshelf rack is now ready to safely store and display your collection.
Frequently Asked Questions (FAQ)
Can I disassemble and move the modular bookshelf rack later?
Yes, most modular bookshelf racks are designed for disassembly and relocation. To protect the components during a move, use the correct manual tools to loosen cam locks and remove screws, avoiding power tools that can easily strip the pre-drilled holes or damage the joints. Keep all original assembly instructions, and store the hardware in a clearly labeled, sealed plastic bag taped securely to one of the main panels so it does not get lost during transit.
What should I do if the assembled shelves do not sit perfectly level?
If your shelves are uneven, first check the floor surface with a spirit level, as uneven flooring is the most common culprit. Adjust the built-in leveling feet at the base of the unit to compensate for floor slope. If your unit does not have adjustable feet, you can place thin, sturdy wooden or plastic shims under the low corners of the base. Ensure the frame is completely level and plumb before tightening any final structural screws or securing the anti-tip wall brackets.

Community discussion
Share your experience or ask a question. Comments are reviewed before publication.