
Assembling a modular storage rack is one of the most effective ways to maximize every square inch of your home, whether you are organizing a tight HDB bomb shelter, a service yard, or a bedroom closet. By systematically measuring your space, preparing the correct tools, building a stable base, and customizing the shelf heights, you can create a highly functional storage system tailored to your exact needs. The key to a successful setup lies in careful preparation and verifying stability at every stage of the process. Taking the time to plan your layout beforehand ensures that your storage solution remains safe, sturdy, and well adapted to your household items.
Pre-Assembly Planning and Space Measurement
Before unboxing your new storage rack, you must evaluate the designated area to ensure a seamless fit. Start by measuring the floor width and depth of the exact spot where the unit will stand. Take note of any baseboards, light switches, electrical outlets, or door swings that could obstruct the frame or limit access to the shelves once they are fully loaded.
Ceiling height is another critical factor, especially if you plan to maximize vertical space with a tall unit. Measure the height from the floor to the lowest ceiling point, keeping an eye out for overhead beams, pipes, or light fixtures that are common in utility areas. Ensure there is enough clearance at the top to comfortably lift and place items on the highest shelf without hitting the ceiling.
Products mentioned in this guide
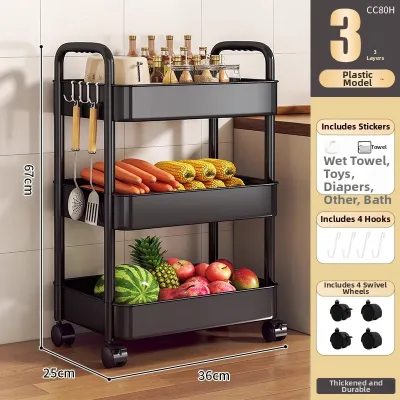
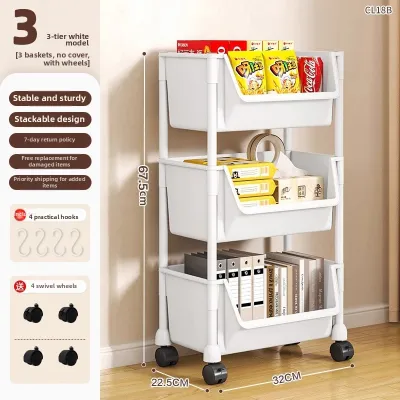
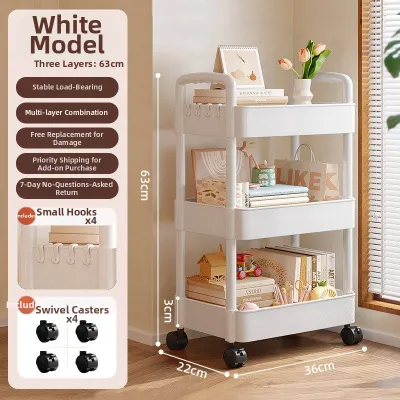
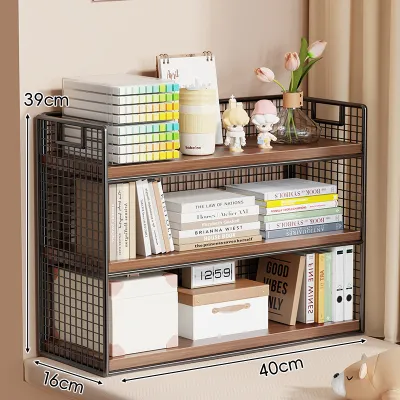
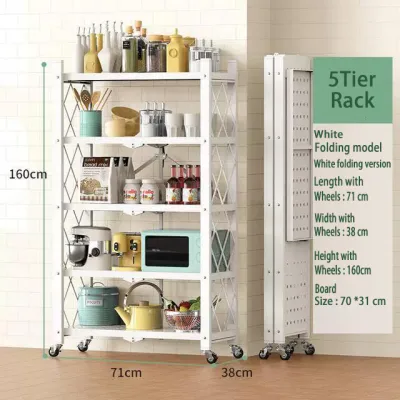
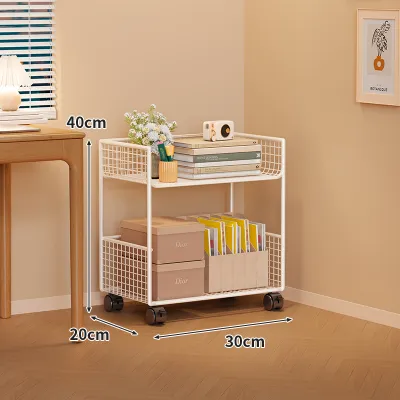
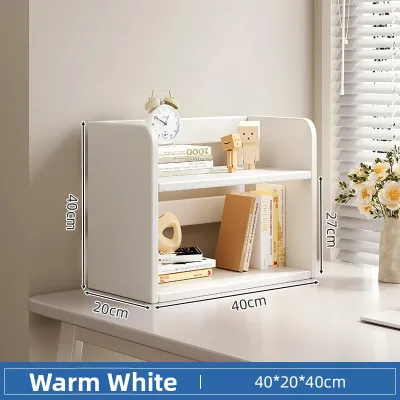
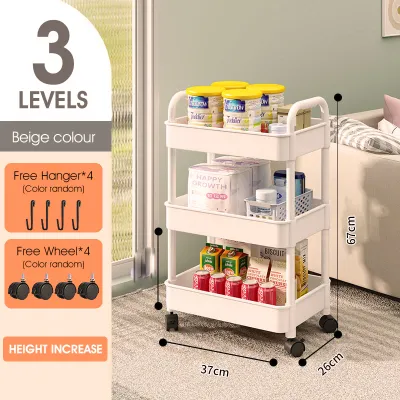
Prices are valid at publication and may change. Please refer to the product page for the latest price.
Next, identify the type of wall behind the rack. In Singapore, most interior walls are solid concrete, structural columns, or drywall partition walls. Knowing your wall type is essential if the manufacturer recommends anchoring the unit for safety, as concrete requires masonry drill bits and heavy-duty wall plugs, while drywall requires specialized hollow-wall anchors.
Finally, compare your physical measurements against the manufacturer’s specified dimensions on the packaging or product manual. Remember to account for a small buffer zone around the rack rather than planning for an exact, tight squeeze. This extra clearance makes the assembly process much easier and prevents the metal or wooden frame from scraping against your walls during installation.
Tools and Components Checklist
To avoid frustrating delays mid-assembly, take a few minutes to organize your parts and tools before you begin. Unpack the box carefully and group similar items together, such as upright posts, horizontal beams, shelf panels, and hardware packets. Locate the manufacturer’s parts list and verify that you have all the panels, poles, connectors, fasteners, and brackets required for the build.

If any components are missing or damaged, stop and contact the retailer before starting assembly. Attempting to build a rack with missing support pins, chipped shelf clips, or warped connectors can compromise the structural integrity of the entire unit. It is always safer to wait for replacement parts than to assemble an incomplete and potentially unstable structure.
While many modular kits include basic assembly tools, having a few household essentials on hand will make the job much smoother. A rubber mallet is incredibly useful for tapping joints securely into place without denting the metal or chipping the paint. A standard screwdriver, a pair of work gloves, and a spirit level are also highly recommended for ensuring everything is straight, tight, and safe to handle.
Prepare a clean, flat work surface to protect both your new rack and your flooring. Laying down a large piece of cardboard from the packaging, a canvas drop cloth, or an old blanket will prevent accidental scratches on your tiles, vinyl, or polished concrete floors during the assembly process. This also keeps small screws and washers from rolling away and getting lost.
Step-by-Step Assembly Process
Begin the physical assembly by constructing the bottom frame or base of the storage rack. A level and square foundation is absolutely vital, as any slight tilt at the bottom will become magnified as you build upward, leading to a leaning tower. Lay out the bottom horizontal beams and connect them to the base of the vertical supports according to the manual’s diagram.
Once the base is secure, attach the vertical uprights or poles. If your rack uses multi-piece uprights, ensure the connectors are fully seated and facing the correct direction. Many modular systems use tapered sleeves, plastic clips, or keyhole slots that must point downward so that the horizontal beams lock more tightly into place when weight is applied.
Install the horizontal shelf supports systematically from the bottom up. Secure each level completely before moving on to the next, rather than loosely assembling the entire frame first. Following the manufacturer’s specified tightening sequence prevents the frame from warping or pulling to one side, which can make inserting the actual shelf panels difficult later on.
If you encounter resistance where parts do not align naturally, do not use excessive force or heavy hammers. Forcing a misaligned bolt or connector can strip the threads, bend the frame, or crack plastic joints. Instead, loosen the adjacent fasteners slightly, realign the stubborn component, tap it gently with a rubber mallet, and then retighten the entire section gradually.
Adjusting and Customizing for Specific Spaces
The primary advantage of a modular storage rack is its adaptability to your specific storage needs. Before locking the shelves permanently into place, consider the height of the items you plan to store, such as plastic storage tubs, luggage, or kitchen appliances. Group similar items together and adjust the shelf spacing to leave a comfortable clearance of a few centimeters above the tallest object for easy retrieval.
For challenging spaces like sloped under-stairs areas, low-hanging beams, or tight storerooms, you can often reconfigure the modular sections. Many systems allow you to build two shorter units side-by-side instead of one tall tower. This horizontal configuration is excellent for maximizing floor space while keeping the visual profile low and accessible.
Always check the manufacturer’s weight capacity guidelines for each shelf configuration. Keep in mind that changing the distance between shelves can sometimes affect the overall load distribution and stability of the frame. Never exceed the recommended weight limits, especially if you are using extended or customized configurations that differ from the standard setup.
To maintain optimal stability, always place the heaviest items on the lowest shelves. Keeping the center of gravity low prevents the rack from becoming top-heavy, which is particularly important for asymmetrical layouts or units customized to fit around architectural obstacles. Store lighter items, like empty boxes or seasonal decorations, on the upper levels.
Safety Checks and Stability Verification
Once assembly is complete, place a spirit level on each shelf to check both the horizontal and vertical axes. A tilted rack is not only visually unappealing but also structurally compromised, as weight will not distribute evenly across the vertical supports, increasing the risk of a collapse under heavy loads.
Go over every joint, bolt, and connector one final time to ensure they are fully tightened and secure. If you are using a boltless keyhole system, double-check that all rivets are fully seated at the bottom of their slots. Avoid over-tightening threaded fasteners, as this can strip the threads, crush metal tubes, or crack plastic connectors over time.
If your modular rack is tall, narrow, or loaded with heavy items, anchoring it to the wall is a crucial safety step. Use the wall brackets provided by the manufacturer and select the appropriate wall plugs for your wall type. This simple step prevents accidental tip-overs, which is especially important if you have young children, pets, or live in an area with high foot traffic.
Finally, if your rack features adjustable leveling feet, use them to compensate for any slight unevenness in your floor. Adjust each foot until the rack is completely level and stable, then lock them into position with the provided nuts. Test the stability by giving the frame a gentle shake; there should be no wobbling, shifting, or creaking.
Frequently Asked Questions (FAQ)
Can I add extra shelves to my modular rack later?
Yes, many modular systems allow you to purchase and add extra shelves later, provided you stay within the manufacturer’s structural limits. Before adding new levels, consult the manual to verify the maximum overall weight capacity of the entire frame, as adding more shelves does not increase the total load the uprights can support. Ensure that any aftermarket shelves or connectors you buy match the exact specifications, dimensions, and locking mechanisms of your original unit to maintain structural safety.
What should I do if the rack wobbles after assembly?
If your storage rack wobbles, start by checking that all joints and fasteners are fully tightened and properly seated. Next, place a spirit level on the shelves to see if the floor is uneven, and adjust the leveling feet or place durable shims under the base if necessary. If the wobble persists on a tall or narrow unit, anchoring the rack securely to the wall will eliminate movement and ensure long-term stability.

Community discussion
Share your experience or ask a question. Comments are reviewed before publication.