
Assembling a modular standing shelf is an efficient way to maximize vertical storage space in any home. Whether you are setting up a pantry organizer, a display unit, or a heavy-duty storage rack, building it yourself ensures the configuration matches your specific organizational needs. Taking a systematic, bottom-up approach to assembly guarantees that your new furniture remains stable, safe, and fully functional without the added expense of professional assembly services.
Pre-Assembly Preparation and Space Planning
Before opening any boxes, it is essential to prepare a clear, flat workspace that is larger than the final footprint of your standing shelf. Laying down a clean blanket or the cardboard packaging itself will protect both your flooring and the shelf components from scratches during the build process.
Carefully unpack all parts and group similar items together. Locate the manufacturer’s parts list and verify that every panel, vertical pole, shelf, connector, screw, and dowel is present before you begin. Discovering a missing cam lock or bracket halfway through assembly can stall your progress and leave you with an unstable, half-built structure in your living space.
Products mentioned in this guide
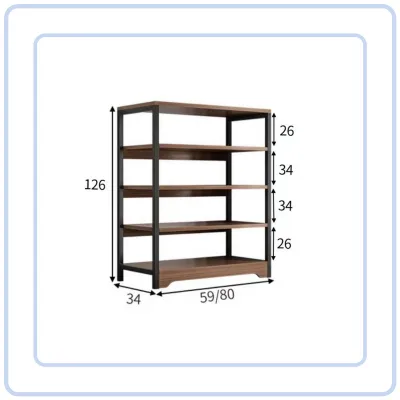
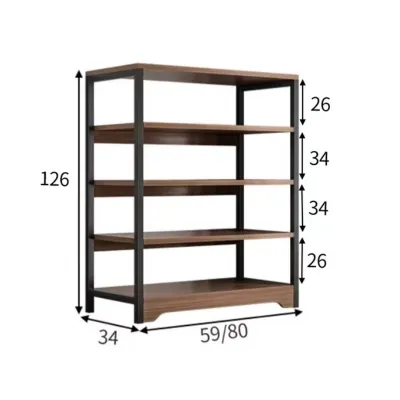
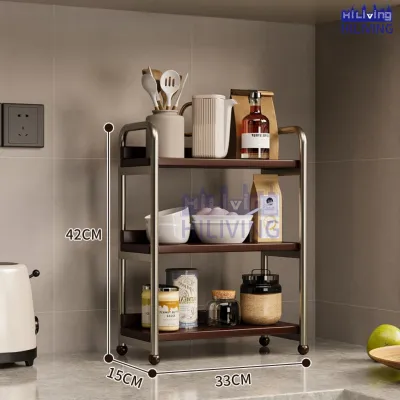
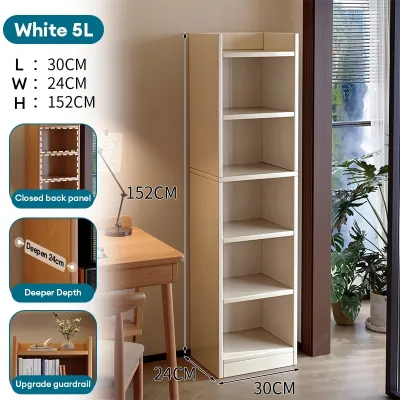
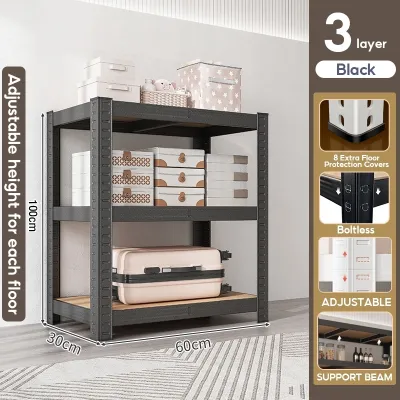
Prices are valid at publication and may change. Please refer to the product page for the latest price.
While many modular kits include basic tools, having your own reliable household tools on hand will make the process much smoother. Gather a rubber mallet for tapping slot-in joints, a Phillips-head screwdriver, a spirit level to check alignment, and a pair of working gloves to protect your hands from sharp edges or metal burrs.
Finally, inspect the exact spot where the shelf will stand. Look out for potential obstructions such as wall skirting boards, light switches, or power outlets that might prevent the unit from sitting flush against the wall. If your home has uneven flooring—a common occurrence near floor wastes or in older apartment units—identifying this early allows you to plan for leveling adjustments.
Step-by-Step Assembly Instructions
Although modular shelving systems vary in their fastening mechanisms—ranging from screw-based frames to toolless snap-fit connectors—the fundamental structural logic remains identical across most designs. Always keep the manufacturer’s instruction manual open in front of you, and resist the urge to fully tighten any fasteners until the entire frame is loosely assembled and aligned.

Phase 1: Building the Base and Vertical Supports
Begin by constructing the foundation of the unit, which typically involves attaching the base plates, leveling feet, or bottom casters to the lowest horizontal supports. If your kit uses adjustable leveling feet, screw them in halfway to allow room for both upward and downward adjustments later.
Once the base is stable, insert the first set of vertical poles or side panels into the designated slots or base connectors. If your standing shelf uses wooden dowels or threaded metal rods, ensure they are fully seated before proceeding.
Keep all vertical supports perfectly parallel and upright during this phase. If you are working alone, lean the vertical panels against a wall or use temporary support blocks to prevent them from tipping over.
Take extra care when handling long vertical components. Applying lateral pressure to an unsupported upright can easily bend metal tracks or tear pre-drilled holes in composite wood materials.
Phase 2: Installing Shelves and Structural Crossbars
With the lower vertical framework established, begin installing the horizontal shelves or support beams, always working from the bottom tier upward. This bottom-up progression keeps the center of gravity low and prevents the structure from becoming top-heavy during construction.
If your modular system includes diagonal crossbars, tension rods, or solid back panels, install them alongside the lower shelves. These components are critical for lateral stability, preventing the shelf from swaying or collapsing sideways under load.
Verify that each shelf sits completely flush within its brackets, pegs, or slots before moving to the next level. For boltless or slot-based metal shelving, use a rubber mallet to gently tap the shelf collars down onto the support clips; avoid using a metal hammer, which can dent the steel or chip the protective powder coating.
If you encounter resistance when fitting a shelf, do not force it. Loosen the adjacent vertical connector screws slightly to give the frame some play, slide the shelf into place, and then gently snug the connectors back up.
Phase 3: Securing the Top Frame and Final Tightening
Once all horizontal shelves are positioned, attach the top frame, capping pieces, or decorative crown moldings to tie the vertical uprights together. This final structural layer locks the entire geometry of the standing shelf into place.
Before tightening any hardware, perform a comprehensive visual and physical check of the unit. Step back a few paces to ensure the frame is square, upright, and not leaning to one side.
Working from the bottom to the top, systematically tighten all screws, bolts, or locking cams. Ensure every fastener is snug, but avoid using excessive force or power drills set to high torque.
Over-tightening can easily strip the threads out of metal sleeves, split solid wood elements, or cause particleboard and MDF panels to crack internally, permanently ruining the joint’s load-bearing capacity.
Stability Checks and Safety Adjustments
Once physical assembly is complete, place the standing shelf in its final designated location to perform critical safety checks. Place a spirit level on the top shelf and several intermediate tiers, checking both left-to-right and front-to-back axes to ensure the unit is perfectly level.
If the bubble indicates the shelf is leaning, adjust the integrated leveling feet. If your shelf does not have adjustable feet, slide thin, non-slip plastic or wooden shims under the low corners until the unit is stable and plumb.
Test the stability of the unit by applying gentle forward and lateral pressure to the top corners. If you detect any wobble or rocking, re-examine the tightness of the joints and ensure all feet are making firm contact with the floor.
For any standing shelf taller than one meter, or units placed in homes with young children or active pets, installing an anti-tip wall-anchoring kit is a vital safety step. Follow the anchor kit’s specific instructions for drilling into your specific wall type—such as using masonry plugs for concrete walls common in Singapore, or toggle bolts for drywall—to secure the bracket firmly to the wall structure.
Loading Guidelines and Weight Distribution
Before placing any items on your newly assembled standing shelf, refer to the manufacturer’s manual or product label to confirm the maximum weight capacity per shelf tier as well as the overall weight limit for the entire unit. Exceeding these limits can lead to catastrophic structural failure or sudden tipping.
Adhere strictly to the principle of progressive weight distribution. Always place your heaviest items—such as books, heavy storage crates, or kitchen appliances—on the lowest shelves to keep the unit’s center of gravity as close to the ground as possible.
Distribute the weight evenly across the surface of each individual shelf rather than concentrating heavy items in the center or on one side. Concentrated loads can cause wooden shelves to bow permanently or metal shelves to buckle, weakening the overall integrity of the unit.
Never stack items so high that they risk falling off the edges, and avoid placing heavy decorative objects on the very top shelf where they can easily be knocked loose or contribute to top-heaviness.
Routine Maintenance and Long-Term Care
To keep your modular standing shelf safe and functional over the years, establish a simple maintenance routine. Check all connection points, screws, and locking cams approximately every six months, as normal daily use and minor floor vibrations can cause fasteners to back out over time.
When cleaning, dust the surfaces regularly with a dry microfiber cloth to prevent dirt buildup. For deeper cleaning, refer to the manufacturer’s care label and use only recommended cleaning solutions that match the specific material of your shelf.
In Singapore’s highly humid tropical climate, composite wood materials like particleboard or MDF are particularly susceptible to moisture damage. Avoid using soaking wet cloths, and never use harsh abrasive chemicals or solvents that could strip the protective laminate or paint, exposing the core materials to swelling and warping.
Frequently Asked Questions (FAQ)
How do I disassemble the shelf for moving?
Before attempting to move or disassemble your standing shelf, completely empty all contents from every tier to avoid injury or damage.
To take the unit apart, simply reverse the assembly sequence step-by-step, starting with the top frame and working your way down to the base supports. This top-down disassembly keeps the structure stable as you remove components.
Keep a small, sealable plastic bag nearby to store all screws, dowels, shelf pins, and connectors as you remove them. Label the bag clearly and tape it securely to one of the main shelf panels so that no critical hardware is misplaced during transit.
If a joint or connector feels stuck, do not force or pry it apart with heavy tools. Carefully inspect the connection point for hidden locking cams, secondary set screws, or adhesive residues that may be holding the pieces together.
Can I add more tiers to the modular shelf later?
The ability to expand your standing shelf depends entirely on the specific brand’s design and the availability of compatible, manufacturer-approved extension kits.
Check your original product documentation or contact the manufacturer directly to verify if your specific model is engineered to support vertical or horizontal expansion.
Keep in mind that adding vertical tiers significantly alters the unit’s center of gravity and increases the risk of tipping. If you choose to expand your shelf upward, installing a heavy-duty wall-anchoring kit becomes absolutely mandatory to ensure safety.
Avoid mixing parts from different brands or using unauthorized third-party connectors, as mismatched tolerances can compromise the structural integrity of the shelf and will likely void any manufacturer warranties.

Community discussion
Share your experience or ask a question. Comments are reviewed before publication.