
Assembling a modular small rack shelf is a highly manageable DIY project that can instantly transform cluttered corners, tight entryways, or limited pantry spaces into organized, functional areas. By taking a systematic approach—unboxing systematically, building from the ground up, and securing connections incrementally—you can construct a sturdy storage unit without the need for professional installation. This guide walks you through the entire process, ensuring your finished shelf is perfectly level, stable, and ready to hold your items safely.
Pre-Assembly Checks and Space Preparation
Before opening any packaging, measure the designated floor space and compare it against the finished dimensions specified on the product box. In compact living environments, such as apartments in Singapore, every centimeter counts; you must ensure the shelf will not block doorways, obstruct walkways, or interfere with electrical outlets. Check that there is sufficient clearance for any nearby cabinet doors or room doors to swing fully open without striking the new furniture. Consider the height of the unit as well, ensuring it does not block light switches, wall-mounted air conditioning units, or windows.
Once the location is verified, clear a workspace that is at least twice the size of the fully assembled shelf. Lay down a clean, protective barrier such as a large cardboard box, a thick blanket, or a rug to protect both your flooring and the shelf components from scratches during assembly. Unpack all parts carefully, grouping similar items together—such as vertical poles, horizontal shelves, connectors, and hardware packets.
Products mentioned in this guide
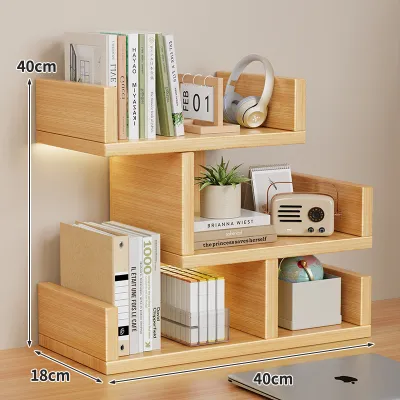
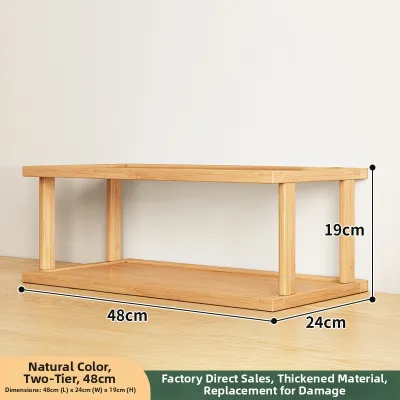
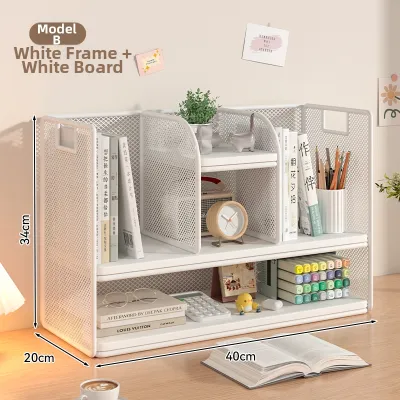
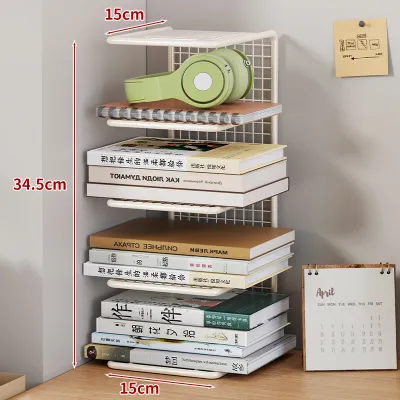
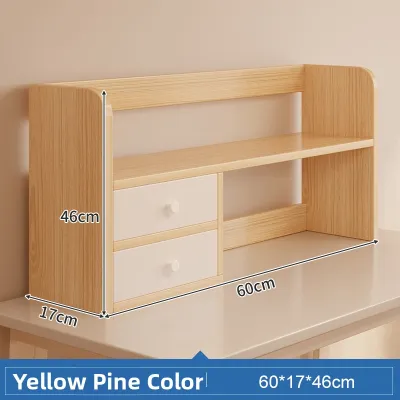
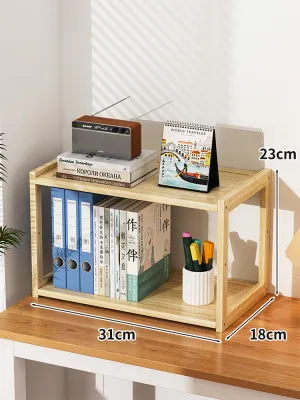

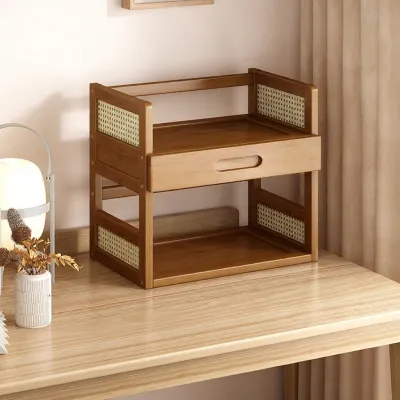
Prices are valid at publication and may change. Please refer to the product page for the latest price.
Inspect each component thoroughly before beginning the build. Look for any signs of shipping damage, such as bent metal frames, warped wooden panels, or cracked plastic connectors. Count all screws, dowels, and brackets against the parts list in the manufacturer’s manual to confirm nothing is missing. Identifying a missing or damaged piece now saves you the frustration of stopping midway through the assembly process.
Tools and Materials You Will Need
Most modular small rack shelves are designed for straightforward assembly, often requiring only basic hand tools. A standard Phillips-head screwdriver is typically essential for securing brackets, while an adjustable wrench or a simple Allen key (often included in the packaging) handles hex bolts. Keep a rubber mallet nearby; it is incredibly useful for gently tapping tight-fitting modular joints or plastic connectors into place without denting the material.

While power drills can speed up the process, they should be used with extreme caution. If you choose to use a cordless screwdriver or drill, set it to a very low torque setting to prevent stripping the screw heads, cracking engineered wood panels, or stripping the threads of metal inserts. Hand tools remain the safest option for maintaining complete control over the tightening force.
Additionally, keep a measuring tape and a spirit level on hand. The measuring tape helps verify alignment and placement, while the spirit level is indispensable for ensuring the shelves are perfectly horizontal. A level shelf prevents items from sliding off and ensures that weight is distributed evenly across the entire structure.
Step-by-Step Assembly Instructions
Assembling a modular system requires a logical, bottom-up workflow to ensure structural integrity. Deviating from the manufacturer’s recommended sequence can lead to misaligned parts, forcing you to disassemble completed sections to correct a mistake. Always review the provided diagram fully before executing the first step.
Building the Base and Vertical Frames
Begin by constructing the foundation of your small rack shelf, as a stable base is critical for the entire structure. If your modular kit includes adjustable leveling feet, casters, or protective bottom caps, install these onto the bottom of the primary vertical poles or side panels first. If you are using casters, ensure any locking mechanisms are engaged to keep the base from rolling away while you work.
Next, insert or snap the primary vertical frames into the base connectors. For metal wire shelving, this often involves snapping plastic tapered sleeves onto the vertical poles at the desired height before sliding the bottom shelf frame down over them. Ensure that these initial connections are fully seated and level with one another so the foundation does not wobble.
When assembling the initial frame, avoid tightening any screws or bolts completely. Leave all base and frame joints slightly loose—about a turn or two short of fully tight. This deliberate play in the joints allows for minor alignment adjustments as you add the upper sections, preventing the frame from warping or becoming rigid in an uneven position.
Attaching the Shelves and Modular Components
With the base and vertical uprights standing, you can begin installing the horizontal shelves. Align the shelf brackets, support clips, or wooden dowels with the pre-drilled holes or slots on the vertical frames. Double-check that you are placing the supports at the same height on all four corners; even a single slot’s difference will result in a slanted shelf that compromises stability.
Slide or drop each shelf panel into place from the top down. For modular units that use locking pins or weight-bearing lips, apply firm, downward pressure on the corners of the shelf to ensure the locking mechanisms are fully engaged. You can use your rubber mallet to tap the corners gently, confirming that the shelf is seated securely on its supports.
If your modular kit features optional add-ons—such as side rails, fabric drawers, back panels, or decorative hooks—install them at this stage according to the manufacturer’s design. Adding back panels or cross-bracing is particularly important, as these components provide essential lateral stability, preventing the rack from swaying side-to-side under load.
Securing Joints and Final Tightening
Once all shelves and modular components are in place, it is time to lock the structure together. Go back to the base and work your way upward, systematically tightening every screw, bolt, and cam lock. Ensure that the frame remains square as you tighten; you can check this by measuring diagonally from corner to corner of the frame to see if the measurements are equal.
Place your spirit level on the top shelf and check both the left-to-right and front-to-back planes. If your shelf features adjustable leveling feet, screw them in or out to compensate for any unevenness in your flooring. This step is crucial in older homes or on tiled floors where slight variations in floor height can cause a tall or narrow rack to wobble.
Exercise caution during this final tightening phase to avoid damaging the materials. Over-tightening fasteners can easily strip the threads in metal frames, crack plastic connectors, or split engineered wood panels. Tighten each fastener until it is snug and offers firm resistance, but do not force it beyond its natural stopping point.
Ensuring Stability and Safety
Even a small rack shelf can pose a safety hazard if it tips over, making stability a primary concern. Assess the placement of your shelf and the environment it will occupy. In households with young children or pets, or in areas with high foot traffic, securing the shelf to the wall is highly recommended to prevent accidental tip-overs.
Many modular shelving kits include anti-tip straps, L-brackets, or wall-anchoring hardware. To install these, locate a solid wall stud using a stud finder, or use appropriate masonry anchors if you are mounting directly into concrete or brick walls. Secure one end of the bracket or strap to the underside of the top shelf or the rear frame, and anchor the other end firmly into the wall.
Always respect the manufacturer’s specified maximum load capacity, both for individual shelves and for the entire unit. Exceeding these limits can cause shelves to bow, joints to fail, or the entire structure to collapse. Keep in mind that load capacities assume the weight is distributed evenly across the shelf surface rather than concentrated in a single spot.
Maintenance and Weight Distribution Tips
Proper loading is key to maintaining the long-term stability of your modular shelf. Always place your heaviest items—such as books, heavy storage boxes, or kitchen appliances—on the bottom shelf. This lowers the overall center of gravity of the unit, making it significantly more stable and less likely to tip forward when bumped.
Modular furniture connections can naturally loosen over time due to daily use, vibrations, or seasonal changes in temperature and humidity. Make it a habit to inspect the joints and fasteners every few months. If you notice any wobbling or slight swaying, use your screwdriver or Allen key to gently retighten any loose connections.
Cleaning methods should match the specific materials of your shelf to preserve its finish. For metal wire or powder-coated frames, a damp microfiber cloth is usually sufficient to remove dust and grime. For engineered wood or veneered shelves, avoid soaking the surface with water, and never use harsh chemical cleaners or abrasive pads, which can strip protective coatings and expose the underlying material to moisture damage.
Frequently Asked Questions (FAQ)
Can I assemble a modular rack shelf alone?
Yes, most small modular rack shelves can be successfully assembled by a single person. Because of their compact size and lightweight components, managing the parts is relatively easy. However, having a second person assist you can be highly beneficial, especially when holding the vertical frames steady during the initial base assembly or when aligning larger shelf panels. An extra pair of hands ensures the frame remains square and prevents components from slipping or scratching before they are fully secured.
What should I do if the pre-drilled holes do not align?
If you find that pre-drilled holes or slots do not align, do not force the components together. First, check that all previous joints are fully seated and that you have not installed a panel or pole backward or upside down. Next, loosen the adjacent screws and bolts on the frame by a few turns. This introduces slight flexibility back into the structure, allowing you to gently shift the frame into alignment so the holes line up. Once all fasteners are successfully threaded, you can go back and tighten them all securely.

Community discussion
Share your experience or ask a question. Comments are reviewed before publication.