
Assembling a modular shelve display rack at home is an excellent way to maximize vertical storage, showcase personal collections, and keep your living space organized. Whether you are setting up a display in a compact flat or organizing a study, a modular system offers the flexibility to adapt to your changing storage needs. By following a systematic approach, you can build a sturdy, level, and safe shelving unit without professional help. The key to success lies in careful preparation, methodical assembly, and proper safety measures such as wall anchoring.
Pre-Assembly Preparation and Space Planning
Before unboxing your new modular shelve display rack, evaluate the designated installation area to ensure a seamless fit. Measure the available floor width, depth, and total wall height using a reliable measuring tape. Account for surrounding architectural features, such as light switches, electrical outlets, air conditioning units, and window frames. Ensure there is sufficient clearance for nearby doors, cabinet drawers, and walking paths so the fully assembled rack does not obstruct daily movement.
Once you have verified the space dimensions, clear a clean, flat work area on the floor near the final setup location. Laying down a large piece of cardboard, a clean drop cloth, or a soft blanket protects both your flooring and the new shelving components from scratches during assembly. Carefully unbox all the parts and group similar items together, such as side panels, horizontal shelves, backboards, and hardware packets.
Products mentioned in this guide
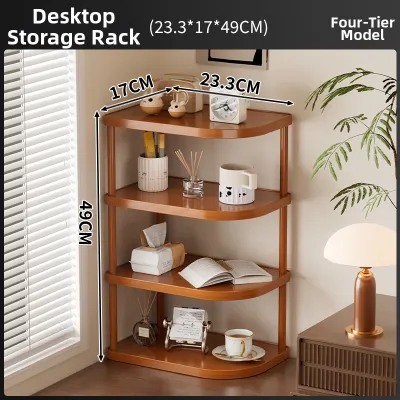
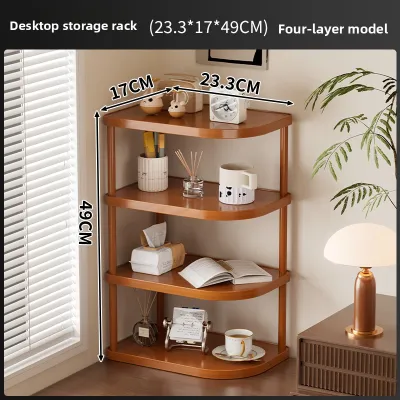
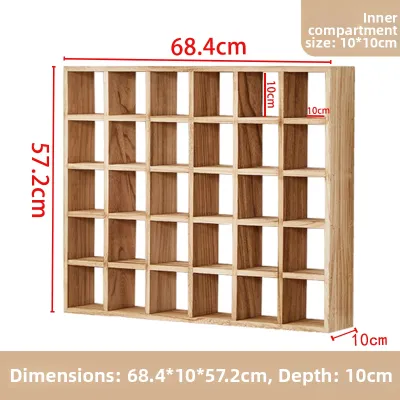
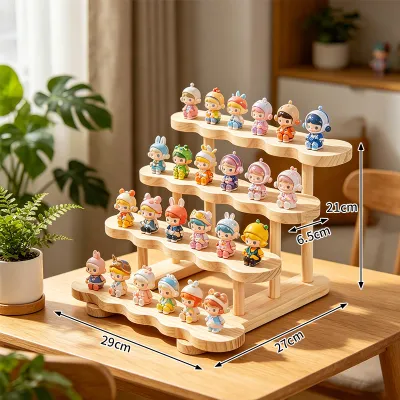
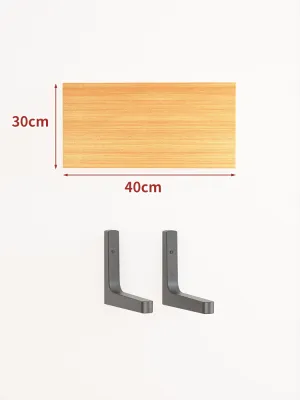
Prices are valid at publication and may change. Please refer to the product page for the latest price.
Take the manufacturer’s instruction manual and conduct a thorough inventory of all included components before beginning any assembly steps. Count the panels, metal frames, connectors, screws, dowels, and brackets against the parts list provided in the box. If you discover any missing or damaged parts, contact the retailer or manufacturer immediately rather than attempting to assemble an incomplete unit.
Gather the basic household tools specified in the assembly manual before you start putting the pieces together. Most flat-pack modular systems require a standard Phillips-head screwdriver, a flat-head screwdriver, and a rubber mallet for tapping dowels or interlocking connectors into place. Having a spirit level on hand is also essential for verifying that your shelving unit remains perfectly straight and stable throughout the build process.
Step-by-Step Assembly Process
A successful assembly relies on a logical, bottom-up sequence that establishes a stable foundation before building upward. Begin by constructing the base or bottom frame of the modular shelve display rack according to the manual’s diagrams. If your unit features adjustable leveling feet or base glides, install them onto the bottom panel or legs first. Ensuring the base is completely level on your floor from the very start prevents structural leaning and alignment issues as you add higher tiers.

With the base securely positioned, begin attaching the vertical supports, side panels, or main upright frames. Insert any wooden dowels or metal cam pins into their designated pre-drilled holes, ensuring they are fully seated without using excessive force. When joining the vertical panels to the base, tighten the screws or cam locks only halfway; leaving a small amount of play in the joints makes it much easier to align subsequent parts.
Next, install the horizontal shelves or modular cubes into the vertical framework. For systems that use interlocking connectors or plastic brackets, align the joints carefully and use a rubber mallet to tap them firmly into place. If your modular rack uses adjustable shelf pins, insert the pins at your desired heights, ensuring all four pins for a single shelf are positioned in corresponding holes. Slide or lower each shelf onto its supports, verifying that it sits flat and does not wobble.
Once all the shelves, vertical dividers, and side panels are in position, attach the top panel or finishing caps to seal the structure. Go back through the entire unit and systematically tighten all the screws, cam locks, and fasteners that you previously left slightly loose. Tighten them evenly in a diagonal or cross-pattern to prevent the frame from warping or twisting under uneven tension. Avoid over-tightening, which can strip the pre-drilled holes or crack the laminate finish.
Safety Checks and Wall Anchoring
Once the modular shelve display rack is fully assembled, place it in its final position against the wall to perform essential stability checks. Place a spirit level horizontally across several shelves and vertically against the side panels to check the alignment. If your floor is slightly uneven, adjust the leveling feet under the base until the bubble in the spirit level sits perfectly centered. A rack that is not level is highly susceptible to tipping and puts unnecessary stress on the structural joints.
Evaluating the need for wall anchoring is a critical safety step that should never be skipped, especially for tall or narrow shelving units. Any display rack that is top-heavy, stands over a certain height, or is loaded with heavy items poses a serious tip-over hazard. This risk is particularly high in homes with active pets or young children who might attempt to climb or pull on the furniture.
To secure the rack safely, identify the composition of your wall to select the appropriate mounting hardware. Concrete, brick, drywall, and plasterboard walls all require different types of wall plugs and anchors to hold screws securely. Many modular furniture kits include standard wall tethers or brackets, but you may need to purchase specialized heavy-duty anchors from a local hardware store if the included hardware does not match your wall type.
Follow the manufacturer’s specific instructions to attach the anti-tip brackets or tethers to the top rear frame of the shelving unit. Drill the pilot holes into the wall at the marked locations, insert the correct wall anchors, and secure the brackets firmly with screws. If you are unsure about your wall’s structural integrity, cannot locate studs in a drywall setup, or lack the tools to drill into concrete, stop the process and consult a qualified local handyman or professional installer.
Loading and Organizing Your Display Rack
How you distribute weight across your newly assembled modular shelve display rack directly impacts its long-term stability and safety. Always place your heaviest items, such as large books, storage boxes, or heavy ceramic pots, on the bottom shelves. This practice lowers the overall center of gravity of the unit, making it significantly more stable and less prone to tipping forward.
As you fill the middle and upper shelves, distribute the weight of your items evenly from left to right rather than clustering heavy objects in one spot. Concentrating weight in the center of a shelf can cause the material to bow, sag, or slip off its support pins over time. Leave some open space on higher shelves for lighter decorative items, framed photos, or small plants to maintain a balanced look and reduce structural stress.
Always respect the manufacturer’s maximum load capacity limits, which are typically specified for individual shelves as well as the entire unit. Exceeding these weight limits can lead to sudden joint failure, bent metal frames, or cracked wooden panels. If you notice any shelf beginning to sag or bend under the weight of your display items, remove some objects immediately and redistribute the load to lighter sections.
Routine Maintenance and Stability Checks
Regular maintenance ensures that your modular shelve display rack remains safe, sturdy, and visually appealing for years to come. Over the first few weeks of use, the components of a newly assembled rack will naturally settle under the weight of your items. It is highly recommended to perform an initial check after two to three weeks, using a screwdriver to gently retighten any screws, cam locks, or wall anchor fasteners that may have loosened slightly.
Incorporate a quick structural inspection into your regular cleaning routine every few months. Look closely at the joints, shelf supports, and wall tethers to ensure everything remains tight and properly aligned. Inspect the shelves for any early signs of bowing, sagging, or joint separation, and check the panels for moisture damage, especially if you live in a humid climate or have placed potted plants on the shelves.
When cleaning the surfaces of your display rack, always follow the specific care instructions provided by the manufacturer for the material used. For wooden or laminate surfaces, use a soft, dry microfiber cloth to remove dust, and avoid harsh chemical cleaners, abrasive pads, or excessive water that can damage the finish. If you must wipe down a spill, use a slightly damp cloth and dry the area immediately with a clean towel to prevent the material from swelling or warping.
Frequently Asked Questions (FAQ)
Can I rearrange the shelves after the rack is fully assembled?
Yes, most modular display racks are designed to allow for easy shelf adjustment, but you must take proper precautions to do so safely. Always empty the shelf completely before attempting to move it, as leaving items on the shelf can cause you to lose balance and damage the unit. For adjustable pin systems, carefully lift the shelf off its supports, reposition the pins to the new height, and lower the shelf back down, ensuring it sits flat on all four pins. For interlocking modular systems, you may need to loosen adjacent connectors slightly to slide a shelf out, so consult your manual to avoid forcing any parts.
What should I do if the pre-drilled holes do not align?
If you find that pre-drilled holes do not align during assembly, do not attempt to force the screws or drill new holes, as this can permanently damage the panels. First, go back and loosen the screws on the adjacent panels and joints that you have already assembled. Often, tightening joints too early removes the necessary play needed to align subsequent pieces. Next, double-check the instruction manual to ensure that you have not oriented a panel backward or upside down, as many modular parts look similar but have subtle differences in hole placement.
Is it safe to use the display rack outdoors or in high-humidity areas?
Standard indoor modular display racks are generally not safe for outdoor use or extremely high-humidity environments unless the manufacturer explicitly states they are rated for it. Typical indoor materials, such as particleboard, medium-density fibreboard (MDF), and standard metal frames, lack the weatherproofing required to withstand rain, direct sunlight, and constant moisture. In humid indoor areas like bathrooms or semi-outdoor spaces like covered balconies, ensure the rack is made of moisture-resistant materials like treated bamboo, plastic, or powder-coated steel, and inspect the joints regularly for rust or swelling.

Community discussion
Share your experience or ask a question. Comments are reviewed before publication.