
Assembling a modular open shelf rack from scratch is an excellent way to maximize vertical storage space, especially in compact apartments where floor area is at a premium. The process is highly manageable as a DIY project, requiring no professional installation fees if you follow a systematic approach. By preparing your workspace, verifying your components, and building the structure from the ground up, you can ensure a stable, level, and safe shelving unit. This guide provides a comprehensive walkthrough to help you successfully assemble your modular open shelf rack, from the initial measurements to the final safety checks.
Preparation and Space Assessment
Before unboxing your new open shelf rack, you must carefully evaluate the designated installation area. Start by measuring the exact floor width, depth, and height of the space where the rack will stand. In many modern apartments, skirting boards along the base of the wall can prevent a tall rack from sitting completely flush against the wall; factor this small gap into your depth measurements. Additionally, check for wall obstructions such as electrical outlets, light switches, air conditioning conduits, or low-hanging light fixtures that might interfere with the vertical frame.
Once the space is cleared, unbox the components carefully and verify every item against the manufacturer’s inventory list. Group similar parts together: vertical uprights, horizontal shelf panels, corner connectors, screws, and safety brackets. Identifying a missing fastener or a damaged panel before you begin assembly prevents frustrating delays mid-build.
Products mentioned in this guide

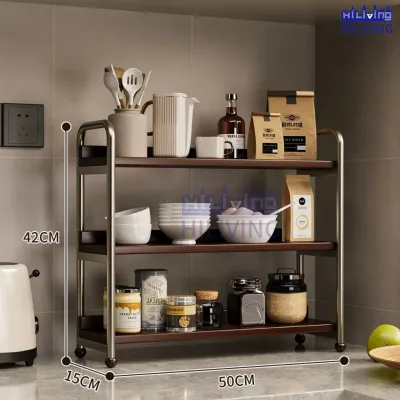
![[SG Seller]3-Tier Open Bookshelf Freestanding Storage Rack Metal Frame Bookshelf for Small Spaces](https://img.lazcdn.com/g/p/f837ce69e7c6a6f7d4894b4bd2f124dc.jpg_400x400q80.jpg_.webp)
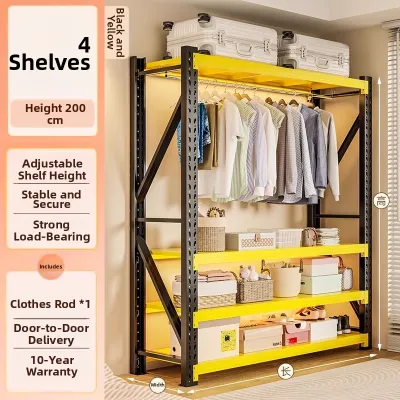
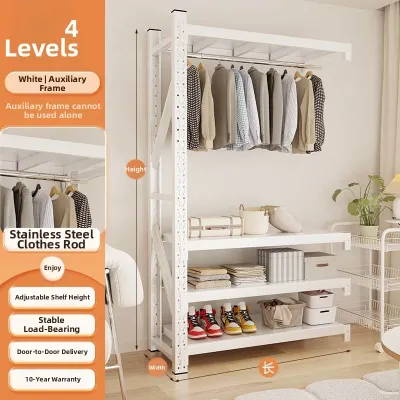
![[ASTAR] Open Bookcase/ Compartment Shelves/ Storage Walnut Oak White Grey Ash black](https://img.lazcdn.com/g/p/d1f4b72cd9d33442dc05136c26413820.jpg_400x400q80.jpg_.webp)
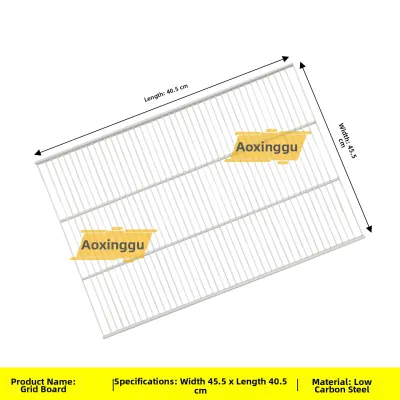
Prices are valid at publication and may change. Please refer to the product page for the latest price.
Finally, prepare your workspace by clearing a flat area that is slightly larger than the fully assembled rack. Lay down a protective barrier, such as the flattened cardboard packaging box, a clean tarpaulin, or a thick blanket. This protective layer prevents the metal or wooden shelf components from scratching your tiled, vinyl, or parquet flooring, and it also protects the finish of the shelving parts during handling.
Tools and Materials Checklist
While many modular shelving kits claim to require no tools, having a few basic hand tools nearby makes the assembly process significantly smoother and more precise. A rubber mallet is highly recommended for gently tapping tight joints into place without denting metal frames or chipping veneer finishes. You will also need a standard manual screwdriver—typically a Phillips head—to secure any locking screws or brackets. Avoid using high-torque power drills unless explicitly recommended by the manufacturer, as they can easily strip plastic connectors or cross-thread metal threads.

Always prioritize using the specific hardware, screws, and connectors provided in the product packaging. Substituting these with generic hardware from a local hardware store can compromise the structural integrity of the rack, as thread pitches and bolt lengths must match the pre-drilled holes exactly.
Additionally, keep a spirit level on hand to verify that each shelf tier is perfectly horizontal as you build upward. A soft, dry microfiber cloth is also useful for wiping away any manufacturing dust or grease from the joints, ensuring a clean, secure fit for all interlocking components.
Step-by-Step Assembly Process
Building a modular open shelf rack requires a disciplined, bottom-up approach to ensure the structure remains square and stable. The assembly process is divided into three distinct phases: constructing the base frame, installing the individual shelf tiers, and finalizing the structural connections. Skipping ahead or tightening fasteners prematurely can lead to a skewed frame that is difficult to correct later, so it is essential to follow the logical sequence outlined below.
Building the Base and Vertical Frames
The foundation of your open shelf rack dictates the stability of the entire unit. Begin by assembling the bottom base frame on your flat, protected workspace. Lay out the base rails and corner connectors, ensuring they form a perfect rectangle or square. When joining these initial pieces, make sure all corner joints are fully seated and flush; any slight misalignment at the base will amplify as the rack grows taller.
Once the base frame is secure, insert the first set of vertical poles or upright supports into the corner connectors. Push each upright down completely until it bottoms out inside the joint. If the fit is tight, do not force it by rocking the pole back and forth, as this can warp the connector.
Instead, use a rubber mallet to deliver gentle, vertical taps directly on top of the pole or connector. If you do not have a rubber mallet, place a block of wood or a folded cloth over the metal or plastic part before tapping it with a standard hammer to distribute the impact. Check that all uprights stand at a perfect ninety-degree angle to the floor before proceeding.
Installing the Shelves and Crossbars
With the base and lower uprights established, you can begin installing the horizontal shelf panels and lateral supports. Slide or snap the shelf support clips or brackets onto the vertical poles at your desired heights, ensuring that the clips on all four corners are set to the exact same level. Refer to the manufacturer’s spacing guidelines to ensure you do not exceed the recommended distance between shelves, which could compromise the load-bearing capacity.
Once the clips are positioned, lower the shelf panel onto them, pressing down firmly on each corner to lock it into place. If your modular kit includes crossbars, diagonal tension rods, or back braces, install them immediately after the first few shelf tiers are positioned. These lateral supports are critical for preventing the rack from swaying side-to-side under load.
Use your spirit level to check the horizontal alignment of each shelf tier from front to back and side to side. Adjust the connectors immediately if you detect any slope, as an uneven shelf will cause stored items to slide and distribute weight unevenly across the frame.
Securing and Finalizing the Structure
After reaching the desired height, attach the top frame or the final shelf panel to cap the vertical uprights. Ensure that all vertical poles are perfectly aligned and not bowing outward or pinching inward. If the uprights appear slightly curved, loosen the intermediate shelf connectors slightly, realign the frame, and then retighten them.
Next, systematically tighten all screws, bolts, or cam locks throughout the entire structure. Rather than tightening each fastener fully one by one, work in a cross-pattern—tightening opposite corners gradually—to distribute the tension evenly across the frame. This method prevents the frame from twisting out of alignment during the final tightening phase.
Conclude the physical build by performing a thorough visual and physical inspection. Run your hands along the joints to confirm there are no gaps between the connectors, poles, and panels. Every component should feel rigid and integrated, with no loose parts or rattling sounds when you gently shake the frame.
Safety Checks and Stability Verification
Before placing any items on your newly assembled open shelf rack, you must verify its stability and safety. Test the rack for wobble by applying gentle, lateral pressure to the top corners of the unit. If the rack sways, rocks, or lifts off the floor, inspect the base feet to ensure they are making even contact with the ground; many modular racks feature adjustable leveling feet that can be screwed in or out to compensate for uneven flooring.
Next, review the manufacturer’s specifications for weight limits and load distribution. As a general rule, always place the heaviest items on the bottom shelf to maintain a low center of gravity, and distribute weight evenly across each individual tier rather than concentrating it in the center.
Wall anchoring is highly recommended for any open shelf rack that is tall, narrow, or placed on an uneven surface. In homes with active children or pets, anchoring is an essential safety measure to prevent accidental tip-overs if someone attempts to climb or pull on the shelves. Use the anti-tip brackets provided in the kit, ensuring you select the correct wall plugs for your wall type—such as heavy-duty toggle bolts for drywall or masonry plugs for solid concrete walls.
If, after full assembly and tightening, any structural components remain loose, stripped, or visibly misaligned, do not attempt to load the shelves. Stop immediately, disassemble the affected section, and consult the manufacturer for replacement parts or technical guidance.
Customization and Maintenance Tips
One of the greatest advantages of a modular open shelf rack is its adaptability. Depending on the product’s design, you can reconfigure the shelf heights as your storage needs change, or purchase compatible modular extensions to expand the unit horizontally or vertically. When adjusting shelf heights, always unload the entire rack first to prevent structural strain or injury.
To keep your shelving unit in optimal condition, establish a simple routine maintenance schedule. Dust the shelves regularly with a dry microfiber cloth to prevent dirt buildup, and check the tightness of all fasteners and connectors every few months, as daily vibrations and temperature changes can cause screws to loosen over time.
Be mindful of the environmental conditions in your home. In humid climates, such as in Singapore, wooden or particle-board shelves can warp or develop mold if exposed to persistent moisture, while non-treated metal frames may rust. Avoid placing the rack in direct sunlight or highly humid areas like bathrooms or open balconies unless the manufacturer explicitly states that the materials are treated for outdoor or high-moisture environments.
Frequently Asked Questions (FAQ)
Do I need to anchor a modular open shelf rack to the wall?
Yes, wall anchoring is highly recommended for safety, particularly for racks that are tall, narrow, or top-heavy. If your shelving unit exceeds a height-to-depth ratio of 3:1, or if it is placed in a household with children or pets, anchoring is essential to prevent tip-over accidents. Always check the product manual for included anti-tip hardware and ensure you use wall anchors compatible with your specific wall material, such as concrete expansion plugs or drywall anchors.
How much weight can a standard modular shelf hold?
The weight capacity of a modular shelf varies significantly based on its construction materials, connector designs, and overall width. Heavy-duty industrial steel racks can support substantially more weight than lightweight plastic or particle-board units. To find the exact load limit, refer to the manufacturer’s specification label or instruction manual. Always distribute weight evenly across the shelf surface and place heavier items on the lowest tiers to keep the unit stable.
Can I disassemble and move the rack later?
Most modular open shelf racks are designed for easy disassembly and relocation. However, repeated assembly and disassembly can wear down plastic connectors, strip screw holes in wooden panels, or loosen friction-fit joints. To preserve the unit, reverse the assembly steps carefully, avoid using harsh prying tools that could chip or bend the components, and store all original hardware, connectors, and the instruction manual in a clearly labeled bag for future reconstruction.

Community discussion
Share your experience or ask a question. Comments are reviewed before publication.