
Assembling a modular metal rack shelf system from scratch is an efficient way to maximize storage space in your home, storeroom, or utility area. By understanding the structural logic of these systems and following a methodical installation process, you can build a stable, heavy-duty shelving unit using only basic hand tools.
This guide walks you through the entire process, from initial space planning to the final safety checks, ensuring your storage setup is secure, level, and ready for use.
Pre-Assembly Preparation and Space Planning
Before unboxing your new metal rack shelf, careful preparation of the physical environment is essential. Begin by measuring the exact floor footprint and ceiling height of the designated area. In many modern apartments, utility rooms or storerooms have tight dimensions with overhead obstructions such as light fixtures, electrical distribution boxes, or ventilation ducts. Ensure the fully assembled rack will not block access to these critical utilities, nor obstruct walkways or doors.
Products mentioned in this guide
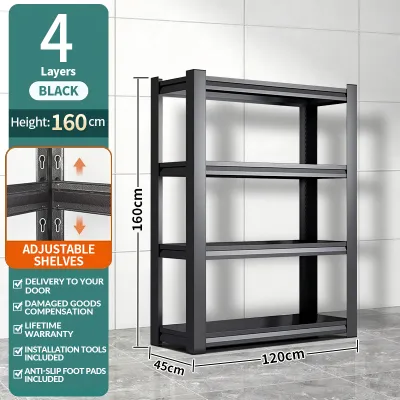
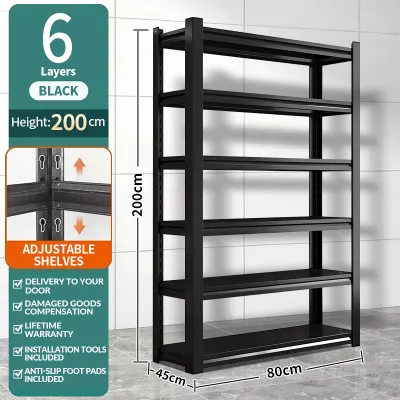
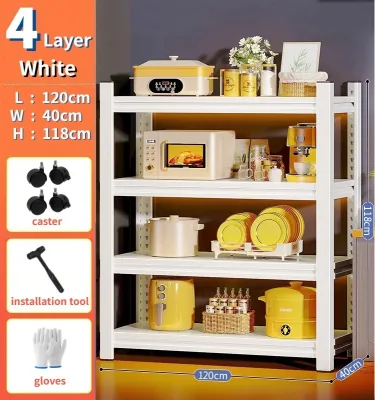
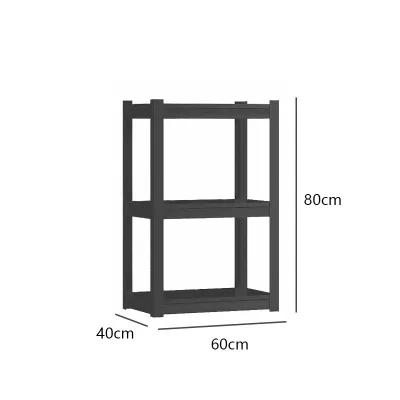
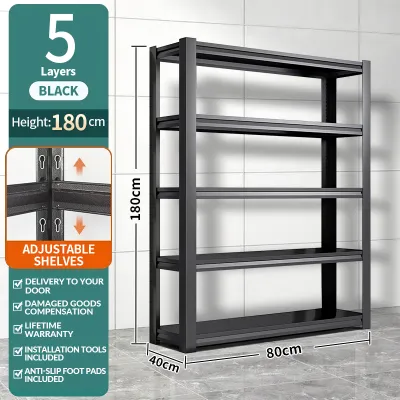
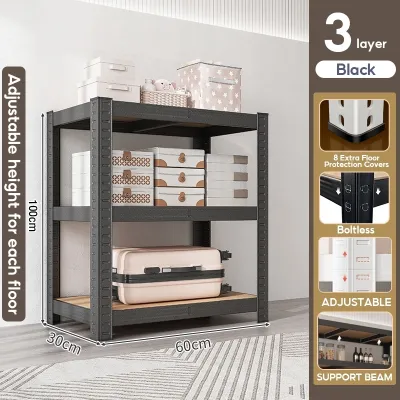
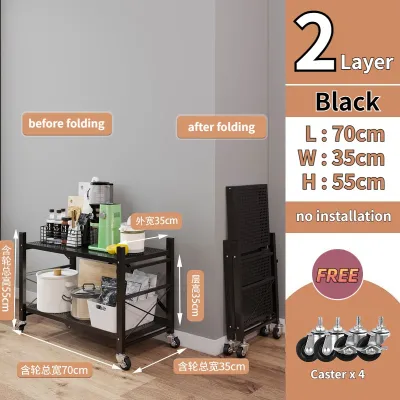
Prices are valid at publication and may change. Please refer to the product page for the latest price.
Next, consider how the components will reach the assembly site. If you live in a high-rise apartment, verify that the longest upright posts can fit inside the passenger lift or navigate tight stairwells. Once the components are in the room, clear the floor area to create a spacious workspace.
Laying down a protective barrier, such as thick cardboard from the packaging or a canvas drop cloth, is highly recommended. This protects your flooring—whether it is vinyl, parquet, or ceramic tile—from scratches and prevents the powder-coated or galvanized finish of the metal parts from chipping during handling.
Finally, evaluate the levelness of the floor. Concrete floors in utility areas often slope slightly toward floor drains. If the floor is noticeably uneven, a tall metal rack will lean, compromising its structural integrity. Identify whether your shelving kit includes adjustable leveling feet; if not, plan for metal shims to stabilize the base once the frame is erected.
Tools and Components Checklist
A successful assembly relies on organizing your parts and tools before you begin. Unpack all boxes carefully and group similar items together. Cross-reference every physical component—including upright posts, horizontal beams, shelf decks, support clips, and hardware—against the manufacturer’s packing list. Missing a single locking pin or corner bracket halfway through the build can halt your progress, so verifying the inventory upfront saves significant time.

While many modern modular metal racks feature boltless designs, you must still gather the basic tools required for your specific model. Boltless systems typically require a rubber mallet to seat the joints firmly without denting the metal or chipping the protective paint. Avoid using a standard metal hammer, as direct metal-on-metal impact can deform the keyhole slots or rivets.
For bolted systems, keep an adjustable wrench, a socket set, or a screwdriver nearby. Having a spirit level on hand is also highly beneficial for verifying that the structure remains perfectly plumb throughout the assembly.
During the inventory check, inspect each metal component for shipping damage. Look closely for bent connector tabs, warped uprights, or stripped threads on bolted models. If you notice any structural defects, set those pieces aside immediately. Attempting to force a bent tab into a slot can permanently damage the locking mechanism, making the entire unit unstable.
Step-by-Step Assembly Process
Constructing a modular metal rack shelf requires a systematic, bottom-up approach. The general sequence involves building a solid base, erecting the vertical frames, installing the intermediate shelves, and finally securing the top structure. Always keep the manufacturer’s instruction manual open nearby, as connection mechanisms can vary significantly between brands.
Building the Base and Vertical Frames
The foundation of your metal rack shelf determines the stability of the entire unit. Begin by connecting the bottom horizontal beams to the vertical upright posts to form the base frame. If your system uses a boltless keyhole or rivet design, insert the rivets into the corresponding slots at the very bottom of the uprights. Ensure that the narrow end of the keyhole slots points downward, as gravity is what locks the joints together.
Use your rubber mallet to tap the horizontal beams downward until they are fully seated in the slots. If you are assembling a bolted system, thread the nuts and bolts through the corner brackets loosely. Do not tighten them completely at this stage; keeping the connections slightly loose allows for minor adjustments as you square the frame.
Before moving upward, you must verify that the base is perfectly square. Use a tape measure to measure diagonally from the front-left corner to the back-right corner, and then from the front-right corner to the left-back corner. If these two diagonal measurements are identical, your base is square. If they differ, gently nudge the corners until the measurements match. A square base ensures that the vertical uprights remain parallel, preventing the shelves from binding or failing to fit later in the process.
Installing the Shelves and Crossbars
With the base established, you can begin installing the intermediate shelves and any required support crossbars. Determine the desired height for each shelf level based on the items you plan to store. It is highly recommended to install the lowest shelf as close to the ground as possible to lower the unit’s center of gravity and maximize stability.
For each shelf level, install the horizontal support beams or brackets first. Ensure that the clips or rivets on both sides of the beam are aligned at the exact same height on the upright posts. Count the slots on the uprights to guarantee perfect alignment; even a single slot difference will cause the shelf to tilt, leading to uneven load distribution. Once aligned, tap the beams securely into place with the rubber mallet.
If your modular system includes intermediate tie-bars or crossbars that run underneath the shelf decks, install them now. These bars prevent the main horizontal beams from bowing outward under heavy loads. Once the support structure for a level is secure, slide or drop the shelf deck—whether it is wire mesh, solid steel, or engineered wood—into place. Ensure the deck sits flush within the recessed edges of the beams. Keep all bolts or locking clips on the upper levels finger-tight until all shelves are positioned.
Securing the Top Structure and Final Tightening
The final phase of the physical build involves completing the top of the frame and securing all connections. Attach the top horizontal beams or braces to the vertical uprights. This completes the rigid, three-dimensional box structure and prevents the uprights from splaying outward.
Once the top structure is in place, perform a comprehensive, systematic pass to tighten all connections. If you are working with a bolted system, use your wrench or screwdriver to tighten every bolt securely, working from the bottom up in a diagonal pattern to distribute tension evenly. For boltless systems, give each joint a final, firm tap with the rubber mallet to ensure all rivets are completely bottomed out in their slots.
Finally, install any protective accessories included with your kit. This includes popping plastic or rubber end caps onto the sharp top edges of the upright posts to prevent accidental cuts. If your kit includes adjustable foot pads, screw them into the bottom of the uprights and adjust them until the entire unit is level, using your spirit level as a guide.
Stability Checks and Safety Adjustments
Once assembly is complete, you must verify the structural integrity of the metal rack shelf before placing any items on it. Physically grasp the frame at chest height and give it a gentle shake. The unit should feel rigid and resist swaying. If you detect any wobbling, re-check the levelness of the floor and adjust the leveling feet or add shims under the uprights until the movement stops.
For tall shelving units, wall anchoring is a critical safety step that must not be overlooked. This is especially important in households with children or pets, where the risk of a tip-over accident is high. Review the manufacturer’s instructions for securing the rack to the wall. Depending on your wall type—whether concrete, brick, or drywall—you will need to use appropriate wall plugs and brackets. Secure the anchor brackets to the top rear uprights of the rack and fasten them firmly to the wall structure.
If during your stability check you discover that any joint feels loose, a bolt has stripped, or a locking tab fails to engage securely, do not load the shelf. Stop using the unit immediately and consult the manufacturer or seller for replacement parts. Operating a compromised metal rack can lead to sudden structural failure.
Customization and Load Distribution Tips
To maximize the lifespan of your modular metal rack shelf and ensure safe daily operation, follow proper loading and customization principles. Always distribute weight evenly across the entire surface of each shelf rather than concentrating heavy items in the center. Concentrated loads can cause the shelf decks or support beams to bow permanently, weakening the steel over time.
Always place your heaviest items on the lowest shelves. Keeping the bulk of the weight near the floor lowers the overall center of gravity, making the entire system significantly more stable and resistant to tipping. Reserve the higher shelves for lighter, bulkier items that are easier to lift and retrieve safely.
When customizing the shelf heights, ensure there is adequate clearance above each item to allow you to lift and slide it out without scraping the shelf above. Finally, never guess the load capacity of your shelving unit. Refer strictly to the product label, packaging, or manufacturer’s manual for the maximum weight limit per shelf and the total weight limit for the entire unit. Exceeding these specified thresholds can lead to catastrophic collapse, regardless of how sturdy the metal components appear.
Frequently Asked Questions (FAQ)
Can I assemble a metal rack shelf alone?
While assembling smaller, low-profile utility racks is entirely feasible for a single person, constructing taller or heavier modular systems is much safer and easier with two people. Having a second person to hold the vertical uprights steady prevents them from tipping over or twisting while you install the first few horizontal beams. This cooperative approach ensures the frame remains square and reduces the risk of injury or damage to your flooring during the initial stages of the build.
What should I do if the shelf clips do not lock into place?
If a shelf clip or rivet refuses to seat properly in the upright slot, first check for any debris, paint buildup, or metal burrs inside the slot. Ensure that the upright post is perfectly vertical and not twisted, as misalignment can prevent the clip from engaging.
If the slot is clear, use a rubber mallet to tap the clip down evenly. If you observe that the metal tabs or clips are visibly bent, warped, or deformed, do not attempt to force them. Stop the assembly and contact the manufacturer or seller to obtain replacement components.

Community discussion
Share your experience or ask a question. Comments are reviewed before publication.