
Assembling a modular heavy duty shelf to achieve its maximum load capacity requires a systematic approach focused on structural alignment, precise leveling, and secure anchoring. Whether you are setting up storage in a residential household storeroom, a home bomb shelter, or a garage, a heavy duty shelf must be built from the ground up with strict adherence to manufacturer specifications. Skipping steps or tightening fasteners prematurely can lead to a skewed frame, which dramatically reduces the unit’s weight tolerance and increases the risk of structural failure.
By preparing your workspace, assembling the components in a logical sequence, verifying that the frame is perfectly square, and anchoring the unit securely, you ensure that the shelving system remains stable and safe under heavy loads.
Pre-Assembly Preparation and Safety Checks
Before unboxing any components, it is essential to prepare the physical environment and verify that all necessary parts are present. Begin by clearing a spacious, flat work area that allows you to lay out the uprights, beams, and shelving panels without obstruction.
Products mentioned in this guide
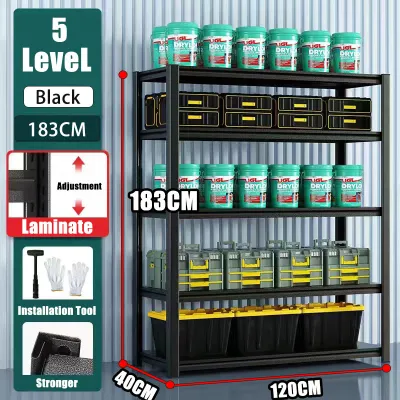
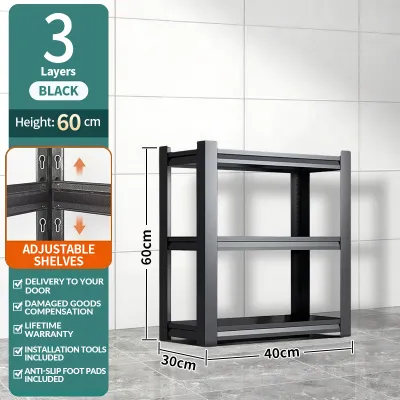
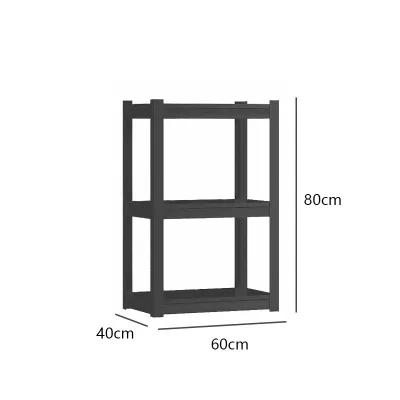
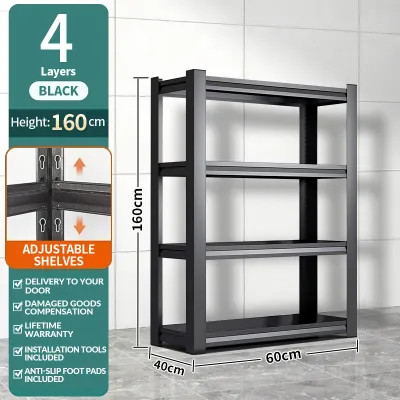

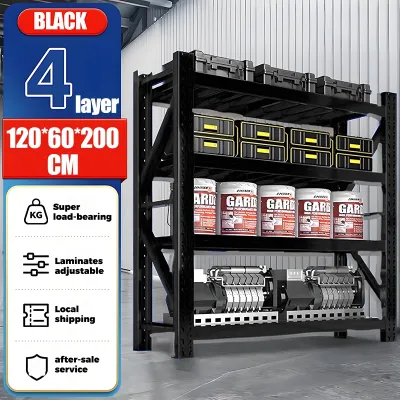
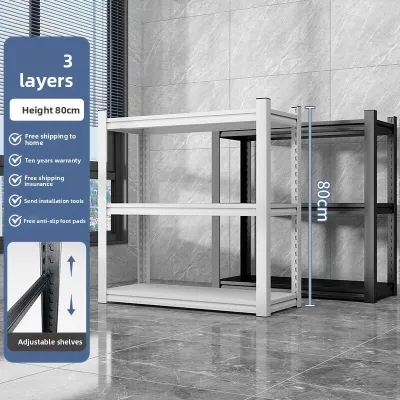
Prices are valid at publication and may change. Please refer to the product page for the latest price.
In typical apartments where space can be tight, clearing a dedicated zone in the living room or hallway before moving the assembled unit into its final location is highly recommended. Ensure the pathway to the final installation site is completely clear of obstacles, and measure your doorways and ceilings to confirm the fully assembled frame can easily pass through.
Next, perform a thorough inventory check. Lay out all upright frames, horizontal beams, support ties, shelf decks, base plates, and fastening hardware. Cross-reference every item with the manufacturer’s parts list included in the manual.
If any bolts, locking pins, or structural braces are missing or visibly damaged, halt the assembly immediately and contact the supplier. Attempting to substitute standard hardware for specialized high-tensile fasteners can compromise the structural integrity of the entire system.
The floor surface itself plays a critical role in the shelf’s ultimate load capacity. Use a spirit level to assess the levelness of the floor where the shelf will permanently stand. Uneven floors concentrate the weight of the loaded shelf onto fewer contact points, which can cause individual uprights to buckle or slide.
If the floor has a slight slope, prepare compatible metal shims or adjustable leveling feet as specified by the manufacturer. Additionally, verify that the floor material can support the concentrated weight of a fully loaded shelf; concrete floors are ideal, whereas delicate tiles or soft vinyl may require load-spreading pads underneath the base plates to prevent cracking or indentation.
Step-by-Step Assembly Process
Building a heavy duty shelf is a progressive task that requires patience and precision. The most common mistake during assembly is tightening all bolts and connectors as you go. This locks the frame into a rigid, potentially skewed shape before the entire structure is complete, making it difficult to fit the remaining shelves and reducing the overall stability.

To avoid this, follow the “finger-tight” rule: assemble all components loosely first, allowing the frame to remain flexible enough for minor adjustments, and only perform the final tightening once the entire structure is fully erected, leveled, and squared.
Erecting Uprights and Base Connections
The foundation of any modular heavy duty shelf lies in its vertical uprights and base plates. Start by attaching the base plates or foot pads to the bottom of each upright frame. These plates distribute the vertical load over a larger surface area and provide the necessary holes for floor anchoring.
Ensure that the base plates are oriented correctly according to the manual, as incorrect placement can prevent the shelf from sitting flush against a wall or block access to anchor holes.
Once the base plates are attached, position two upright frames parallel to each other. If you are working alone, lean them carefully against a wall or enlist a helper to hold them steady.
Connect the lowest horizontal and diagonal braces near the bottom of the uprights using the provided bolts or locking pins. Tighten these connections only by hand or with a manual wrench until they are finger-tight. This creates a stable, self-standing base frame while leaving enough play in the joints to allow for alignment adjustments in the subsequent steps.
Installing Beams and Shelf Decking
With the vertical frames standing, you can begin installing the horizontal crossbeams that will support the shelves. Start from the bottom level and work your way upward.
Slot or bolt the first pair of crossbeams into the uprights at your desired height, ensuring that both the front and rear beams are positioned at the exact same height increment. Most heavy-duty shelves use a keyhole or tab-and-slot system; ensure that the tabs are fully seated in the slots by tapping them gently with a rubber mallet if recommended by the manufacturer.
After securing the bottom beams, install the remaining beam levels at regular intervals. Keeping the vertical spacing between shelves relatively equal helps distribute structural stress evenly across the uprights.
Once the beams are in place, carefully position the shelf panels or wire decking onto the beam flanges. Check that each panel sits completely flush and flat within the beam step. If a panel does not fit smoothly or forces the uprights outward, do not force it; instead, gently adjust the alignment of the uprights until the panel drops into place naturally.
Final Tightening and Structural Squaring
Before tightening any fasteners, you must ensure the entire assembly is perfectly square and plumb. A shelf that leans even slightly to one side will experience lateral forces that can cause it to collapse under heavy loads.
Place a spirit level against the side and front of each upright to check for vertical plumb. Next, place the level along the horizontal beams to verify they are perfectly flat. If adjustments are needed, use compatible shims under the base plates to correct any floor-induced tilt.
To confirm the frame is perfectly square, use a tape measure to measure the diagonal distances between opposite corners of the frame (for example, from the top-left corner to the bottom-right corner, and vice versa). If the two diagonal measurements are identical, the frame is square.
If they differ, gently nudge the top of the frame in the direction of the longer measurement until they match. Once the frame is square and plumb, use the appropriate tools to torque all bolts and fasteners to the manufacturer’s specified tightness, working systematically from the bottom up.
Load Distribution and Anchoring for Maximum Capacity
Achieving the maximum rated load capacity of your heavy duty shelf depends heavily on how you distribute the weight of your stored items. Always follow the bottom-heavy loading principle: place your heaviest items, such as bulk liquids, heavy tools, or large storage crates, on the lowest shelf level.
This lowers the overall center of gravity of the unit, significantly reducing the risk of tipping. Lighter items, such as empty containers or seasonal decorations, should be placed on the upper shelves.
Wall anchoring is a critical safety measure that should never be skipped, particularly in homes with children, pets, or high foot traffic where accidental impacts can occur. Even a heavily loaded shelf can tip forward if a drawer is pulled out, if someone attempts to climb the frame, or during minor building vibrations.
Secure the uprights to the wall using heavy-duty wall anchors suitable for your wall type. For concrete or brick walls common in Singapore homes, use expansion bolts or masonry anchors. For drywall, locate the wooden or metal studs and secure the brackets directly into them; never rely solely on hollow-wall anchors for heavy-duty applications.
Additionally, avoid concentrated point loads on the shelf panels. If you must store small, extremely heavy items like metal car parts or dense weights, the concentrated pressure can cause individual shelf panels to sag or bend, even if the total weight is well below the shelf’s overall limit.
To prevent this, place a thick, load-spreading board, such as a sheet of marine plywood or a sturdy metal plate, across the shelf beams before placing the heavy object. This distributes the weight evenly across the structural crossbeams rather than concentrating it on a single point of the decking.
Post-Assembly Verification and Ongoing Maintenance
Once assembly and anchoring are complete, perform a physical stability test before loading any items onto the shelves. Grasp the uprights at shoulder height and apply moderate force to shake the unit forward, backward, and side-to-side.
The shelf should feel rigid and firmly anchored, with no visible wobbling, shifting at the base, or creaking joints. If you detect any movement, recheck the tightness of all fasteners and ensure the wall anchors are securely seated.
Heavy-duty shelving units are subject to constant stress, temperature fluctuations, and vibrations from daily use, which can cause fasteners to loosen gradually over time. Establish a routine inspection schedule—ideally once every six months—to check the structural integrity of the shelf.
During these inspections, visually inspect the frame for any signs of wear, check that all locking pins are still securely in place, and use a wrench to verify that bolts remain tight.
In humid environments, such as Singapore, metal components are also susceptible to moisture-induced degradation. Check for any signs of rust or paint peeling, especially around joints and base plates, and apply a rust-inhibiting treatment if necessary.
It is vital to recognize clear stop conditions that indicate the shelf is no longer safe to use. If you observe any visible bowing or sagging in the horizontal beams, joint separation between the beams and uprights, or hairline cracks in the metal or welds, immediately unload the shelf.
These symptoms indicate metal fatigue or overloading. Do not attempt to repair a structurally compromised beam or upright yourself; instead, replace the damaged components with official manufacturer parts or seek a professional assessment to prevent a catastrophic structural failure.
Frequently Asked Questions (FAQ)
Can I add extra crossbeams to increase the weight limit?
Adding extra crossbeams or shelves to a modular unit does not increase the overall weight capacity specified by the manufacturer. The maximum load capacity is determined by the structural strength of the vertical uprights and the load-bearing limit of the base connections. While adding more beams can provide more storage surfaces for lighter items, it actually adds dead weight to the frame, slightly reducing the remaining capacity for your stored goods. Always adhere strictly to the manufacturer’s rated weight limits and structural design to ensure safe operation.
Do I need to anchor the shelf if it is heavily loaded at the bottom?
Yes, wall anchoring remains necessary regardless of how the weight is distributed. While placing heavy items at the bottom lowers the center of gravity and improves basic stability, it does not eliminate the risk of tipping caused by accidental impacts, uneven floor settling, or lateral forces. In environments with high activity, children, or pets, an unanchored shelf remains a serious safety hazard. Securely anchoring the frame to a solid wall or floor is the only way to guarantee the unit will not tip over under unexpected physical contact.

Community discussion
Share your experience or ask a question. Comments are reviewed before publication.