
Assembling a modular bookshelf with doors is a highly practical way to maximise storage, protect your belongings from dust, and maintain a clean, clutter-free aesthetic. While flat-pack furniture offers incredible flexibility, achieving a perfectly aligned, sturdy finish requires a systematic approach. The process involves preparing a clean workspace, building a stable base, securing the frame to ensure structural squareness, hanging and adjusting the doors, and anchoring the unit safely to the wall. By following these steps methodically, you can avoid common alignment issues and ensure your shelving unit remains safe and durable for years to come.
When planning your layout, consider the delivery and assembly logistics. Standard residential spaces often feature tight corridors, passenger lifts, and specific doorway clearances. Fortunately, modular bookshelves are delivered flat-packed, allowing easy transport through narrow spaces. However, you must measure your designated room space carefully, ensuring there is sufficient clearance not only for the finished dimensions of the bookshelf but also for the swing radius of the doors.
Preparation: Tools, Space, and Part Inspection
Before opening any packaging, clear a flat floor area that is at least twice the size of the fully assembled bookshelf. Lay down the packaging cardboard or a soft blanket to protect both your flooring and the delicate laminate or veneer finish of the bookshelf panels. Working on a hard, unprotected surface can easily scratch the panels or chip the corners during assembly.
Products mentioned in this guide
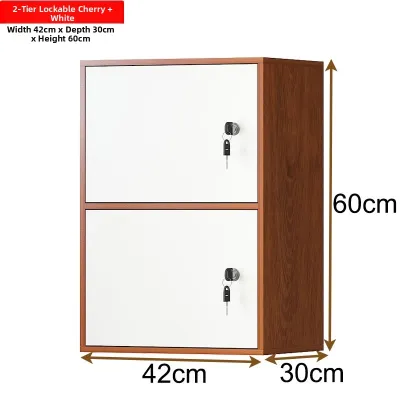
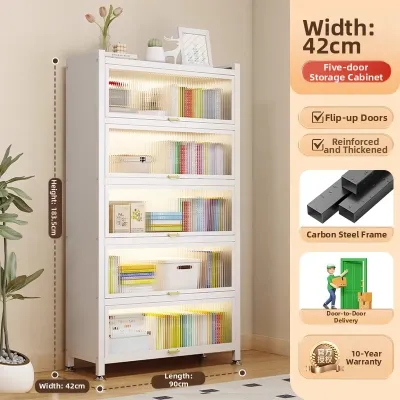
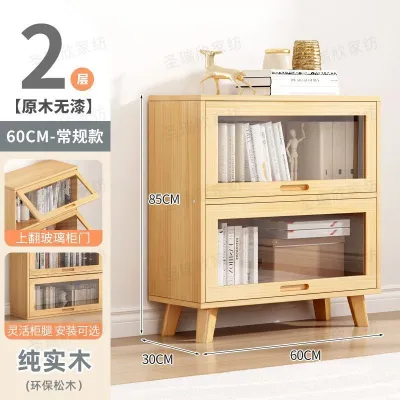
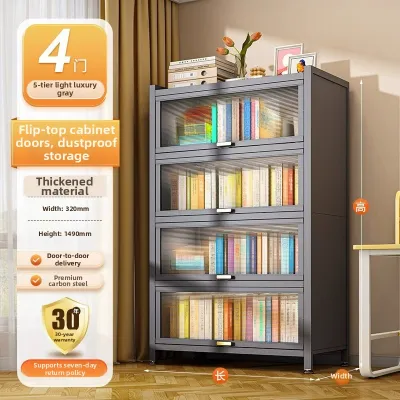
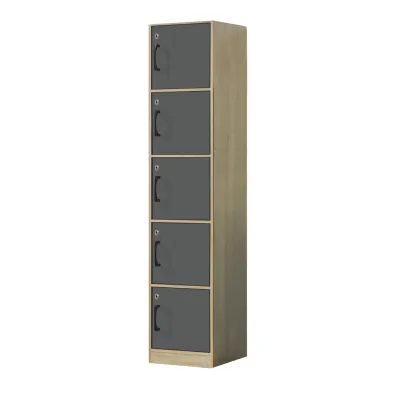
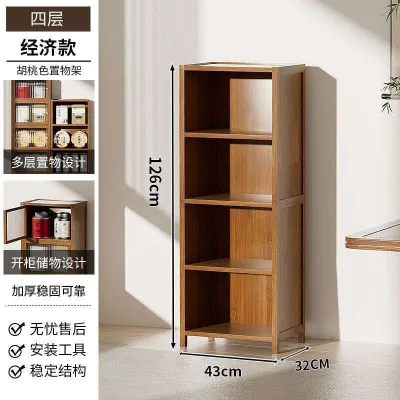
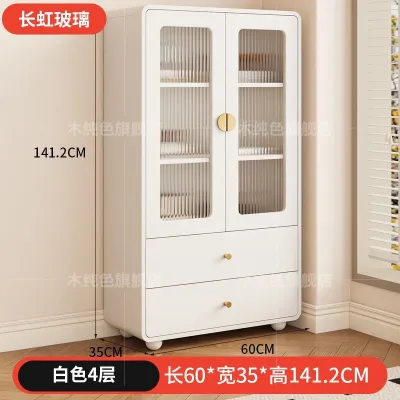

Prices are valid at publication and may change. Please refer to the product page for the latest price.
Gather all the necessary tools before you begin to keep the process efficient. You will need a manual Phillips-head screwdriver (typically a size 2), a rubber mallet, a tape measure, a spirit level, and a pencil. While a cordless drill or power screwdriver can speed up the process, you must use it with extreme caution. Set the tool to a very low torque setting; high torque can easily strip the pre-drilled holes in engineered wood like particleboard or medium-density fibreboard (MDF), permanently weakening the joints.
Unpack the hardware and sort the components into separate containers, such as small bowls or trays. Grouping screws, wooden dowels, cam locks, shelf pins, and hinges prevents small parts from rolling away or getting lost under packaging materials. It also allows you to quickly verify that you have the correct quantities before starting.
Finally, inspect all wooden panels for any transit damage, such as cracked corners or peeling edge bands. Cross-reference every panel and hardware piece with the manufacturer’s instruction manual. If any parts are missing or damaged, contact the manufacturer or retailer for replacements before proceeding, as attempting to assemble a compromised frame can lead to structural failure.
Building the Base Frame and Vertical Panels
The foundation of your modular bookshelf dictates the stability of the entire structure. Begin by attaching the base plinth or adjustable feet to the bottom panel. In humid climates, elevating the wooden frame slightly off the floor is crucial to prevent moisture absorption and subsequent swelling of the engineered wood core during routine floor cleaning.

Next, prepare the bottom and side panels by inserting the wooden dowels and screwing in the cam lock pins. Wooden dowels provide essential shear strength and alignment, while the cam lock system pulls the panels tightly together. Gently tap the wooden dowels into their designated holes using a rubber mallet; never use a metal claw hammer, which can easily split the wood or damage the laminate finish.
With the dowels and pins in place, connect the side panels to the bottom and top boards. Align the pre-drilled holes carefully and slide the panels together. Insert the cam lock nuts into the large circular recesses on the inner faces of the panels, ensuring the arrow on each nut points directly toward the incoming cam pin.
Turn the cam lock nuts clockwise using a manual screwdriver until you feel firm resistance, which indicates a locked joint. Avoid overtightening or using a power drill for this step, as excessive force can crack the surrounding board or pull the metal pin out of its housing. Once the main outer frame is connected, use a spirit level to verify that the base is perfectly horizontal. If the floor is uneven, use adjustable feet or shims to level the unit before building further.
Installing Shelves and Back Panels for Structural Squareness
With the outer frame assembled, insert any fixed shelves specified by the modular design. Unlike adjustable shelves, fixed shelves act as structural stretchers that hold the side panels parallel and prevent them from bowing outward under heavy loads. Secure these shelves firmly using the hardware provided, ensuring all joints are flush with the front and rear edges of the frame.
Once the internal structural shelves are secure, it is time to install the back panel. Many DIYers treat the back panel as a cosmetic backing, but it is actually the most critical element for structural stability. Without a properly secured back panel, the bookshelf will suffer from “racking”—a lateral shifting that causes the unit to lean, wobble, and eventually collapse under weight.
Slide the back panel into the routed grooves of the side panels, or lay it flat against the rear edges of the frame, depending on the manufacturer’s design. Before nailing or screwing the back panel in place, you must perform a diagonal squareness check. This step is essential for ensuring the doors will align properly later.
To perform the squareness check, use a tape measure to measure diagonally from the top-left outer corner of the frame to the bottom-right outer corner. Then, measure from the top-right corner to the bottom-left corner. If the two measurements are identical, your frame is perfectly square. If they differ by even a few millimetres, gently push the top corner of the longer side until the measurements match. Once the frame is square, secure the back panel with the provided nails or screws, spacing them evenly around the perimeter.
Attaching Doors and Hinges: Alignment and Adjustment Tips
Hanging and aligning the doors is often the most challenging part of the assembly process. Most modern modular bookshelves use European-style concealed hinges, which are highly adjustable but require precision during installation.
Start by mounting the hinge base plates to the pre-drilled holes on the inside of the side panels. Next, insert the round hinge cups into the large circular recesses on the back of the doors. Ensure the hinge arms are perfectly perpendicular to the door edge before tightening the securing screws.
To hang the doors, align the hinge arms on the door with the mounting plates on the frame. Depending on the hinge design, you will either slide the arm onto the plate and tighten a locking screw, or clip them together until you hear a distinct click. To prevent placing excessive stress on the hinge screws and the wood, always have a second person support the weight of the door panel while you secure the hinges.
Once all doors are hung, they will likely look uneven or fail to close completely. European hinges feature three distinct adjustment screws that allow you to fine-tune the alignment in three dimensions:
- Lateral (Side-to-Side) Adjustment: The screw closest to the door panel adjusts the gap between double doors or between the door and the frame. Turning this screw clockwise moves the door closer to the side panel, while turning it counter-clockwise moves it toward the center.
- Vertical (Height) Adjustment: The screws on the mounting plate itself allow the hinge to slide up or down. Loosen these screws slightly on both hinges, slide the door to the correct height so the top and bottom edges align with the frame, and then retighten the screws.
- Depth (In-and-Out) Adjustment: The screw located at the rear of the hinge arm moves the door closer to or further from the cabinet frame. This adjustment corrects any bowing or gaps when the door is closed, ensuring the doors sit flush against the frame without rubbing.
Adjust these screws in small, half-turn increments. Close the doors after each adjustment to check the alignment, and continue tweaking until the gaps are uniform and the doors operate smoothly.
Common Assembly Mistakes and How to Avoid Them
Avoiding common pitfalls during the DIY process will save you time, prevent frustration, and protect your furniture from permanent damage. Keep these critical points in mind as you work:
- Skipping the Instruction Manual: Assuming all modular shelving units assemble the same way is a recipe for error. Always follow the step-by-step sequence in the manual, as skipping ahead can result in trapped panels or reversed components that require complete disassembly to fix.
- Forcing Misaligned Joints: If a wooden dowel or panel does not slide into place easily, do not force it with a hammer. Forcing misaligned parts can split the engineered wood core or punch a hole through the outer laminate. Remove the panel, check for blockages or misaligned pins, and try again gently.
- Neglecting the Squareness Check: Skipping the diagonal measurement check before securing the back panel is a common mistake. A non-square frame results in a trapezoidal opening, making it physically impossible to align the doors properly, no matter how much you adjust the hinges.
- Ignoring Door Swing Clearance: When placing modular units side-by-side or near walls, fail to account for the door swing radius. Ensure there is adequate clearance for the doors to open past 90 degrees without hitting adjacent walls, light switches, or other furniture.
- Stripping Hinge Screws: Using the wrong size screwdriver bit or applying excessive torque with a power drill can easily strip the adjustment screws on European hinges. Always use a manual screwdriver of the correct size for hinge adjustments to maintain precise control.
Final Inspection and Safety Anchoring
Once the assembly is complete, conduct a thorough final inspection. Open and close each door several times to ensure they operate smoothly without squeaking, rubbing, or catching. If your bookshelf features soft-close mechanisms, adjust the tension settings on the hinges according to the manufacturer’s guidelines to achieve the desired closing speed. Wipe down all surfaces with a clean, dry microfiber cloth to remove manufacturing dust, wood shavings, and fingerprints.
Before loading any items onto the shelves, you must secure the unit to the wall using anti-tip safety hardware. Tall modular bookshelves, especially those with doors, carry a significant risk of tipping forward. When doors are opened, the center of gravity shifts outward; loading heavy books on upper shelves further increases this instability, posing a serious safety hazard.
Select the appropriate wall anchors based on your specific wall material. Never rely on standard wood screws driven directly into plaster or drywall. Follow the manufacturer’s safety hardware guidelines carefully to ensure a secure installation:
- Concrete or Masonry Walls: Common in many modern apartments and high-rise developments, these solid walls require a hammer drill, a masonry drill bit, and plastic wall plugs (masonry anchors) to secure the brackets firmly.
- Drywall Partitions: For hollow stud walls, use heavy-duty toggle bolts or hollow wall anchors that expand behind the plasterboard to distribute the weight safely.
- Timber Studs: If you are mounting to a drywall partition with timber studs, use a stud finder to locate the wooden studs and secure the safety brackets directly into the timber using heavy-duty wood screws.
Once the safety brackets are anchored, test the stability of the bookshelf by gently pulling forward on the top frame. It should remain completely rigid and flush against the wall. You can now safely arrange your books and decorative items, placing heavier objects on the lower shelves to maintain a low center of gravity.
Frequently Asked Questions (FAQ)
How do I fix misaligned doors on my newly assembled bookshelf?
Misaligned doors are almost always caused by minor structural shifts or unadjusted hinges. First, verify that the bookshelf is completely level on the floor using a spirit level, as an uneven base twists the frame. If the frame is level, use the three adjustment screws on the European-style concealed hinges to correct the alignment. Turn the lateral screw to adjust side-to-side gaps, loosen the mounting plate screws to slide the door up or down, and turn the depth screw to bring the door flush with the frame. Make small, half-turn adjustments and test the doors frequently.
Can I assemble a modular bookshelf with doors alone?
While you can assemble the base frame, insert the wooden dowels, and install adjustable shelves by yourself, having a helper is highly recommended for the other stages. Aligning and securing a large back panel is difficult to do alone without the frame shifting out of square. More importantly, hanging the doors requires a second person to hold the heavy door panels perfectly steady and aligned while you secure the hinge arms to the mounting plates. Attempting to hang doors alone can strain the hinges and strip the pre-drilled screw holes in the wood.

Community discussion
Share your experience or ask a question. Comments are reviewed before publication.