
Finding a sticky, dust-covered felt pad sliding off a chair leg is a common frustration for many homeowners. Instead of protecting your beautiful parquet, vinyl, or polished marble floors, a failed sticker leaves behind a stubborn adhesive residue that attracts dirt and can actually cause scratches. Keeping these protective pads firmly in place requires more than just peeling and sticking. It demands proper surface preparation, the right choice of material, and a patient curing process.
In Singapore’s warm and humid climate, adhesive failure is particularly common. High humidity can interfere with the bonding process of pressure-sensitive adhesives, while daily air conditioning can cause subtle wood expansion and contraction. By understanding why these stickers fail and following a systematic application method, you can ensure your furniture glides smoothly and quietly without constant maintenance. Spending a few S$ on quality protectors and applying them correctly can save you thousands of dollars in professional floor restoration down the road.
Why Felt Stickers Peel Off Prematurely
To prevent felt stickers from peeling, it helps to understand why they fail in the first place. The primary culprit is almost always poor surface contact. When furniture legs are manufactured, they are often treated with oils, varnishes, waxes, or industrial release agents. These substances create a slick barrier that prevents the sticker’s adhesive from grabbing the actual wood or metal surface. Even if the leg feels dry to the touch, microscopic chemical residues can compromise the bond over time.
Products mentioned in this guide
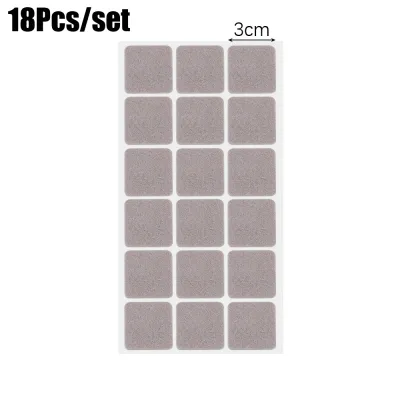
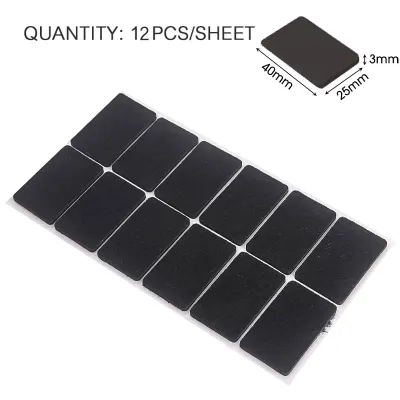
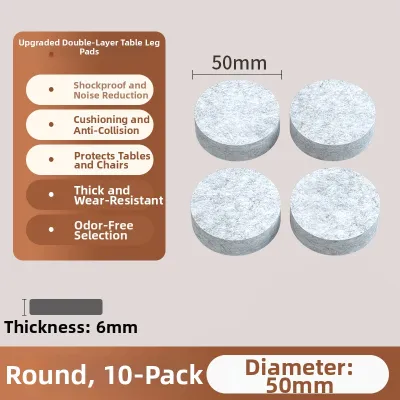
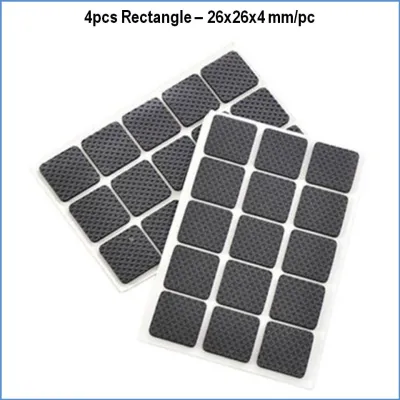
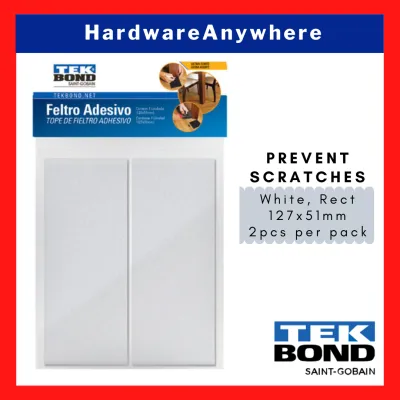
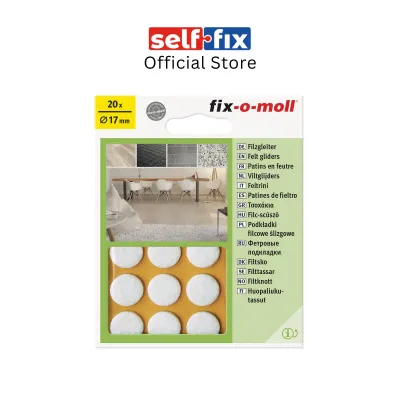
Prices are valid at publication and may change. Please refer to the product page for the latest price.
Accumulated dust and debris are another major cause of adhesive failure. If a chair has been dragged across the floor prior to installing the pads, the bottom of the leg will have gathered a fine layer of household dust, pet hair, and floor wax. Applying a sticker directly onto this dirty surface means the adhesive bonds to the loose dust particles rather than the solid leg. Within a few slides, the pad will shift, slide out of alignment, and eventually fall off entirely.
Furthermore, the physical forces exerted on furniture legs are immense. Every time a chair is pulled out or pushed in, lateral shear force is applied to the felt pad. If the adhesive has not had time to cure, or if the leg surface is uneven, this lateral force easily tears the pad away from its position. Many homeowners make the mistake of sitting on a chair immediately after applying new stickers, which forces the fresh adhesive to slide before it has established a permanent grip.
Tools and Materials You Will Need
Achieving a long-lasting bond requires gathering a few simple tools before you begin. Having these items on hand ensures you can clean, prep, and apply the pads efficiently without skipping crucial steps.

First, select high-quality felt stickers that match the size and weight of your furniture. For heavy dining tables, sideboards, or sofas, opt for thick, high-density felt pads that can support substantial weight without compressing flat too quickly. For lighter dining chairs or bar stools, standard-density pads are usually sufficient. Always measure the diameter or width of the furniture leg bottom first; using a pad that is too large will result in overhanging edges that catch on rugs and peel off.
Next, you will need rubbing alcohol (isopropyl alcohol) or a specialized, non-oily surface cleaner. Avoid using standard household dish soaps or multi-purpose sprays, as many of these leave behind a thin chemical film or moisturizing agents that actively repel adhesives. Rubbing alcohol is ideal because it cuts through grease and evaporates almost instantly, leaving a completely clean surface.
You will also need a clean, lint-free cloth, such as a microfibre towel, to wipe down the legs. For older furniture or legs with rough, uneven wooden bottoms, keep some fine-grit sandpaper (around 220-grit or 320-grit) nearby. Finally, if you are using large felt sheets instead of pre-cut circles, a sharp pair of heavy-duty scissors or a utility knife will be necessary to cut precise shapes that match your furniture legs.
Step-by-Step Guide to Applying Felt Stickers
Following a structured application process is the most effective way to guarantee your felt protectors stay attached for years. Take your time with each step to ensure the adhesive achieves maximum contact.
Step 1: Clean the Bottom of the Leg Thoroughly
Begin by turning the furniture item upside down or tilting it securely to expose the bottoms of the legs. If there are old, worn-out felt pads or plastic glides already installed, pry them off carefully using a flathead screwdriver or a putty knife. Once the surface is clear of old hardware, dampen your lint-free cloth with rubbing alcohol and scrub the bottom of each leg vigorously. This step removes accumulated floor wax, dust, skin oils, and manufacturing residues that prevent a strong bond.
Step 2: Allow the Surface to Dry Completely
After scrubbing, let the furniture legs air dry completely. Even a tiny amount of moisture trapped under the adhesive will weaken the glue and cause the pad to slide off within days. In humid environments, wait at least five to ten minutes to ensure all alcohol or cleaning agent has fully evaporated from the wood pores or metal surface before proceeding.
Step 3: Peel the Backing Carefully
When you are ready to apply the pad, peel the protective paper backing off the felt sticker. Be extremely careful not to touch the exposed adhesive side with your bare fingers. The natural oils and moisture on your skin will instantly contaminate the glue, reducing its tackiness and overall lifespan. If you find it difficult to peel the backing, use a pair of clean tweezers or the tip of a utility knife to lift the edge.
Step 4: Center and Apply Firm Pressure
Align the sticker carefully over the center of the furniture leg. Once positioned, press the pad down firmly. Do not just tap it into place; use your thumb or the palm of your hand to apply strong, steady downward pressure for at least thirty seconds. This physical pressure is crucial because most furniture pads use pressure-sensitive adhesives, which require force to flow into the microscopic ridges and valleys of the leg surface. For larger pads, you can use a clean rubber mallet to gently tap the pad, ensuring even contact across the entire surface.
How to Handle Uneven or Rough Furniture Legs
Not all furniture legs are perfectly flat or smooth. Rustic wooden chairs, hand-carved tables, and certain metal frames often have rough, textured, or slightly concave bottoms. If you apply a standard adhesive felt sticker to an uneven surface, only a small fraction of the glue will make contact, leading to rapid failure.
For rough wooden legs, use your fine-grit sandpaper to gently sand the bottom surface until it is flat and smooth. You do not need to remove a significant amount of wood; just sand enough to take down high spots, splinters, and old varnish runs. Once sanded, wipe away all wood dust with your alcohol-dampened cloth and let it dry before applying the sticker.
If the leg bottom is slightly concave or has minor surface irregularities that cannot be easily sanded flat, choose thicker, heavy-duty felt pads. Thicker felt has more give, allowing it to compress and conform to minor surface variations while maintaining a flat contact profile with the floor.
In cases where the furniture legs are extremely uneven, heavily textured, or made of soft, porous wood that does not hold adhesive well, standard stick-on pads may not be suitable. For these challenging pieces, consider switching to screw-on or nail-on felt glides. These mechanical fasteners bypass the need for adhesive entirely, securing the felt pad directly into the leg with a central screw or nail, making them ideal for heavy-use dining chairs or heavy solid wood tables.
Curing Time and Post-Application Care
One of the most common mistakes is using the furniture immediately after applying new felt stickers. Pressure-sensitive adhesives do not bond instantly; they require time to flow, set, and cure.
For the best results, leave the furniture upside down or unloaded for at least four to twelve hours after application. This curing period allows the adhesive to establish a permanent, chemical bond with the leg material. If you must stand the furniture upright immediately, avoid dragging it or sitting on it. Place it gently in its final position and let it rest undisturbed.
After the curing period, perform a quick visual and physical check. Gently try to nudge the edge of each felt pad with your finger. If the pad feels rock-solid and does not shift, the adhesive has bonded successfully. If you notice any lifting at the edges, it is best to replace that specific pad immediately rather than waiting for it to collect dust and peel off entirely.
Over time, felt pads will naturally compress, wear down, and accumulate household debris. In rooms with hard floors, felt pads act like tiny brooms, sweeping up dust, pet hair, and small grit particles. Inspect the bottom of your furniture legs every few months. If you notice the felt has become hard, shiny, or embedded with dirt, it is time to replace them. Embedded grit can turn a protective pad into an abrasive surface, scratching your floors every time the furniture moves.
Frequently Asked Questions (FAQ)
Can I reuse a felt sticker if I apply it crookedly?
No, you should not attempt to reuse or reposition a felt sticker once it has been applied. Peeling the sticker off damages the delicate adhesive layer and stretches the felt fibers. Additionally, the sticky surface will immediately collect airborne dust and skin oils from your fingers during the removal process, severely reducing its tackiness. If you apply a pad crookedly, peel it off, clean any leftover residue from the leg with rubbing alcohol, and apply a brand-new sticker to ensure a secure, long-lasting bond.
Do felt stickers work on all types of flooring?
Felt stickers are highly effective on smooth, hard indoor surfaces such as hardwood, parquet, laminate, luxury vinyl tiles (LVT), and polished natural stone. However, they are not suitable for all flooring types. Avoid using felt pads on floors with deep, wide grout lines, highly textured rustic tiles, or outdoor concrete, as the rough surfaces will quickly shred the felt fibers and pull the stickers off. For carpeted floors, smooth plastic or Teflon glides are a much better choice, as they allow the furniture to slide without snagging the carpet fibers.
How often should I check or replace the felt pads?
As a general rule, you should inspect your felt pads every three to six months. The replacement frequency depends heavily on how often the furniture is moved and the weight it carries. Frequently used dining chairs in busy households may require new pads once or twice a year, whereas heavy, stationary items like sideboards or display cabinets may only need replacements every few years. Always replace a pad immediately if you notice it thinning, sliding out of alignment, or if it has accumulated embedded dirt and grit that could scratch your floors.

Community discussion
Share your experience or ask a question. Comments are reviewed before publication.