
Protecting your home’s flooring from scratches, scuffs, and gouges is a simple task that yields long-term benefits. Moving chairs, tables, and heavy sofas across hard surfaces like parquet, luxury vinyl, or polished marble can quickly wear down protective sealants and leave permanent marks. Applying a felt sticker to the base of each furniture leg provides a soft, durable barrier that absorbs impact and allows furniture to glide smoothly. To achieve a lasting bond that does not peel or slide off over time, you must follow a systematic process of surface preparation, precise sizing, and correct application.
While sticking a piece of felt onto a chair leg seems straightforward, many homeowners find that the pads fall off within a few weeks. This common issue is rarely a fault of the sticker itself, but rather a result of improper surface preparation or choosing the wrong pad thickness. By taking the time to clean the furniture legs, select the appropriate material density, and allow the adhesive to cure properly, you can ensure your floors remain pristine and your furniture moves silently.
Preparing Furniture Legs for Maximum Adhesion
Before you peel the backing off any felt sticker, the bottom of each furniture leg must be meticulously prepared. Pressure-sensitive adhesives require direct, uninterrupted contact with a clean, stable surface to form a secure bond. Any dust, loose wood fibers, wax, or old adhesive residue will act as a barrier, causing the sticker to slide off-center or peel away under the shear force of moving furniture.
Products mentioned in this guide
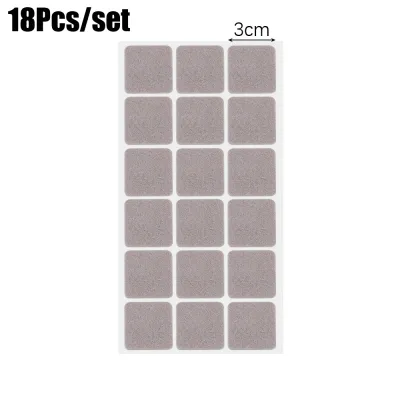
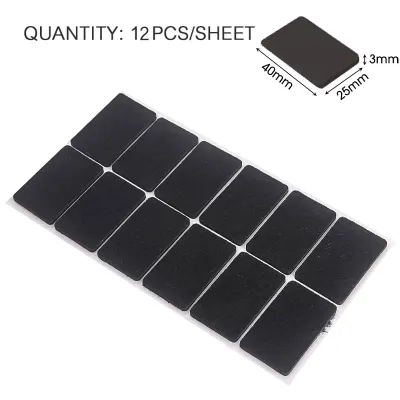
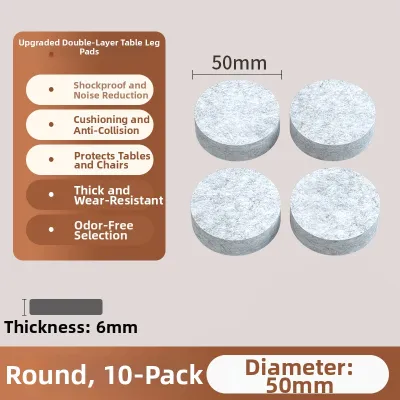
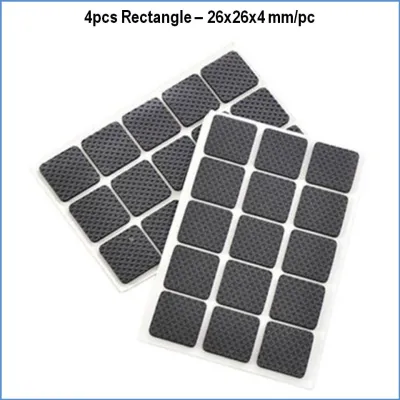
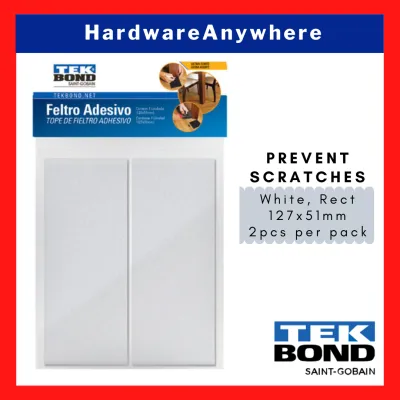
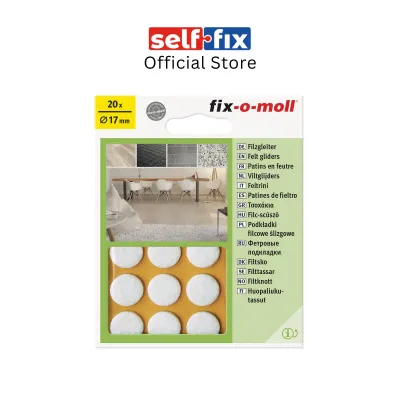
Prices are valid at publication and may change. Please refer to the product page for the latest price.
Begin by flipping the furniture upside down or laying it carefully on its side on a soft blanket or rug. This protects the tabletop or chair back from scratches while giving you clear, stable access to the bottom of the legs. Inspect the base of each leg closely. If the furniture is older, it may have existing plastic glides, metal domes, or remnants of old, flattened felt pads. These must be removed completely using a flat-head screwdriver, a pair of pliers, or a putty knife, taking care not to gouge the wood.
Once the old hardware is removed, assess the texture of the wood or metal. If the surface is rough, uneven, or splintered, use a fine-grit sandpaper to lightly sand the bottom of the leg until it is flat and smooth. This increases the surface area available for the adhesive to grip. After sanding, wipe away the fine wood dust with a dry microfiber cloth.
Next, clean the surface to remove grease, oils, and household wax. Dampen a clean cloth with a small amount of rubbing alcohol and wipe the bottom of each leg. Rubbing alcohol is highly effective because it cuts through oily residues and evaporates quickly without leaving a film. However, be careful to apply it only to the very bottom of the leg to avoid stripping or damaging the decorative varnish or paint on the visible sides. Allow the wood to dry completely for at least ten minutes before proceeding, as any trapped moisture will ruin the adhesive bond.
Selecting the Correct Felt Sticker Size and Type
Choosing the right felt sticker involves more than just picking a pack from a local hardware store or online marketplace. You must match the shape, thickness, and density of the felt to the specific weight of the furniture and the type of flooring in your home. Using the wrong type of pad can lead to rapid wear, floor damage, or an unsightly appearance.

First, evaluate the shape and size of the leg base. Felt stickers are widely available in pre-cut circles, squares, and rectangles. Select a shape that matches the leg profile as closely as possible. The sticker should be slightly smaller than the leg base—ideally leaving a tiny margin of about one to two millimeters around the edge. If the sticker is too large and overhangs the edge, it will collect dust, pet hair, and broom fibers, which quickly compromises the adhesive and looks untidy.
Second, consider the density and thickness of the felt. Heavy furniture, such as dining tables, solid wood sideboards, and large sofas, exerts immense downward pressure. For these items, look for heavy-duty, high-density felt pads that are at least three to five millimeters thick. Standard, soft felt pads will compress completely under heavy loads, offering virtually no cushioning and allowing the hard wood of the leg to scrape the floor. Lighter items, like dining chairs or side tables, can use standard-density felt pads.
Third, compare different attachment methods based on your furniture’s material and usage. While self-adhesive felt stickers are the most popular and easiest to install, they may not be suitable for all situations. For metal legs with hollow bottoms or very narrow wooden legs, slip-on silicone caps with integrated felt bottoms offer a more secure fit. For heavy wooden dining chairs that are dragged across the floor multiple times a day, nail-on or screw-on felt glides provide a permanent mechanical hold that cannot slide off, though they do require drilling small pilot holes into the legs.
Step-by-Step Application Process
Once your furniture legs are clean and dry, and you have selected the correct felt pads, you can begin the physical application. Following a precise technique ensures that the adhesive bonds evenly and the pad remains centered during daily use.
Start by preparing your workspace and organizing your materials. If you are using customizable felt sheets rather than pre-cut shapes, trace the outline of each leg onto the paper backing of the sheet. Use sharp heavy-duty shears or a utility knife to cut out the shapes. Clean, sharp cuts prevent the edges of the felt from fraying, which can catch on rugs and pull the pad loose.
Carefully peel the protective paper backing off the first felt sticker. It is crucial to avoid touching the exposed adhesive surface with your bare fingers. The natural oils, sweat, and dust on your skin will instantly transfer to the glue, significantly reducing its bonding strength. Instead, hold the sticker by its outer edges, or use the tip of a clean utility knife to position it.
Align the sticker precisely over the center of the leg base. Lower it gently onto the surface without pressing down immediately. This allows you to make minor adjustments if the alignment is slightly off. Once you are satisfied that the pad is perfectly centered and does not overhang any edges, press down lightly with your thumb to hold it in place.
To activate the pressure-sensitive adhesive, apply firm, even pressure across the entire surface of the felt pad. Press down hard with your thumb, moving in a circular motion from the center outward to the edges to force out any trapped air bubbles. For larger pads, you can place a flat block of wood over the felt and tap it gently with a mallet, or use a hand clamp to apply steady pressure for a few seconds. This ensures that every millimeter of the adhesive makes contact with the wood.
Finally, allow the adhesive to cure. This is the most overlooked step in the process. Do not immediately flip the furniture back over and begin using it. The adhesive needs time to flow into the microscopic pores of the wood and form a permanent bond. Leave the furniture upside down or unused for at least twelve to twenty-four hours. Placing weight on the pads or dragging the furniture before the adhesive has fully cured will cause the pads to slide off-center and fail prematurely.
Inspecting and Replacing Worn Felt Pads
Felt stickers are sacrificial wear items; they are designed to absorb friction and wear down over time so that your floors do not have to. To maintain continuous protection for your parquet or vinyl floors, you must establish a routine for inspecting and replacing these pads before they wear through completely.
Perform a quick visual inspection of your furniture legs every few months. Look closely at the thickness of the felt. Over time, the constant weight and movement will compress the fibers, turning a soft cushion into a hard, dense disc. If the felt looks shiny, flattened, or paper-thin, it has lost its cushioning ability and needs to be replaced immediately.
Another critical reason to inspect felt pads is the accumulation of debris. Felt is highly effective at trapping dust, pet hair, and small particles of grit or sand. If these abrasive particles become deeply embedded in the felt fibers, the pad essentially turns into a piece of sandpaper. Every time you slide the chair, you will be grinding that trapped grit directly into your floor’s finish, causing deep scratches. If a pad looks dirty or feels rough to the touch, replace it even if it is not fully compressed.
Watch for signs of adhesive failure. If you notice a sticky residue on your floor near a furniture leg, or if a pad has shifted off-center, the adhesive has failed. This often happens in humid environments or when furniture is dragged over uneven tile grout lines. A shifting pad exposes the bare wood of the leg, risking immediate floor damage.
When it is time to replace a pad, remove the old one safely to avoid damaging the furniture. Do not try to scrape a dry pad off with a sharp metal tool, as this can gouge the wood or strip the paint. Instead, use a hair dryer on a low, warm setting to gently heat the pad for thirty seconds. The heat softens the adhesive, allowing you to peel the pad off easily with your fingers or a plastic putty knife. Wipe away any remaining sticky residue with a cloth dampened with rubbing alcohol before applying a fresh sticker.
Troubleshooting Adhesion and Fit Issues
Even with careful preparation, you may occasionally encounter challenges when applying felt stickers. Understanding how to troubleshoot these common issues will save you time and protect your furniture from damage.
If you find that stickers repeatedly peel off painted, varnished, or metal legs, the surface finish may be too slick or uneven for standard adhesives. For painted or varnished wood, a very light scuffing with fine steel wool or 400-grit sandpaper can create a microscopic texture that helps the adhesive grip without ruining the look of the leg. For metal legs, ensure you have removed all manufacturing oils by wiping the surface thoroughly with rubbing alcohol or acetone, testing a small area first to ensure the solvent does not discolor the metal.
Managing non-standard or highly tapered leg shapes can also be difficult. If a chair leg meets the floor at an angle, a standard flat felt sticker will wear down unevenly on one side, leading to rapid failure. In this scenario, look for angled felt glides or flexible slip-on caps that adjust to the angle of the leg, ensuring the felt surface remains flat against the floor. Alternatively, you can cut custom shapes from a thick felt sheet to match the exact contact patch of the angled leg.
Dealing with stubborn adhesive residue left behind by old stickers is another common headache. If rubbing alcohol does not dissolve the sticky glue, you can apply a small amount of vegetable oil or a specialized adhesive remover to the spot. Let it sit for a few minutes to break down the adhesive, then scrape it away gently with a plastic scraper or an old credit card. Always wash the area with a mild soap and water solution afterward to remove any oily residue, and let it dry completely before applying a new felt sticker.
Frequently Asked Questions (FAQ)
Can I use felt stickers on all types of hard flooring?
Yes, felt stickers are highly versatile and safe for use on almost all hard flooring surfaces, including hardwood, engineered wood, laminate, luxury vinyl plank, and polished stone or marble. They are highly recommended for preventing scratches and reducing the noise of sliding furniture. However, on highly textured tile or natural stone floors with wide, deep grout lines, felt pads will wear down much faster due to the abrasive nature of the surface. For these floors, you should inspect the pads more frequently. Always check your flooring manufacturer’s care guidelines, as some warranties specify the exact types of protectors required to maintain coverage.
How often should I replace the felt stickers?
As a general rule, felt stickers on frequently moved furniture, such as dining chairs and bar stools, should be replaced every six to twelve months. For heavier, stationary furniture like sofas, beds, and sideboards, the pads can last for several years since they experience very little friction. However, you should replace any pad immediately if you notice it has compressed to less than half its original thickness, has become embedded with dirt or pet hair, or has started to slide off-center. Regular inspections are the best way to prevent unexpected floor damage.

Community discussion
Share your experience or ask a question. Comments are reviewed before publication.