
Applying felt pads to your furniture is one of the most effective ways to protect your floors from scratches, scuffs, and loud scraping noises. However, many homeowners find that these protective pads slide off, collect dust, or lose their grip after just a few weeks of use. Ensuring that felt pads stay securely attached requires proper surface preparation, selecting the correct pad type for your specific furniture, and allowing the adhesive to cure fully before subjecting it to weight and movement.
In environments with high humidity or frequent floor cleaning, standard adhesives can degrade quickly if not applied correctly. By taking the time to clean the contact surfaces, scuff smooth finishes, and apply even pressure, you can extend the life of your floor protectors significantly. This guide outlines the exact steps and techniques needed to achieve a long-lasting bond on any furniture piece.
Tools and Materials Needed for the Job
Before beginning the application process, gathering the right tools and materials will ensure a smooth and efficient workflow. Having everything prepared beforehand prevents interruptions and helps you achieve a professional-grade bond that stands up to daily wear and tear.
Products mentioned in this guide
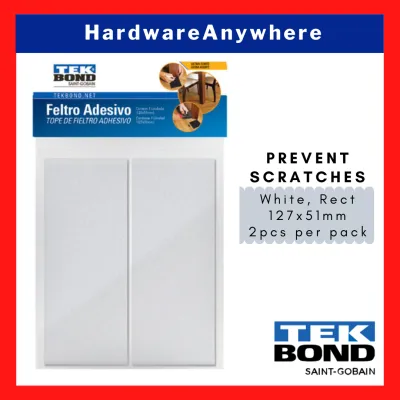
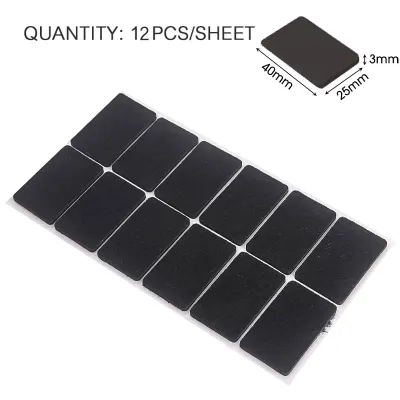
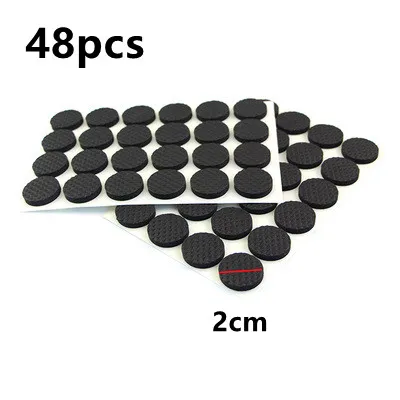
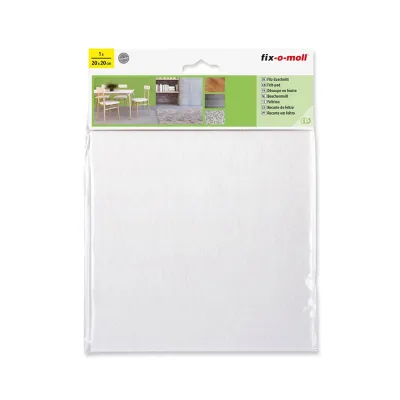
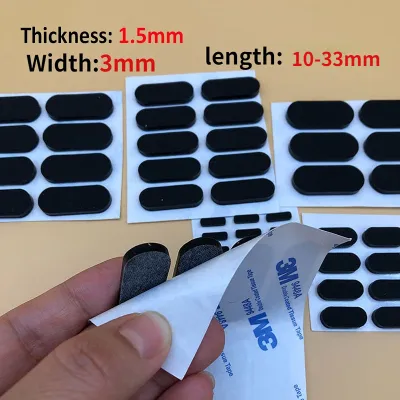
Prices are valid at publication and may change. Please refer to the product page for the latest price.
First, select the appropriate felt pads for your furniture. Heavy-duty adhesive felt pads are excellent for light to medium-weight items like dining chairs, side tables, and decor pieces. For heavier furniture or items with hollow metal legs, consider alternative options such as slip-on rubber caps with felt bottoms or tap-in felt glides. Keep a variety of sizes on hand, or purchase larger felt sheets that you can custom-cut to match unique leg dimensions.
Next, prepare your cleaning and surface modification supplies. You will need high-quality rubbing alcohol (isopropyl alcohol) to degrease the surfaces, along with a clean, lint-free microfiber cloth. Avoid using standard household glass cleaners or multi-surface sprays, as these often leave behind chemical residues or silicone slickness that prevents adhesives from bonding properly. Finally, keep a sheet of fine-grit sandpaper (such as 220-grit) nearby to prep glossy finishes, and a pair of sharp scissors or a utility knife for trimming the pads.
Step-by-Step Guide to Preparing Furniture Legs
The secret to long-lasting adhesion lies almost entirely in the preparation of the bonding surface. Dust, factory wax, wood oils, and old adhesive residue create a barrier between the furniture leg and the new pad, causing the adhesive to fail prematurely.

Start by removing any old, worn-out pads or leftover adhesive. If you are replacing old felt pads, peel away as much of the old material as possible. For stubborn, sticky residue, use a plastic scraper or a mild adhesive remover to clean the surface. If you use a chemical adhesive remover, ensure you wipe the area thoroughly afterward with a damp cloth to remove any chemical film, as these formulas are designed to break down adhesives and will ruin your new pads.
Once the physical residue is gone, degrease the bottom of each furniture leg. Pour a small amount of rubbing alcohol onto your microfiber cloth and scrub the contact area firmly. This step removes invisible oils from your hands, manufacturing residues, and floor wax that may have accumulated over time. Rubbing alcohol is the preferred cleaning agent because it cuts through grease effectively and evaporates rapidly without leaving any film behind.
After cleaning, allow the wood or metal to air dry completely. Applying adhesive to a surface that is even slightly damp will compromise the bond immediately. While the legs dry, inspect the texture of the contact surface. If the bottom of the furniture leg has a highly glossy, painted, or varnished finish, the adhesive may struggle to find a secure grip.
To solve this, use your fine-grit sandpaper to lightly scuff the bottom of the leg. You do not need to strip the finish entirely; a light sanding is sufficient to create microscopic ridges that give the adhesive a mechanical key to hold onto. After scuffing, use a dry microfiber cloth to wipe away all sanding dust before moving on to the application step.
How to Apply Adhesive Felt Pads Correctly
With the furniture legs clean, dry, and properly textured, you are ready to apply the adhesive felt pads. Following a precise application technique ensures that the pressure-sensitive adhesive activates fully and forms a permanent bond with the furniture material.
Begin by carefully peeling the protective paper backing off the felt pad. Avoid touching the exposed adhesive side with your bare fingers. The natural oils and moisture on your skin will immediately transfer to the glue, reducing its stickiness and shortening its lifespan. Hold the pad by its edges or use the tip of a utility knife to position it if necessary.
Align the pad centrally on the bottom of the furniture leg. Centering the pad is crucial because it ensures the weight of the furniture is distributed evenly across the felt surface. If a pad is applied off-center, its edges may overhang or tilt, causing it to catch on the floor when the furniture is dragged. This lateral friction will quickly peel the pad away from the leg.
Once aligned, press the pad firmly onto the leg. To activate pressure-sensitive adhesives, you must apply strong, continuous pressure across the entire surface of the pad. Use your thumb or the palm of your hand to press down hard for at least thirty seconds. For larger pads, you can place the furniture leg-side down on a clean flat surface and use the weight of the furniture itself to compress the adhesive, provided you do so gently and evenly.
Finally, allow the adhesive to cure undisturbed. This is the most common step where failures occur. Do not slide, sit on, or move the furniture immediately after application. The adhesive needs time to flow into the microscopic pores of the surface and set. For the best results, leave the furniture upside down or tilted for several hours, or ideally overnight, before placing it back in its normal position on the floor.
Adapting the Technique for Different Leg Shapes
Furniture legs come in a wide variety of shapes, sizes, and materials. Standard round felt pads may not fit every piece of furniture in your home, so adapting your application technique to match the specific leg shape is essential for maintaining floor protection.
For round or tapered legs, measure the actual contact surface at the very bottom of the leg rather than the wider section above it. If you cannot find pre-cut pads that match the diameter perfectly, select a larger pad and trim it down. Use sharp scissors to cut the pad slightly smaller than the leg’s bottom surface—aiming for about a one-millimeter clearance around the perimeter. This slight inset prevents the edges of the felt from catching on floor joints or rugs.
Square or rectangular legs require precise alignment to prevent overhang. When applying square pads, align the edges carefully with the flat sides of the leg. If the pad is slightly too large, do not let it overhang, as it will collect dust, pet hair, and lint, which gradually works its way under the adhesive and destroys the bond. Trim the edges of the pad at a slight inward angle to ensure a clean, flush fit.
Irregular, hollow, or heavily textured surfaces require a different approach. Metal hairpin legs, hollow plastic legs, or rough-hewn rustic wood legs often do not have enough flat surface area for adhesive pads to grip. For hollow metal or plastic legs, look for slip-on rubber caps with integrated felt bottoms, or insert cups that fit snugly inside the hollow opening. For rough, uneven wood where adhesives fail to stick, transition to tap-in or screw-in felt glides. When installing these mechanical fasteners, always pre-drill a small pilot hole to prevent the wooden leg from splitting.
Maintenance and Troubleshooting Fallen Pads
Felt pads are wear items that degrade over time due to friction, weight, and environmental factors. Establishing a simple maintenance routine will help you catch worn pads before they cause expensive damage to your flooring.
Inspect your furniture protectors every few months. Look closely at the pads on frequently moved items, such as dining chairs and bar stools. Check for severe flattening, which indicates the felt has lost its cushioning ability. Look for dirt, grit, or small pet hairs embedded in the fibers; these abrasive particles can act like sandpaper, scratching your floors even if the pad is still attached. If you notice any shifting or sliding of the pad, it is a sign the adhesive is failing and needs replacement.
When it is time to replace a pad, use safe removal techniques to protect the furniture’s finish. Avoid using sharp metal tools that can gouge the wood. Instead, use a plastic putty knife or an old plastic card to pry the pad away. If the adhesive is stubborn, apply gentle heat from a hair dryer for a few seconds to soften the glue, making it much easier to scrape away cleanly.
If you find that adhesive pads on a specific piece of furniture fail repeatedly despite proper preparation, evaluate the weight and usage of the item. Heavy dining tables, large armchairs, or furniture placed on textured tile floors with wide grout lines subject adhesive pads to extreme shear forces. In these scenarios, mechanical fasteners like screw-in felt glides are a far more reliable choice. Always verify that the furniture leg is sturdy enough to accept a screw or nail before installation.
Frequently Asked Questions (FAQ)
Can I use felt pads on all types of hard flooring?
Felt pads are highly versatile and generally suitable for most hard flooring surfaces, including hardwood, engineered wood, laminate, luxury vinyl tiles (LVT), and polished stone. They provide a soft, low-friction barrier that prevents scratches and scuffs. However, always check your specific flooring manufacturer’s care guidelines. For example, highly textured rustic tiles or rough grout lines can shred felt fibers quickly, while newly finished or sealed wood floors may require a specific curing period before any protectors can be safely placed on them.
How do I know when it is time to replace the felt pads?
You should replace your felt pads when you observe severe flattening, embedded debris, or shifting. If the felt has compressed into a thin, hard disc, it no longer provides adequate cushioning. Additionally, if you hear a scraping sound when moving the furniture, or if you notice pet hair and grit trapped in the fibers, replace the pads immediately to prevent those abrasive particles from scratching your floor. Heavy, frequently moved furniture will require more frequent replacements than stationary pieces.
What should I do if the adhesive leaves a sticky residue on my floor?
If a felt pad shifts and leaves sticky adhesive residue on your floor, clean it promptly to prevent dirt from sticking to the spot. Start with a gentle approach by wiping the area with a soft microfiber cloth dampened with warm, soapy water. For stubborn residue on wood or vinyl, check your flooring manufacturer’s approved cleaner list; a tiny amount of isopropyl alcohol or a specialized floor-safe adhesive remover can be used, but always test it first in an inconspicuous corner to ensure it does not dull or damage the floor’s finish. Avoid using abrasive scrubbing pads or harsh chemical solvents.

Community discussion
Share your experience or ask a question. Comments are reviewed before publication.