
Protecting your home’s flooring from the constant friction of chair legs, heavy tables, and sofas is a simple yet vital part of home maintenance. Properly applying and replacing felt pads on furniture legs ensures that your pieces glide smoothly across parquet, luxury vinyl tiles, or polished screed floors without leaving unsightly scratches or gouges. While the task seems straightforward, many homeowners struggle with pads that peel off prematurely, collect dust, or fail to provide adequate cushioning. Achieving a long-lasting bond requires careful surface preparation, the right tools, and a systematic application process. By taking the time to remove old adhesive completely and choosing the correct pad density, you can safeguard your floors and extend the lifespan of both your furniture and your flooring.
Tools and Materials Needed for the Job
Before beginning, gather all the necessary supplies to ensure a seamless transition from old, worn-out protectors to fresh felt pads. Having the right tools on hand prevents unnecessary delays and protects your furniture legs from accidental damage during the removal process.
For cleaning and surface preparation, keep isopropyl alcohol or a mild dish soap solution nearby. These agents are highly effective at cutting through grease, wax, and household dust without leaving a film that could compromise the new adhesive.
Products mentioned in this guide
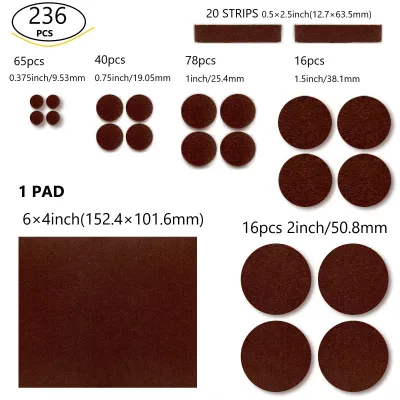
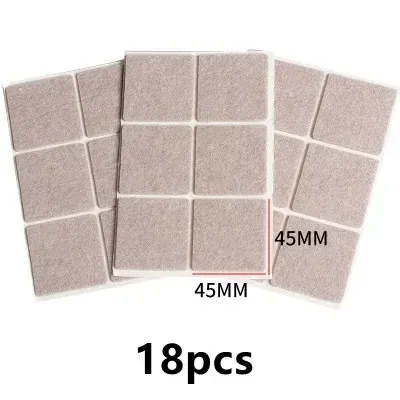
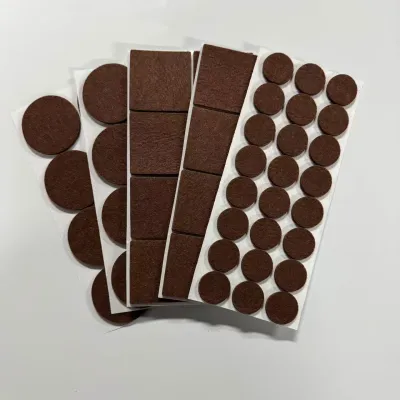
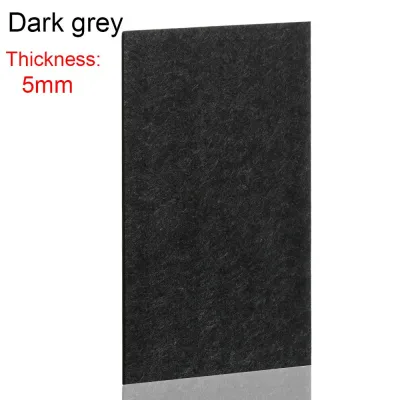
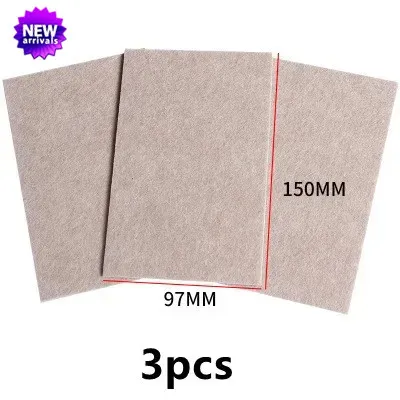
Prices are valid at publication and may change. Please refer to the product page for the latest price.
To remove stubborn old pads and glue, you will need a gentle scraping tool. A plastic scraper, an old credit card, or a flexible plastic putty knife works best, as metal blades can easily gouge wood finishes or scratch metal legs.
For the replacement pads, select high-quality felt options that match the shape, thickness, and diameter of your furniture legs. It is helpful to have a variety of pre-cut circles and squares, along with a few larger felt sheets that you can customize.
Finally, a pair of sharp utility scissors or a utility knife is essential for trimming the felt sheets or adjusting pre-cut pads to fit non-standard, tapered, or unusually shaped leg bottoms perfectly.
Removing Old Felt Pads and Adhesive Residue
The key to a long-lasting felt pad installation lies in the preparation of the furniture leg’s bottom surface. Applying a new adhesive pad over old, gummy residue or accumulated dust guarantees that the new pad will slide off within a few weeks.

Begin the removal process by physically prying off the old felt pad. Slide your plastic scraper or old credit card underneath the edge of the pad, working your way toward the center. Apply steady, gentle pressure to lift the pad away from the wood or metal. If the pad has been in place for years, the felt may separate from its adhesive backing, leaving a stubborn layer of hardened glue behind.
To tackle this leftover adhesive, you must soften it before scraping. Because different furniture finishes react poorly to harsh chemicals, always check the furniture manufacturer’s care instructions first. Before applying any commercial adhesive remover, rubbing alcohol, or natural oils, test a tiny drop on an inconspicuous area of the furniture leg, such as the inner side just above the foot. If the finish remains unaffected, apply a small amount of the solvent to a clean cloth and press it against the adhesive residue for a few minutes to soften the bond.
Once the residue has softened, gently scrape it away with your plastic tool. Wipe the area clean with a damp cloth dipped in a mild dish soap solution to remove any oily solvent traces. Finish by wiping the leg bottom with isopropyl alcohol, which evaporates quickly and leaves a completely dry, grease-free, and dust-free surface ready for the new adhesive.
Step-by-Step Guide to Applying New Felt Pads
With a clean and dry foundation, you can now proceed to install the new felt pads. Taking your time during this stage ensures the pads sit flush and remain securely attached through daily use.
Start by measuring the bottom of the furniture leg to determine the correct pad size. If you are using pre-cut pads, select a size that is slightly smaller than the leg footprint—ideally leaving a tiny margin of about one millimeter around the edge. If you are cutting custom shapes from a larger felt sheet, trace the leg bottom onto the paper backing of the felt sheet. Use your utility scissors to cut along the inside of the traced line. Trimming the pad so it does not overhang the edge is crucial; any overhanging felt will catch on rugs, collect floor dust, and quickly peel away when the furniture is moved.
Once the pad is trimmed to the perfect size, carefully peel away the protective paper backing. Avoid touching the exposed adhesive surface with your fingers, as the natural oils on your skin can significantly weaken the glue’s holding power. Align the pad carefully over the center of the leg bottom.
Press the pad firmly onto the leg. Use your thumb to apply strong, even pressure across the entire surface of the felt, paying close attention to the edges and corners. For heavier furniture, you can carefully flip the piece back onto its feet and let the weight of the furniture press the pads into place, provided you do not slide the piece.
Allowing the adhesive to cure is the most overlooked step in this process. Most self-adhesive pads require several hours to form a permanent bond with the furniture material. In warm or humid environments, this curing process is especially important. Leave the furniture completely undisturbed, without sliding or dragging it, for at least twelve to twenty-four hours to ensure the adhesive cures fully.
Identifying Wear and Choosing the Right Replacement
Felt pads are not permanent fixtures; they are sacrificial barriers designed to wear down over time instead of your floors. Establishing a routine inspection schedule helps you catch worn pads before they cause costly damage to your flooring.
Perform a visual and tactile check of your furniture legs every few months, especially on frequently moved items like dining chairs. Look for signs of thinning, where the felt has compressed into a hard, shiny disc. Run your finger over the pad to check for embedded debris, such as small pebbles, grit, or pet hair. When felt pads become compacted and filled with grit, they lose their cushioning ability and can actually act like sandpaper, scratching the very floors they are meant to protect.
The frequency of replacement depends heavily on how often the furniture is moved and the type of flooring in your home. Chairs used daily at a dining table or kitchen island on textured tile floors will wear out pads much faster than a sofa resting on smooth hardwood.
When purchasing replacements, match the pad’s density and thickness to your specific flooring needs. Heavy furniture pieces require high-density, thicker felt pads that resist compression under significant weight. Lighter chairs benefit from medium-density pads that offer smooth gliding. Always refer to the product packaging specifications to verify that the pads are rated for your specific floor type, whether it is hardwood, laminate, or natural stone.
Troubleshooting Common Felt Pad Issues
Even with careful installation, you may occasionally encounter issues with your furniture glides. Understanding why these problems occur allows you to make quick adjustments and keep your floors protected.
If your felt pads are falling off prematurely, the most common culprit is inadequate surface preparation. Any remaining dust, wax, or old adhesive residue prevents the new glue from bonding securely. Another cause could be an incompatible adhesive; some self-adhesive backings do not adhere well to oily woods or highly textured metal legs. Additionally, if the bottom of the furniture leg is uneven or slightly cupped, the pad will only make contact at the edges, leading to quick failure.
If you hear a lingering scratching noise when moving your furniture, do not assume the pads are doing their job. Check the bottom of the legs immediately. You may find that a tiny piece of grit has become embedded in the felt, or that the pad has shifted, exposing the hard wood or metal edge of the leg to the floor. In some cases, if you used nail-on pads, the felt may have worn down completely, leaving the hard plastic core or the metal nail head directly scraping against your floor.
If you notice that a furniture leg is structurally uneven, cracked, or damaged at the bottom, stop attempting DIY felt pad fixes. Applying pads to a damaged leg will not resolve stability issues and may lead to sudden tipping. In these situations, consult the furniture manufacturer or a professional furniture repair service to restore the structural integrity of the piece before reapplying floor protectors.
Frequently Asked Questions (FAQ)
Can I use felt pads on furniture with angled or uneven legs?
Standard flat felt pads often fail on angled furniture legs because the weight of the piece is concentrated on only one edge of the pad, causing it to slide off or wear down unevenly. For angled legs, look for specialized flexible wrap-around pads or angled felt glides designed to accommodate the slope. Always check the manufacturer’s specifications to ensure the adhesive and material can handle the specific angle and weight distribution of your furniture.
Are nail-on felt pads better than self-adhesive ones?
Nail-on felt pads offer a much more permanent attachment and are highly resistant to sliding off, making them excellent for heavy, frequently moved wooden furniture. However, they carry the risk of splitting delicate or narrow wooden legs during installation, and if the felt wears down unnoticed, the exposed nail can severely gouge your floors. Self-adhesive pads are non-damaging and easier to install, but they require more frequent replacement and meticulous surface cleaning to stay in place.

Community discussion
Share your experience or ask a question. Comments are reviewed before publication.