
A compact entryway often demands smart storage solutions, and a small shoe rack is usually the first line of defense against a cluttered floor. However, determining how many pairs of shoes a small shoe rack can actually hold requires looking past the optimistic numbers printed on the packaging. On average, a standard small shoe rack with two to three tiers and a width of 60 to 80 centimetres will realistically accommodate six to nine pairs of adult shoes.
While manufacturers frequently advertise higher capacities, these estimates typically assume ideal conditions, such as small, narrow, or flat footwear placed tightly together. In reality, your daily collection likely consists of a mix of bulky sneakers, high heels, flat sandals, and perhaps boots. To avoid purchasing a rack that leaves half your collection on the floor, you must understand how to translate physical dimensions into practical storage space.
How to Read Small Shoe Rack Dimensions and Specs
When shopping for a compact shoe rack, the advertised pair capacity should only serve as a loose reference point. Instead, your primary focus must be on the physical dimensions of the unit: the overall width, depth, and height. Comparing these measurements directly against your available floor space ensures the unit fits physically while leaving enough room for you to comfortably access your footwear.
Products mentioned in this guide
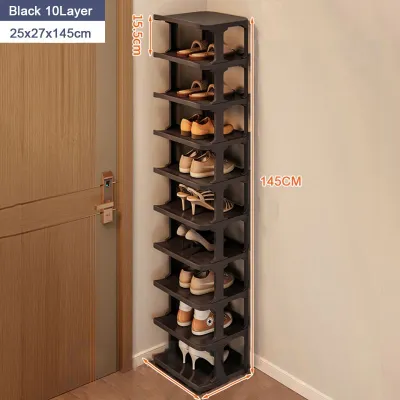
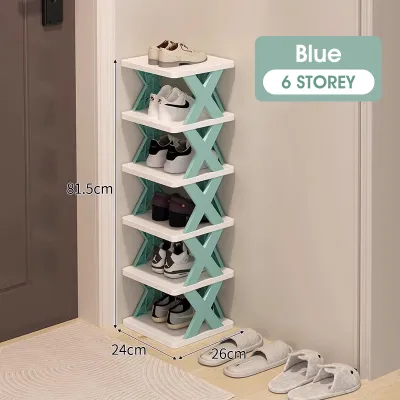
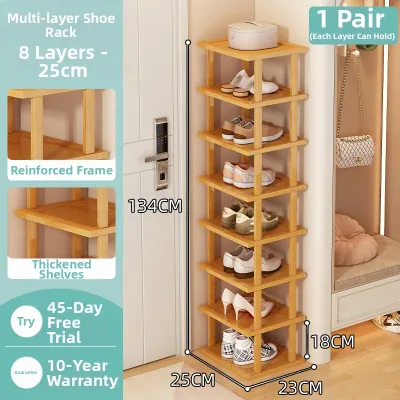
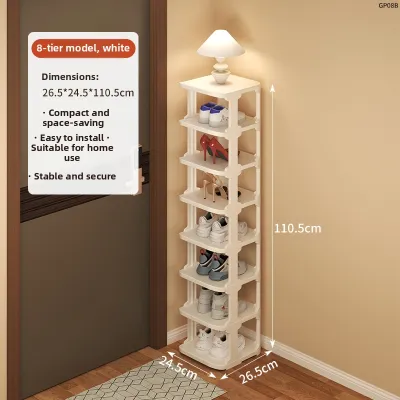
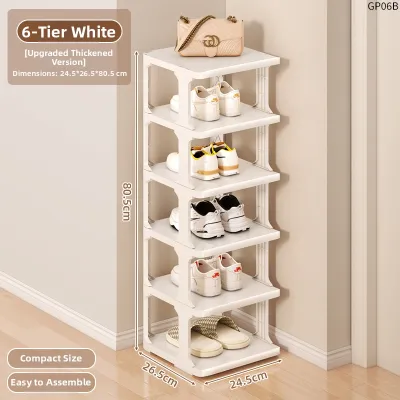
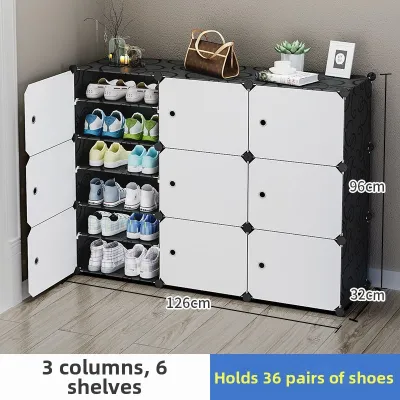
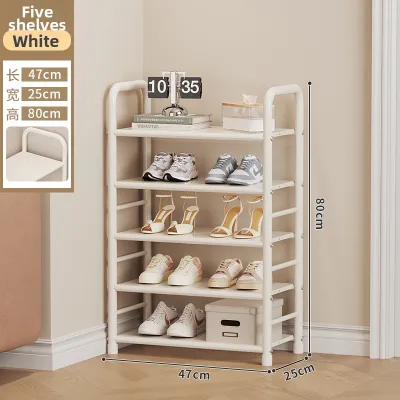
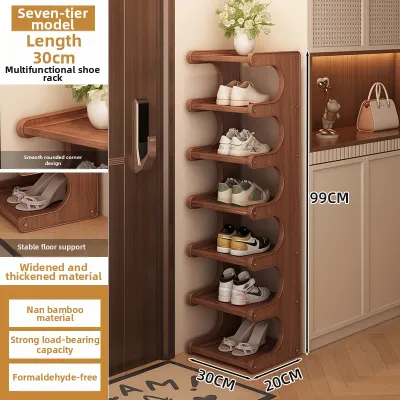
Prices are valid at publication and may change. Please refer to the product page for the latest price.
Shelf depth is a critical specification that is frequently overlooked. Standard adult shoes range from 22 to 30 centimetres in length, meaning a shelf with a depth of less than 28 centimetres will cause larger shoes to overhang. While a slight overhang might seem harmless, it can obstruct narrow corridors or cause shoes to fall off easily. Additionally, check the vertical clearance between tiers; a distance of less than 15 centimetres will make it difficult to slide shoes in and out without scraping the tops.
Another vital specification to verify is the manufacturer’s stated weight limit per shelf. Small racks made of lightweight materials, such as thin plastic, fabric canvas, or basic tension rods, often have lower load capacities. A single pair of heavy leather work boots or thick-soled sneakers can weigh over one kilogram. If you plan to store multiple heavy pairs, ensure each shelf is rated to support the load without sagging, bowing, or compromising the stability of the entire frame.
Translating Tier Counts into Realistic Shoe Capacity
To estimate how many shoes will actually fit on a rack, you must look closely at the tier count and the style of shoes you own. Marketed capacity numbers are almost always based on a best-case scenario, assuming slim, low-profile shoes like canvas slip-ons or flat sandals placed side-by-side with no gaps.

When you introduce a realistic mix of footwear, the actual capacity of each tier inevitably drops. Planning for a realistic reduction in capacity from the start prevents disappointment. If a three-tier rack is advertised as holding nine pairs, it is safer to assume it will comfortably hold six to seven pairs of mixed everyday footwear without overcrowding.
Space Requirements for Everyday Sneakers and Flats
Everyday sneakers and flat shoes serve as the baseline for calculating horizontal shelf space. A standard pair of adult sneakers typically requires a horizontal width of 20 to 25 centimetres when placed side-by-side. Flat shoes, such as loafers or sandals, are slightly narrower, requiring about 15 to 20 centimetres per pair.
By dividing the total usable width of a single shelf by these averages, you can quickly determine the real-world capacity. For example, a small shoe rack with a shelf width of 60 centimetres will comfortably accommodate two pairs of standard sneakers, with a small gap left over. If you try to squeeze a third pair onto the same shelf, the shoes will likely overlap, causing dirt from the outsoles to rub against the adjacent pairs.
Accommodating Bulky Footwear and High Heels
Bulky footwear, such as chunky running shoes, hiking boots, and high heels, requires special consideration because they disrupt standard spacing calculations. Chunky sneakers and work boots have wider outsoles that can easily demand 25 to 30 centimetres of horizontal space per pair. This wider footprint means a shelf that easily holds three pairs of flats might only fit two pairs of bulky boots.
Vertical clearance is equally critical for high heels, wedges, and ankle boots. These styles require a minimum vertical clearance of 18 to 22 centimetres to stand upright. If the distance between the tiers on your chosen rack is fixed at 15 centimetres, you will be forced to store these shoes on the very top shelf, or lay them on their sides, which quickly consumes valuable horizontal space and risks damaging the shoe’s structure.
Measuring Your Space and Checking Door Clearances
Before finalizing your purchase, it is essential to measure your intended installation area with high precision. Do not rely on visual estimates. Use a physical measuring tape to record the exact floor width, depth, and height of the spot where the rack will stand. Be sure to account for skirting boards, baseboards, or uneven walls, as these architectural features can prevent a rack from sitting flush against the wall, effectively reducing your available floor space.
In compact entryways or narrow hallways, door clearances are a primary concern. Open nearby doors fully to check their swing arcs. A shoe rack placed too close to a doorway can easily collide with the door frame or the door itself when opened. Even if the frame of the rack clears the door, protruding shoes that overhang the shelves can still obstruct the path or get scuffed by a swinging door.
Furthermore, prioritize walkway clearance and proper ventilation. In high-traffic entryways, you should maintain a clear walkway of at least 70 to 90 centimetres in front of the shoe rack to prevent tripping hazards. Adequate spacing around the rack also promotes natural airflow. In humid climates, tightly packed shoes on a poorly ventilated rack can trap moisture, leading to mold growth and persistent odors. Choosing a rack with open slatted shelves rather than solid panels can significantly improve air circulation.
Choosing Adjustable or Expandable Designs for Flexibility
If your shoe collection varies throughout the year or is likely to grow, choosing a flexible rack design can help you maximize a small footprint. Look for shoe racks that feature adjustable or removable shelves. These designs allow you to change the vertical spacing between tiers, making it easy to accommodate taller boots in the wet season and lower flats during warmer months.
Expandable shoe racks offer another layer of flexibility by allowing you to adjust the horizontal width of the unit. While these designs are highly convenient for adapting to changing spaces, they do come with structural trade-offs. As an expandable rack is pulled to its maximum width, the center of the metal or plastic rods can become susceptible to bending under heavy loads. To maintain stability, place heavier footwear near the outer vertical supports and reserve the middle section for lighter shoes.
Finally, always verify the assembly requirements and structural integrity of the rack before buying. Check whether the joints are secured with robust screws or simple push-fit plastic connectors. A small shoe rack must remain perfectly stable when fully loaded, as an uneven weight distribution can cause a flimsy unit to tip over. If you choose a taller, narrow model to save floor space, consider anchoring it to the wall to ensure safety.
Frequently Asked Questions (FAQ)
Can I stack shoes on top of each other to double the capacity?
Stacking shoes directly on top of one another is not recommended as a primary storage method. Placing one shoe directly on top of its partner can transfer dirt, mud, and moisture from the outsole to the delicate upper material of the bottom shoe, leading to permanent stains or scuffs. It can also crush the heel counter or deform the shape of structured shoes over time.
Additionally, stacking significantly increases the weight concentrated on a single shelf. If you exceed the manufacturer’s recommended weight limit, the shelf may bow, sag, or collapse entirely. If you are desperate to double your capacity in a tight space, look for specialized shoe slot organizers. These plastic inserts hold one shoe above the other on a small protective platform, preventing direct contact between the shoes while distributing the weight safely across the shelf.

Community discussion
Share your experience or ask a question. Comments are reviewed before publication.