
Quick Guide to Sizing Your Wooden Shoe Rack
Finding the right wooden shoe rack capacity requires balancing your household’s actual shoe count with the physical limits of your entryway. A rack that is too small leads to cluttered floors, while an oversized unit can block vital walkways and make your home’s entrance feel cramped.
To find the right balance, you must measure your available floor area, audit your current footwear collection, and compare these needs against the actual dimensions of the furniture.
When space is highly restricted, prioritizing daily-wear shoes at the entrance and moving occasional footwear to bedroom closets or secondary storage cabinets is often the most practical compromise.
Products mentioned in this guide
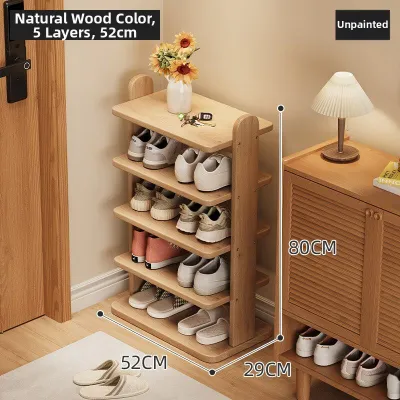
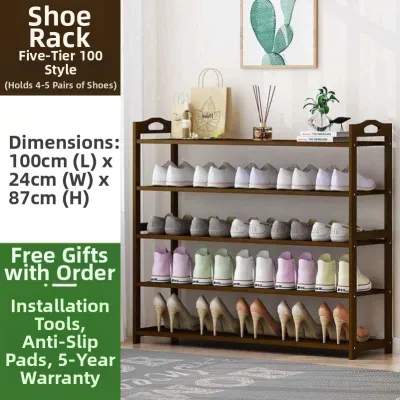
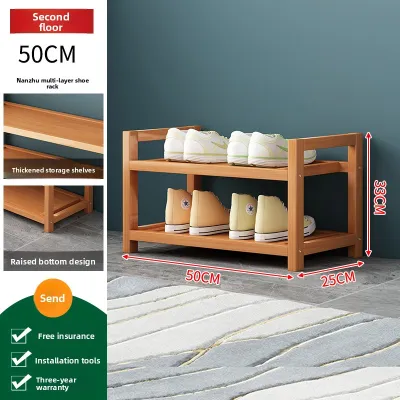
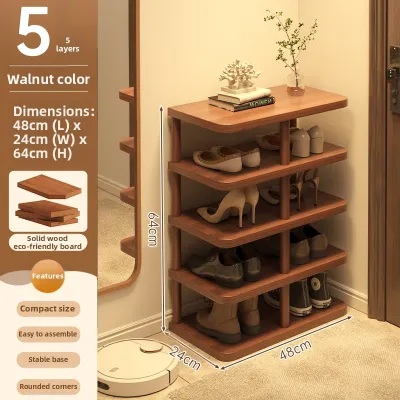
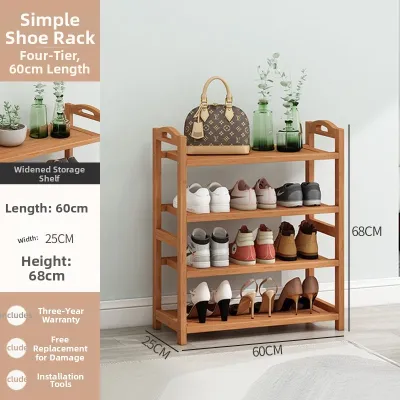
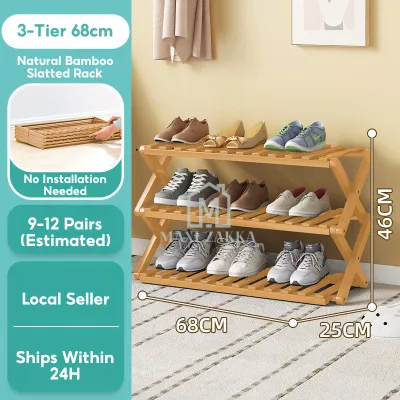
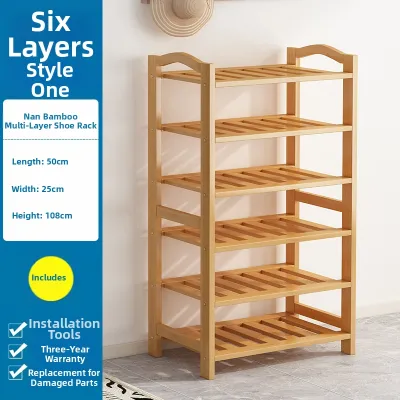
Prices are valid at publication and may change. Please refer to the product page for the latest price.
Measuring Your Entryway for a Shoe Rack
Before browsing online marketplaces or visiting furniture showrooms, you need precise measurements of your entryway. Use a metal measuring tape to record the maximum width, depth, and height available for the shoe rack.

Be sure to measure from the outermost edge of your skirting boards rather than the bare wall, as these baseboards can prevent a flat-backed wooden rack from sitting flush against the wall.
Take note of any wall fixtures, such as light switches, power outlets, or distribution boards, ensuring the height of the rack does not block access to these essential utilities.
Walkway clearance is critical for safety and comfort. Open your main door fully and measure the swing radius to ensure the door does not strike the proposed shoe rack.
Leave at least 60 to 90 centimeters of clear walkway space in front of the rack so household members can comfortably pass by, put on shoes, or carry groceries inside without bumping into the furniture.
Finally, consider the logistics of getting the wooden shoe rack into your home. Measure the height and width of your apartment’s lift doors, common corridors, and front doorway to verify that the packaged box or fully assembled unit can safely pass through during delivery.
Estimating Your Shoe Collection Size
A successful storage plan depends on an accurate count of the shoes you actually need to store at the entrance. Begin by gathering all footwear currently scattered around the entryway and sort them by frequency of use.
Keep only daily-wear pairs, school shoes, and frequently used work footwear in the entryway rack, while storing formal heels, seasonal boots, and specialized sports gear elsewhere.
Different types of footwear occupy vastly different amounts of physical space. While flat sandals and canvas shoes take up minimal height, thick running sneakers, high heels, and ankle boots require significantly more vertical clearance.
If your household collection consists primarily of bulky athletic shoes or high-top boots, you will need to plan for fewer pairs per shelf than the manufacturer’s standard capacity rating suggests.
It is also wise to leave a small buffer for future purchases or guests. Designing your storage layout with roughly ten to twenty percent of extra space prevents the rack from immediately becoming overcrowded when your household needs change.
Translating Pair Capacity into Physical Dimensions
Manufacturer capacity ratings are often based on standard, low-profile shoes, which can be misleading if your collection contains diverse styles. To avoid surprises, always check the detailed product specification label for the exact shelf depth and height.
A standard shelf depth of at least 30 to 35 centimeters is generally required to accommodate average adult shoe sizes without the heels or toes overhanging.
The vertical spacing between shelves determines what types of footwear will fit comfortably. Fixed shelves with a height of 15 centimeters are suitable for flats and sneakers, but will not accommodate taller boots or high heels.
For maximum flexibility, look for wooden shoe racks featuring adjustable shelves that can be moved up or down along pre-drilled peg holes, or slatted designs that allow for natural air circulation.
Always rely on the physical dimensions listed in the product manual rather than promotional images, as styled photos can make a compact rack appear much larger than it is in reality.
Ensuring Stability and Safe Installation
A wooden shoe rack must be structurally sound to support the weight of multiple pairs of shoes, especially when fully loaded. Check the manufacturer’s specified load capacity for both the individual shelves and the overall unit.
Examine the thickness of the wooden panels and the quality of the joints; sturdy dowel or screw connections provide better long-term stability than simple glue joints.
Tall, narrow shoe cabinets or multi-tier racks present a potential tipping hazard if they become top-heavy. Verify whether the manufacturer includes anti-tip anchoring hardware, and follow the instructions to secure the unit firmly to the wall.
Uneven floors can cause a wooden rack to wobble, putting stress on the joints and risking instability. Use a spirit level to check the floor surface, and consider using adjustable leveling feet or protective felt pads to stabilize the unit and protect your flooring from scratches.
Common Sizing and Placement Mistakes
One of the most frequent errors is failing to account for the swing radius of nearby room doors or closet doors that open into the entryway corridor. A shoe rack that blocks these doors even slightly will quickly become a daily frustration.
Another common mistake is assuming that a rack advertised as holding twelve pairs will easily fit twelve pairs of wide, heavy-soled sneakers. Always calculate your capacity based on the actual width of your widest shoes compared to the shelf’s interior width.
Lastly, buyers often forget to check the assembly space required for flat-packed wooden furniture. Ensure you have a clear, clean area near the entryway to lay out the pieces and complete the assembly safely without damaging the wood or your walls.
Frequently Asked Questions (FAQ)
Can I use a wooden shoe rack to store items other than shoes?
Yes, but you must carefully check the manufacturer’s weight limits before placing heavy items like motorcycle helmets, bags, or storage boxes on the shelves. Standard shoe racks are designed for lightweight footwear, so placing heavy objects on non-reinforced wooden panels can cause the shelves to sag or bow over time. Ensure the shelf depth is sufficient to hold these items securely without them protruding into the walkway.
How do I maintain a wooden shoe rack in a humid climate?
In humid environments like Singapore, protecting wooden furniture from moisture is essential to prevent warping or mold growth. Always check the manufacturer’s care instructions and verify if the wood has a protective water-resistant sealant or lacquer finish. Ensure there is adequate ventilation around the rack by leaving a small gap between the unit and the wall, and always wipe down wet or damp shoes before placing them inside the storage compartments.

Community discussion
Share your experience or ask a question. Comments are reviewed before publication.