
Selecting the right back door hanging rack depends on your door’s structural clearance, the surface material, and the weight of the items you plan to store. For temporary setups or rental homes where drilling is restricted, over-door hooks or adhesive-mounted racks offer convenient, non-permanent storage for light items like keys, umbrellas, and light bags. However, if you need to hang heavy coats, wet gear, or multiple loaded bags, a wall-attached rack anchored into a solid wall or stud provides the necessary stability and load capacity.
In space-constrained homes, such as high-rise apartments in Singapore, utilizing the vertical space behind a door is a highly effective way to declutter. But choosing the wrong mounting style can lead to damaged paint, bent hinges, or a door that refuses to close properly. Evaluating your specific door type and storage needs before purchasing ensures your organization system remains secure and functional without causing costly structural damage.
Assessing Your Door and Space Constraints
Before purchasing any back door hanging rack, you must measure the physical clearance between the top of the door and the frame. This gap, often called the door clearance, must be wide enough to accommodate the thickness of over-door hooks—typically at least 1.5 mm to 2 mm. If the gap is too tight, the hook will scrape against the frame, causing the door to stick, bind, or scrape off the protective paintwork every time you open or close it.
Products mentioned in this guide
![[Ship in 24h]Behind Door Hanger Hooks No Drill Aluminum Clothes Hooks Wall Hook Over-The-Door Hooks/Hangers For HDB Door Main Door Bedroom Door Kitchen Door](https://img.lazcdn.com/g/p/f316264f7858512fb01a8a8222a3394f.jpg_400x400q80.jpg_.webp)
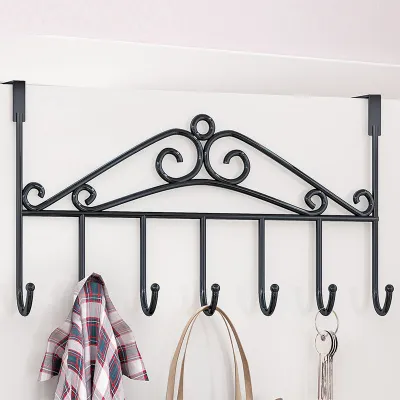
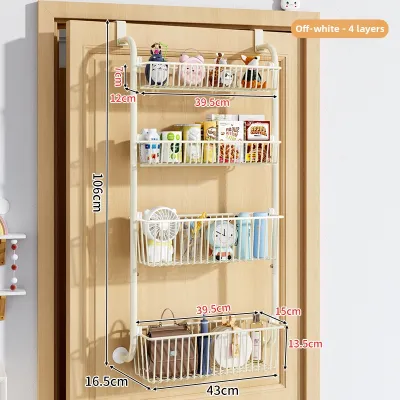
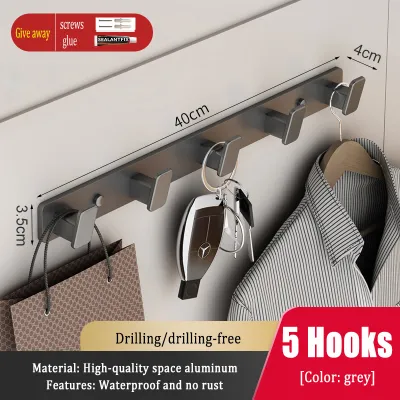
Prices are valid at publication and may change. Please refer to the product page for the latest price.
To check this clearance easily, place a small coin on top of the door and slowly close it. If the door closes smoothly without pushing the coin off or sticking, you generally have enough clearance for standard over-door brackets. If the coin catches or blocks the door, an over-door rack is not suitable, and you should consider adhesive or wall-mounted alternatives instead.
Next, identify the door’s surface material and construction. Doors can be solid wood, hollow-core wood, veneer, glass, metal, or composite materials. Adhesive-mounted racks require a completely smooth, non-porous, and stable surface to bond correctly. If your door has a delicate veneer, a textured paint finish, or a matte laminate, adhesives can tear the outer layer or leave permanent residue upon removal.
Finally, inspect the door frame and the adjacent wall structure. If you are considering a wall-attached rack, drilling directly into a hollow-core door is rarely secure because the thin outer panels cannot hold mounting screws under load. Instead, look for adjacent solid walls or the structural timber studs behind the plasterboard. If you live in a rental property, check your tenancy agreement to confirm whether drilling into walls or door frames is permitted before proceeding.
Over-Door Racks: Evaluating Hook and Rail Designs
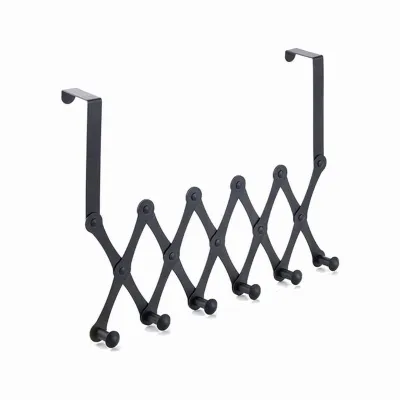
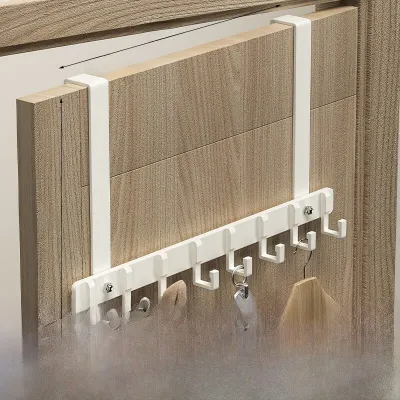
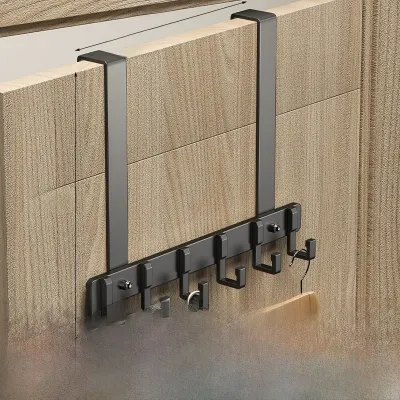
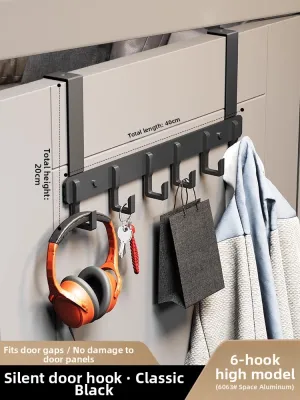
Over-door racks rely on bracket hooks that drape over the top edge of the door panel. Standard residential doors typically measure between 35 mm and 45 mm in thickness. You must verify that the bracket’s inner depth matches your door’s thickness. A bracket that is too narrow will not slide onto the door, while one that is too wide will wobble, slide horizontally, and scratch the door face whenever the door is moved.

Another critical factor is the top-edge profile of your door. Some modern doors feature a rebated or stepped edge rather than a flat profile. Standard flat over-door hooks cannot sit flush on a rebated door, which prevents the door from closing. Always inspect the top of your door to ensure it is completely flat before choosing an over-door hook design.
Hanging heavy items on an over-door rack transfers all the weight directly to the door hinges. Over time, excessive weight can cause the door to sag, leading to misalignment, latching issues, and scraping along the floor. Additionally, loose-fitting metal brackets can rattle or clatter against the door panel during opening and closing. To mitigate this, look for brackets lined with foam padding or felt, which dampens noise and protects the door’s finish from scratches.
Because over-door racks distribute weight across the top of the door frame, they are best suited for light to moderate everyday items. These include lightweight jackets, umbrellas, hats, and empty tote bags. Avoid hanging heavy backpacks, wet towels, or bulky winter coats on these racks, as the concentrated downward force can bend the brackets or strain the door structure.
Adhesive-Mounted Racks: Checking No-Drill Viability
Adhesive-mounted racks are popular for their tool-free installation, but their performance is strictly limited by weight capacity and surface preparation. Always check the manufacturer’s packaging for the maximum load limit, which is often rated for light items under 2 kg or 3 kg. Proper surface preparation is critical: the mounting area must be thoroughly cleaned with isopropyl alcohol to remove dust, grease, and moisture before application.
Adhesives form a strong chemical bond with the topmost layer of the surface. On painted drywall, plaster, or cheap veneer doors, the adhesive’s bond can actually be stronger than the paint’s bond to the underlying material. When the rack is loaded or removed, it may pull the paint, plaster, or veneer right off the door. For this reason, adhesive mounts are generally not recommended for high-value wooden doors or freshly painted surfaces.
In humid environments, such as bathrooms or kitchens, standard adhesives can degrade quickly. If you plan to use an adhesive rack in a high-humidity zone, ensure the adhesive is specifically rated for wet or humid conditions. Additionally, always follow the manufacturer’s specified curing time—typically 12 to 24 hours—before hanging any items. Hanging items too early compromises the adhesive bond, causing the rack to fall off prematurely.
Wall-Attached Racks: Planning for Heavy-Duty Storage
For heavy-duty storage, a wall-attached rack mounted adjacent to the door frame is the most reliable option. When mounting to drywall or plasterboard, you must locate the wooden or metal studs behind the wall using a stud finder to ensure a secure hold. If mounting directly into concrete, brick, or masonry—which is common in Singapore apartments—you must use a hammer drill and appropriate masonry wall plugs to prevent the screws from pulling out under load.
When planning the placement of a wall-attached rack near a door, ensure that the rack and the hung items do not interfere with the door’s swing path. The rack should not block the door handle, lock mechanisms, or compress any rubber weatherstripping. Leave sufficient clearance so the door can open fully without the door handle or the hung items striking the adjacent wall.
Wall-attached racks are designed to handle substantial weight. They are the ideal choice for heavy winter coats, wet umbrellas, large backpacks, and multiple loaded bags. Because the load is transferred directly into the building’s structural walls rather than the moving door, there is zero risk of door sagging, hinge damage, or rattling noises.
Decision Framework: Which Rack Fits Your Needs?
To finalize your purchase and installation decision, evaluate your living situation, storage needs, and door specifications against this quick decision framework:
- Choose over-door if: You live in a rental property where drilling is prohibited, you have at least 2 mm of clearance at the top of your door frame, and you want an instant, tool-free storage solution for light everyday accessories.
- Choose adhesive if: You want to hang lightweight items (such as keys, hats, or light umbrellas) on a smooth, non-porous surface like glass, metal, or high-gloss tile, and you are prepared to follow the strict curing times and weight limits.
- Choose wall-attached if: You need to store heavy, bulky, or wet items, you own the property or have permission to drill, and you want a permanent, highly stable storage solution that does not put stress on your door hinges.
- Verify first if: The door is a fire-rated door, is made of tempered glass, or has specialized weather-sealing. Modifying or hanging heavy items on fire doors can compromise their safety certification and seal integrity.
| Rack Type | Ideal Items | Mounting Requirement | Key Pre-Installation Check |
|---|---|---|---|
| Over-Door | Light coats, hats, everyday bags | No tools; hangs over top edge | Measure top door clearance (min. 1.5–2 mm) |
| Adhesive-Mounted | Keys, light umbrellas, hats | No tools; adhesive backing | Verify surface is smooth, non-porous, and non-veneer |
| Wall-Attached | Heavy coats, loaded bags, wet gear | Screws, wall anchors, drill | Locate wall studs or use masonry plugs; check swing path |
Installation and Safety Boundaries
Always cross-reference the rack’s manufacturer instructions with the door or wall manufacturer’s care guidelines before beginning installation. If you are unsure about the load-bearing capacity of your wall or door, start with lighter items and monitor the mount for any signs of pulling, loosening, or surface cracking.
Stop the installation and consult a qualified professional if the door begins to sag, scrape against the floor, or bind within the frame after installing a rack. Never force a door closed if a hanging rack is obstructing the path, as this can warp the door frame or damage the hinges. If you notice any structural movement, remove the weight immediately and seek professional assistance.
Finally, avoid modifying fire-rated doors (often installed as main entrance doors in Singapore apartments) or compromising security seals on exterior back doors. Drilling into a fire door or altering its structure can void its safety certification and compromise its ability to block smoke and flames during an emergency. For these doors, non-destructive, non-permanent storage solutions are always the safest choice.
Frequently Asked Questions (FAQ)
Can I install a hanging rack on a glass back door?
Drilling into a glass door is highly dangerous and should never be attempted as a DIY project, as it will shatter the tempered glass. While adhesive hooks can be used on glass surfaces, their performance is highly sensitive to temperature fluctuations and condensation, which can weaken the adhesive bond over time. If you must mount a rack on a glass door, check the glass manufacturer’s guidelines and consider specialized suction-cup mounts or over-door brackets designed specifically for glass panels, keeping weight to an absolute minimum.
How do I remove adhesive hooks without peeling the paint?
To remove adhesive hooks safely, always refer to the removal instructions on the product packaging. A reliable general method is to use a handheld hairdryer on a medium heat setting to gently warm and soften the adhesive backing for a few minutes. Once the adhesive is warm, slide a piece of dental floss or thin fishing line behind the hook, using a sawing motion to slice through the softened foam pad or adhesive layer. Avoid pulling the hook directly outward, as this concentrated pulling force is highly likely to tear the paint, plaster, or drywall paper.

Community discussion
Share your experience or ask a question. Comments are reviewed before publication.