
Hanging modular wall shelves successfully depends entirely on matching your installation method to the specific wall material in your home. Whether you are mounting a heavy display unit on a solid concrete structural wall, organizing a drywall partition in a modern apartment, or adding storage over a tiled kitchen backsplash, the correct combination of drill bits, wall anchors, and drilling techniques is essential. By identifying your wall type first and preparing the appropriate hardware, you can ensure your modular shelving remains stable, level, and capable of supporting your items safely without damaging your walls.
Pre-Installation Checks and Tool Preparation
Before making any permanent holes in your walls, you must verify the specifications of your modular shelving system. Check the manufacturer’s manual for the recommended bracket spacing, the maximum load capacity, and the specific hardware requirements. Keep in mind that the load capacity stated by the manufacturer often assumes optimal installation into solid wood studs or concrete; if you are mounting on drywall, this capacity may be significantly lower. Measure your shelf units and plan the layout on your wall using a pencil and a tape measure to ensure the brackets align perfectly with your intended mounting points.
Next, determine the exact composition of the wall where you plan to install the shelves. Interior walls are commonly made of solid concrete, lightweight concrete blocks, brick, or drywall partitions. You can identify a drywall partition by tapping on it; a hollow sound indicates drywall, while a solid, dull thud indicates concrete or masonry. Before drilling, use a reliable multi-scanner or stud finder to check for hidden hazards behind the wall surface, such as electrical conduits or water pipes. This step is especially critical near kitchens, bathrooms, and light switches where utility lines are frequently routed.
Products mentioned in this guide

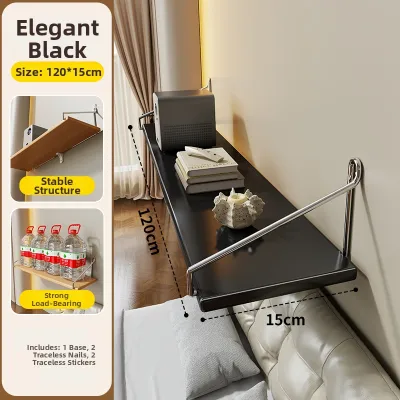
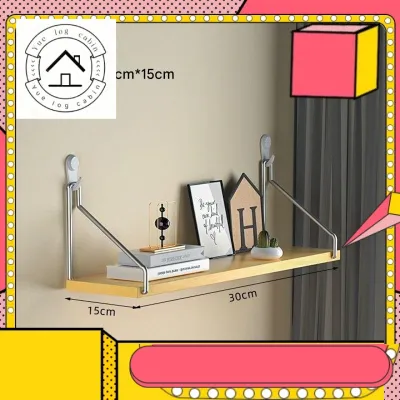
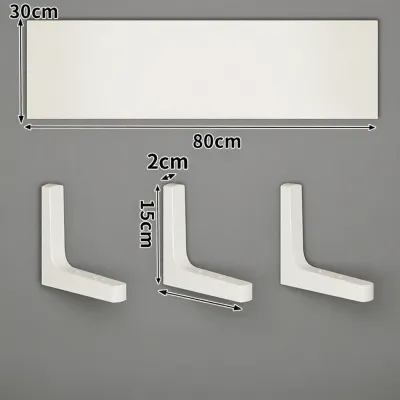
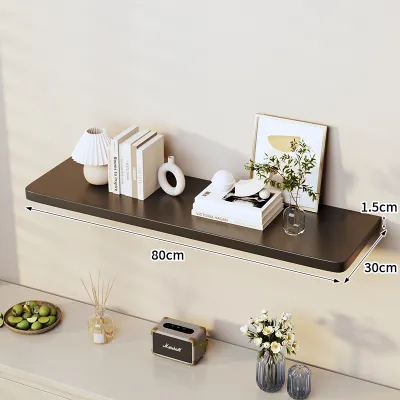
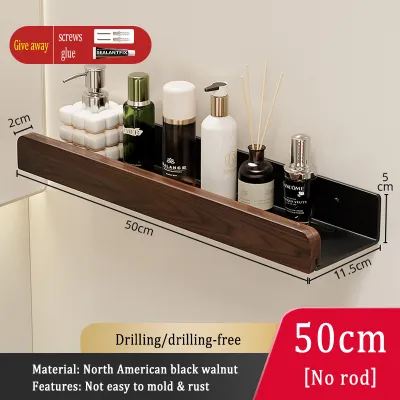
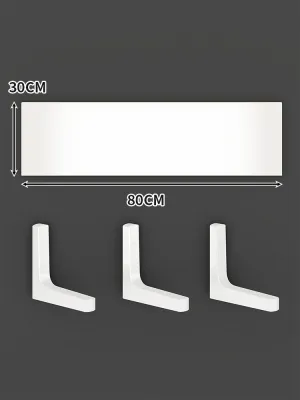
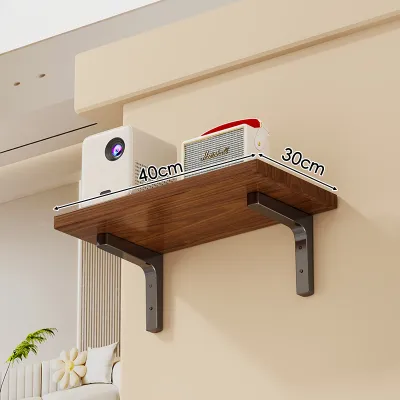
Prices are valid at publication and may change. Please refer to the product page for the latest price.
Gather all the necessary tools before you begin the installation process. You will need a variable-speed drill, a spirit level to ensure the shelves sit perfectly horizontal, a tape measure, a pencil, and safety goggles. The specific drill bits you require will depend entirely on your wall type: masonry bits for concrete, standard twist bits for drywall studs, and specialized carbide-tipped or diamond bits for tiled surfaces. Having the correct anchors on hand—such as plastic expansion plugs for concrete or toggle bolts for drywall—is equally vital.
If you encounter any uncertainty during this preparation phase, it is best to pause. If you cannot determine your wall’s composition, suspect that utility lines run directly behind your planned mounting points, or find that the manufacturer’s instructions conflict with your wall type, stop immediately. Consulting a qualified local handyman or professional installer can prevent costly damage to your home’s infrastructure and ensure a secure installation.
Hanging Shelves on Concrete Walls
Solid concrete and masonry walls offer exceptional load-bearing capacity, making them ideal for supporting heavy modular shelving systems. However, drilling into concrete requires specialized hardware and techniques to prevent damage to your tools and ensure a permanent hold. Start by selecting high-quality masonry drill bits that match the diameter of your concrete anchors. For standard residential shelving, plastic expansion wall plugs or light-duty sleeve anchors are typically suitable, provided they match the screw size recommended by the shelf manufacturer.

When drilling into concrete, use a variable-speed drill equipped with a hammer function if you are working with dense, poured concrete. The hammer action chips away the stone while the bit rotates, making the process significantly faster and reducing wear on your drill bit. Hold the drill perfectly perpendicular to the wall surface, applying firm, steady pressure. Avoid tilting the drill, as this can create an oversized, irregular hole that prevents the anchor from gripping the concrete properly.
Once you reach the required depth—which should be slightly deeper than the length of the anchor—withdraw the drill bit while it is still rotating to help pull out the loose concrete dust. It is crucial to clear all remaining dust from the drilled hole using a vacuum cleaner nozzle or a hand pump. If concrete dust remains inside the hole, it can compress when you insert the anchor, preventing it from sliding in fully or stopping the anchor from expanding and gripping the concrete walls effectively.
While drilling, you may occasionally encounter a sudden resistance where the drill stops advancing and the bit begins to overheat. This usually indicates that you have hit a piece of hard aggregate or steel rebar embedded within the concrete. Do not attempt to force the drill through rebar with a standard masonry bit. Instead, stop drilling immediately, withdraw the bit, and relocate your mounting hole slightly higher, lower, or to the side. You can patch the unused hole later with a suitable concrete filler or wall putty once the shelf installation is complete.
Hanging Shelves on Drywall
Drywall partitions, commonly found in newer residential layouts and office spaces, require a completely different approach because the gypsum board itself cannot support heavy vertical loads. The most secure way to mount modular shelves on drywall is to anchor them directly into the underlying structural framing, which may consist of wooden studs or metal channels. Use a reliable stud finder to locate the edges and center of each stud along your planned shelf path. Mark these locations clearly with a pencil so you can align your shelf brackets directly over them.
When aligning your modular brackets with the studs is not possible due to your desired shelf placement, you must use specialized, heavy-duty drywall anchors. Do not rely on simple plastic expansion plugs, as they can easily pull out of hollow drywall under the weight of a shelf. Instead, select threaded drywall anchors for light to medium loads, or heavy-duty toggle bolts for heavier modular configurations. Always check the weight ratings on the anchor packaging to ensure they can handle both the weight of the shelf and the items you plan to store.
To install drywall anchors, you must first drill pilot holes. Refer to the anchor manufacturer’s instructions to determine the exact drill bit diameter required; drilling a hole that is even slightly too large will cause the anchor to slip or spin, while a hole that is too small can force you to apply excessive pressure, crushing the fragile gypsum core of the drywall. Drill slowly and cleanly, keeping the drill steady to maintain a precise hole diameter.
Because drywall has inherent structural limits, you must plan your modular shelf layout to distribute weight as evenly as possible. Avoid concentrating heavy items on a single section of the shelf that relies solely on drywall anchors. Whenever possible, design your layout so that at least one or two main brackets are screwed directly into structural studs, using high-quality drywall anchors to secure the remaining support points. This hybrid approach significantly reduces the risk of the shelf pulling away from the wall over time.
Hanging Shelves on Tiled Walls
Installing modular shelves on tiled walls, such as those in kitchens or bathrooms, requires extreme care to avoid cracking or shattering the fragile tile surface. Before you begin, mark your drilling points precisely on the tile. To prevent your drill bit from slipping or wandering across the smooth, glazed surface when you start drilling, apply a piece of masking tape or painter’s tape directly over the marked spot. The tape provides traction for the tip of the drill bit, helping you start the hole exactly where intended.
Never use the hammer function of your drill when penetrating the tile layer, as the rapid percussive impact will instantly crack or shatter the tile. Instead, equip your drill with a specialized glass and tile drill bit, which typically features a spear-shaped carbide tip, or a diamond-grit hole saw for harder porcelain tiles. Set your drill to a low speed and apply gentle, consistent pressure, allowing the bit to grind through the hard glaze slowly. You can periodically mist the tile with water to keep the bit cool and prevent thermal cracking.
Once the drill bit has successfully penetrated the entire thickness of the tile and reached the underlying substrate—which is typically concrete, brick, or drywall—you must switch your drill bit. If the backing material is concrete, switch to a standard masonry bit and, if necessary, engage the hammer function at a low speed, taking care not to let the chuck of the drill strike the tile surface. If the backing is drywall or wood, switch to an appropriate wood or metal bit to complete the hole to the required depth.
After drilling, gently push the wall anchor through the tile so that it sits completely flush with the tile surface, or slightly recessed into the substrate behind it. When mounting the shelf bracket, tighten the screws carefully using a manual screwdriver rather than an impact driver. Overtightening the screw can exert immense lateral pressure on the anchor, which can easily crack the surrounding tile. Tighten until the bracket is snug and secure against the wall, but stop before applying excessive force.
Post-Installation Verification and Load Testing
Once all brackets are mounted and the modular shelf components are assembled, you must perform a thorough post-installation check before placing any valuable or fragile items on the shelves. Place a spirit level across each shelf tier to verify that the unit is perfectly level both from side to side and from front to back. If the shelf is slightly tilted, check the mounting screws; ensure they are fully tightened into their anchors without being stripped, which can compromise their holding power.
Conduct a gradual load test to verify the structural integrity of your installation. Begin by placing a few lightweight items on the shelves and observing how the brackets and the wall react. Gradually add heavier items over a period of several hours, keeping a close eye on the mounting points. Look for any signs of physical distress, such as the brackets flexing, the shelf tilting forward, or the wall surface showing fine cracks around the anchors.
Be vigilant for warning signs of anchor failure. If you notice a visible gap developing between the shelf bracket and the wall surface, or if the anchors appear to be pulling outward even slightly, the installation is unsafe. In such cases, immediately remove all items from the shelves to prevent a collapse. You will need to uninstall the brackets and reassess your mounting method, potentially upgrading to stronger anchors or relocating the shelf to a more secure section of the wall.
Finally, adjust your modular shelf components according to the manufacturer’s guidelines to optimize weight distribution. Place heavier items, such as books or heavy kitchen appliances, closer to the vertical brackets where the support is strongest. Avoid overloading the outer edges or the center spans of the shelves, as even a perfectly anchored shelf can sag or warp if the weight is not distributed evenly across the installed support system.
Frequently Asked Questions (FAQ)
Can I hang heavy modular shelves without drilling?
No, hanging heavy modular shelves without drilling is not recommended and can lead to sudden failure. Adhesive strips, mounting tapes, and suction cups are designed for lightweight decorative items and are generally unsuitable for modular shelving due to the constant downward shear force and the risk of long-term adhesive degradation, especially in humid climates. Drilling and using appropriate mechanical anchors remain the only reliable method to secure modular shelves safely, ensuring they can support both their own weight and the items placed on them over time.
What should I do if the anchor spins in the hole?
If a wall anchor begins to spin freely inside the hole, do not attempt to force a larger screw into it, as this will only enlarge the hole and damage the surrounding wall cavity. Instead, carefully extract the spinning anchor using a pair of needle-nose pliers. Assess the hole to see if it was drilled too large; if so, you can upgrade to a larger anchor size, such as a heavy-duty toggle bolt for drywall or a larger expansion plug for concrete. Alternatively, you can fill the damaged hole with a high-strength wall filler, allow it to cure completely, and then redrill a precise hole.
Community discussion
Share your experience or ask a question. Comments are reviewed before publication.