
Building a DIY modular display rack allows you to customize your storage to fit your exact space and aesthetic preferences. Whether you are organizing a study, setting up a living room showcase, or maximizing storage in a compact apartment, a modular system offers the flexibility to adapt as your needs change. By following a systematic assembly process, you can ensure your shelving unit remains stable, secure, and fully functional.
Plan Your Space and Display Needs
Before purchasing any components, a thorough assessment of your physical environment is essential. Start by measuring the floor footprint where the rack will stand, taking note of baseboards that might push the unit away from the wall. Measure the ceiling height carefully, especially if you plan to install a tall or near-ceiling modular configuration. It is equally important to measure the clearance of doorways, hallways, and lift doors to ensure you can safely transport the packaged components or partially assembled sections into the room.
Next, evaluate what you intend to display or store on the rack. Heavy books, ceramic pots, and dense decorative items require a different structural setup than lightweight collectibles or framed photographs. Determining these load types beforehand helps you decide on the appropriate shelf spacing and frame strength. Always check the product labels and manufacturer specifications for the maximum load limits of individual shelves and the overall frame. Never assume a shelf can support a specific weight without verifying these official limits first.
Products mentioned in this guide
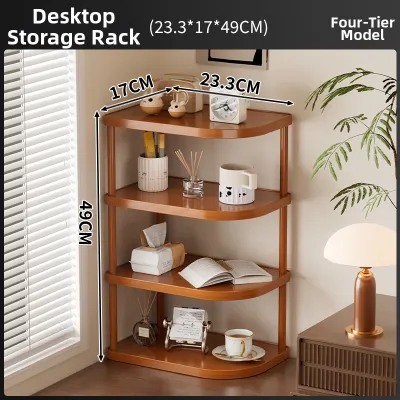
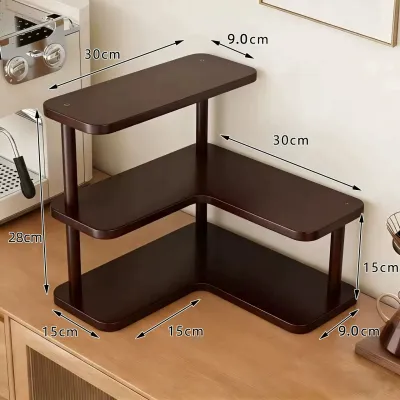
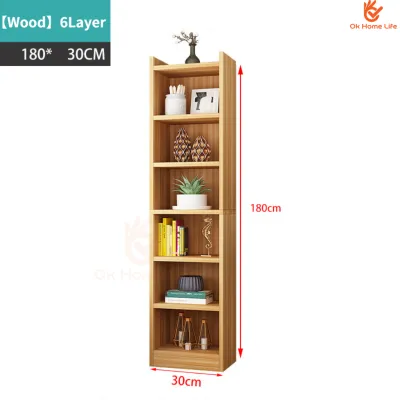

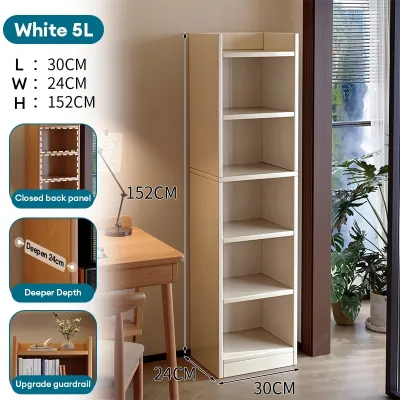
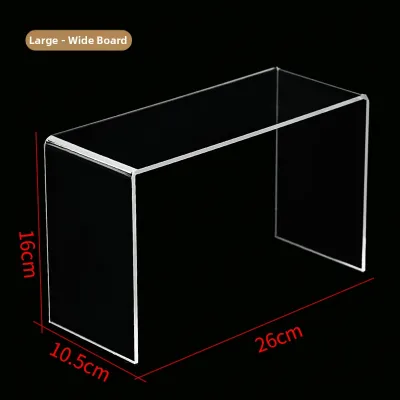
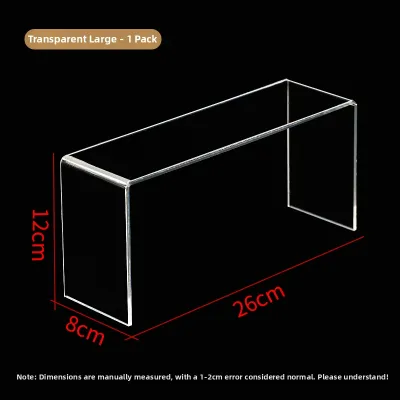

Prices are valid at publication and may change. Please refer to the product page for the latest price.
Gather the Right Tools and Components
Having the correct tools and a clear workspace prevents assembly errors and protects your home. Begin by unpacking all parts and conducting an inventory against the manufacturer’s parts list. Laying out the uprights, shelves, brackets, and fasteners in organized groups allows you to quickly identify if any critical hardware is missing before you begin construction.

Review the assembly manual to select the recommended hand tools or power tools. While some modular systems rely on simple hex keys provided in the box, others may require a rubber mallet, a screwdriver, or a drill for wall anchoring. Additionally, prepare floor protection to safeguard your home’s flooring, whether you have sensitive vinyl, parquet, or polished tiles. Laying down thick cardboard, a drop cloth, or a utility mat creates a safe assembly zone and prevents accidental scratches to both your floor and the rack’s finish.
Step-by-Step Assembly and Configuration
Assembling a modular display rack requires a methodical, bottom-up approach to ensure structural integrity. While individual designs vary, adhering to a standardized sequence while strictly following your specific manufacturer’s manual will yield the most stable result.
Build the Base and Vertical Frames
The foundation of your modular rack dictates the alignment of the entire structure. Begin by connecting the base plates, leveling feet, or bottom rails to the vertical uprights as detailed in your assembly manual. If the base is misaligned, the upper sections will tilt, putting unnecessary stress on the joints and making shelf installation difficult.
Once the initial base and upright connections are made, verify that all primary joints are fully seated and fastened. Do not fully tighten all bolts immediately; instead, leave them slightly loose to allow for minor adjustments as you build upward. Use a measuring tape or a carpenter’s square to check for squareness across the frame. Measuring diagonally from corner to corner of the frame section can help you identify if the structure is racking or leaning. Once you confirm the frame is perfectly square, securely tighten the base fasteners.
Install Shelves and Modular Add-ons
With the vertical frame stable and square, you can begin configuring the interior layout. Insert the shelf supports or brackets into the designated slots on the uprights at your desired heights. It is crucial to ensure symmetrical placement on both sides of the frame so that the shelves sit perfectly level.
Gently place the shelf panels onto the supports, checking for a flush fit and stable seating. Each panel should rest securely without rocking or sliding. If your modular system includes specialized locking clips or screws for the shelves, engage them fully to prevent accidental dislodging. If you plan to add modular accessories, such as drawers, cabinets, or hanging rails, attach them only after the main shelving tiers are securely in place and the frame is structurally stable.
Secure the Rack and Adjust for Leveling
Even a perfectly assembled rack can become unstable if placed on an uneven floor or left unanchored. Use a spirit level to check the alignment of the unit along both its width and depth. If your rack features adjustable leveling feet, thread them in or out to compensate for floor slope; if it lacks adjustable feet, use stable shims recommended by the manufacturer to achieve a level position.
For safety, especially with tall or narrow configurations, anchoring the unit to the wall is highly recommended. Use the specific anchoring hardware provided or recommended by the manufacturer, ensuring it matches your wall type. If you are mounting into masonry or concrete walls common in many modern apartments, use appropriate wall plugs and masonry drill bits. If you are unsure of your wall’s material, or if the provided anchors do not seem suitable for your intended load, stop the installation and consult a qualified professional.
Safety Checks and Stability Verification
Before placing any items on your newly assembled display rack, conduct a thorough safety inspection. Walk around the unit and perform a visual and physical check of every connection point, bracket, and fastener. Look for any loose screws, unseated brackets, or gaps in the joints that could compromise the rack’s structural integrity.
Once the physical check is complete, perform a gradual load test. Start by placing a few items on the bottom shelves first, observing how the frame responds. Watch closely for any bowing of the shelves, swaying of the uprights, or stress at the joint connections. If you notice any flexing or instability, remove the items immediately and recheck the tightness of the fasteners and the level of the base.
To maintain long-term stability, establish a strict loading rule for your household. Always place the heaviest items, such as large books, storage boxes, or heavy decorative pieces, on the lowest shelves. This practice keeps the center of gravity low, significantly reducing the risk of tipping and minimizing structural strain on the upper portions of the frame.
Optimize Your Display Layout
An organized display rack balances visual appeal with physical safety. Group your items by weight and frequency of use, keeping daily essentials or frequently handled objects at an accessible, mid-level height. This prevents the need to reach high or bend low for items you use regularly, reducing the chance of accidentally knocking other objects over.
For lightweight collectibles, framed art, or delicate items, consider using non-slip liners on the shelves to prevent shifting. Bookends are also highly effective for keeping books upright and preventing lateral pressure on the outer edges of the shelves. Additionally, plan for future adjustments by leaving some connection points or adjustable slots unoccupied. This modular flexibility allows you to easily reposition shelves or add new components as your display collection evolves over time.
Frequently Asked Questions (FAQ)
Can I anchor a modular display rack to drywall?
Standard drywall alone is generally insufficient to support the dynamic load and pull-force of a fully loaded display rack. If your space features drywall partitions, you should locate the wooden or metal studs behind the drywall using a stud finder and secure the anchoring brackets directly into them. If anchoring directly to a stud is not possible due to layout constraints, use specialized heavy-duty toggle bolts or hollow-wall anchors that are rated for the specific weight of your rack, always adhering to the manufacturer’s safety guidelines.
How do I prevent a tall modular rack from tipping?
Preventing a tall modular rack from tipping requires a combination of proper anchoring, smart loading, and behavioral awareness. Any shelving unit that exceeds a safe height-to-depth ratio—typically defined by the manufacturer—must be securely anchored to a solid wall structure. Additionally, always load the heaviest items on the bottom shelves to maintain a low center of gravity. Ensure that household members understand not to climb, lean, or pull on the shelves, as these actions can exert sudden lateral forces that compromise the unit’s stability.
Community discussion
Share your experience or ask a question. Comments are reviewed before publication.