
Boltless racks have revolutionized home storage, offering an incredibly sturdy and customizable shelving solution without the headache of screws, bolts, or specialized tools. In Singapore, where maximizing vertical space is essential for comfortable living, these modular units are a staple in HDB bomb shelters, storerooms, service yards, and balconies. Because they rely on a clever interlocking mechanism, anyone can assemble them with minimal physical effort. This guide provides a comprehensive, step-by-step walkthrough to help you transition from a flat-packed box to a fully functional, rock-solid storage system.
Pre-Assembly Preparation and Space Checks
Before you begin unboxing, it is crucial to prepare your workspace and verify that your chosen location is ready for the installation. Start by measuring the designated footprint of the rack, keeping in mind not just the width and depth, but also the vertical clearance. In tight spaces like utility closets or HDB bomb shelters, check for potential obstructions such as wall-mounted light switches, electrical trunking, ceiling beams, or water pipes. Ensure there is sufficient clearance for doors to swing open fully and for walkways to remain unobstructed.
Next, evaluate the floor surface. A boltless rack must sit on a flat, level floor to distribute weight evenly across its uprights. If the floor is uneven, the rack may lean, putting undue stress on the joints and reducing its overall load capacity. If you are assembling the unit on tiled, vinyl, or polished concrete floors, lay down the cardboard packaging from the box or a thick blanket. This simple step protects your flooring from accidental scratches and prevents the powder-coated finish of the metal components from chipping during the assembly process.
Products mentioned in this guide
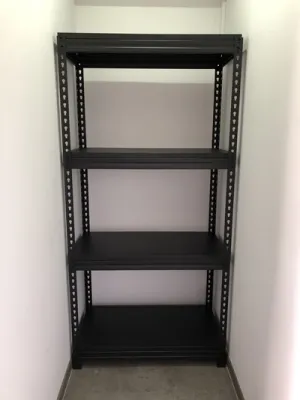
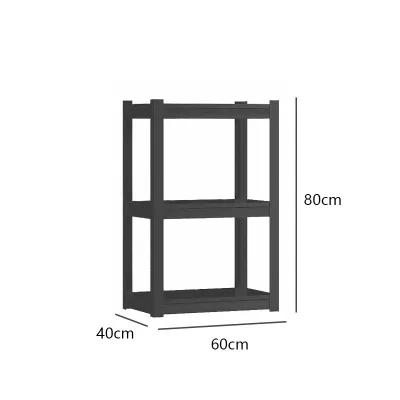
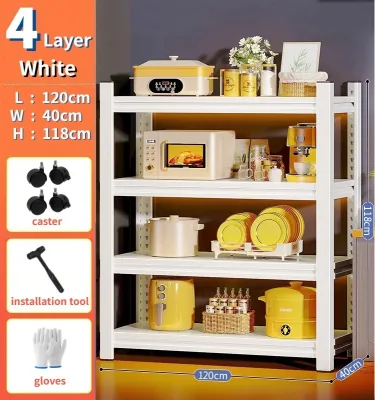
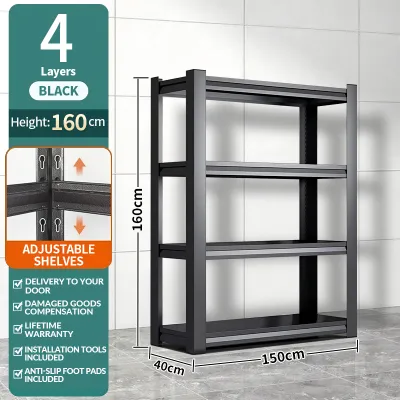
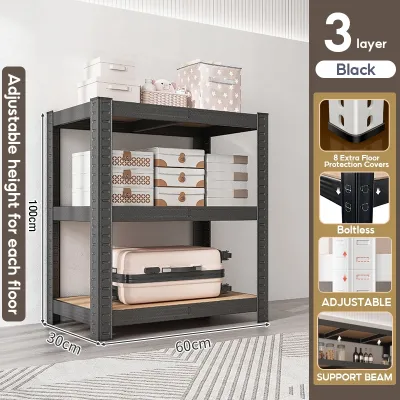
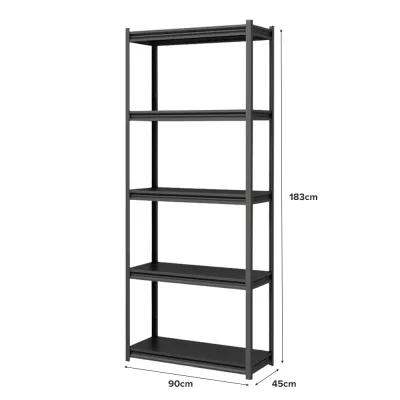
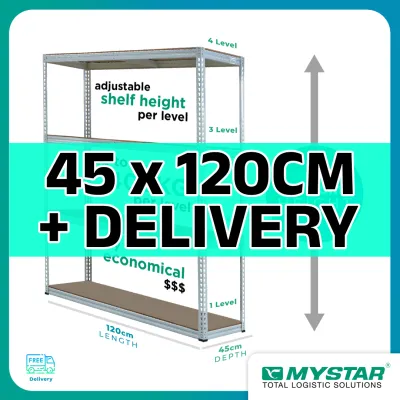
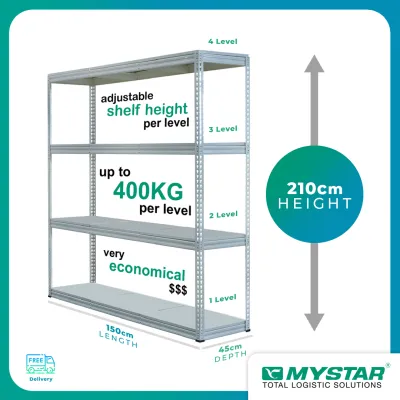
Prices are valid at publication and may change. Please refer to the product page for the latest price.
Finally, perform a thorough inventory check. Carefully unpack all components and group them by type: vertical uprights, horizontal side beams, front and back beams, shelf panels, and plastic safety caps or floor protectors. Compare the parts against the manufacturer’s packing list to ensure nothing is missing. Having everything organized and within arm’s reach before you start will make the assembly process smooth and efficient.
Step-by-Step Assembly Process
The magic of a boltless rack lies in its slot-and-rivet or tab-in mechanism. Instead of using traditional nuts and bolts that can loosen over time, these racks utilize pre-punched keyhole slots on the vertical uprights and matching rivets or tabs on the horizontal beams. As weight is applied to the shelves, the rivets are pulled deeper into the narrow neck of the keyholes, naturally tightening the structure and increasing its stability.

Building the Base and Uprights
To begin, identify the bottom end of each vertical upright. The keyhole slots must always point downward, meaning the wider part of the keyhole is at the top and the narrow channel is at the bottom. Slip the plastic or rubber floor protectors onto the bottom of each upright to safeguard your floors and provide a non-slip foundation.
Position two uprights parallel to each other on your protected floor. Take a short side beam and align its rivets with the lowest keyhole slots on the uprights. Push the rivets into the slots and apply firm downward pressure by hand to seat them. If the fit is snug, use a rubber mallet to tap the beam near the joint until the rivets slide fully into the narrow channel. If you do not have a mallet, place a block of wood over the beam and tap it gently with a standard household hammer to avoid denting the metal.
Repeat this process with the remaining two uprights and another short side beam to create two separate side frames. Next, stand these side frames upright and connect them using the longer front and back bottom beams. Once all four bottom beams are connected, you will have a self-standing rectangular base. Use a spirit level or a smartphone leveling app to verify that this base frame is perfectly square and level before building upward.
Installing the Beams and Shelves
With the base established, plan the heights of your remaining shelves. It is highly recommended to count the keyhole slots from the bottom on each upright to ensure your support beams are installed at identical heights on all four corners. Misaligned beams will cause the shelf panels to sit at an angle, which compromises stability and can cause stored items to slide.
Install the side, front, and back beams for the middle shelves by inserting the rivets into the chosen slots and tapping them firmly into place. Ensure that the recessed lip of each beam—the ledge where the shelf panel will rest—is facing upward. Work your way from the bottom upward, securing one shelf level at a time.
Once a level’s metal frame is fully locked, gently lower the shelf panel (whether made of MDF, plywood, or wire mesh) into the recessed lips of the beams. The panel should drop in smoothly and sit flush with the top of the beams. If a panel does not fit, do not force it; instead, check if the beams are fully seated or if the frame is slightly out of square.
Securing the Top and Final Adjustments
Attach the final set of beams at the very top of the uprights. This top frame is essential for structural integrity, as it ties the vertical posts together and prevents the uprights from splaying outward under heavy loads. Tap these top beams down securely using the same slot-and-rivet method.
With the entire structure assembled, conduct a comprehensive tightening pass. Start from the bottom shelf and work your way up to the top, giving each joint a firm, decisive tap with your mallet or wood-and-hammer combination. This ensures that any joints that may have loosened slightly while you were working on other sections are completely locked down.
Visually inspect every single connection on the rack. There should be no visible gaps between the shoulders of the beams and the vertical uprights, and all rivets must be fully seated at the bottom of their keyhole slots. If any joint looks uneven, tap it loose and re-seat it properly.
Safety Checks and Stability Verification
Before you begin loading your newly assembled boltless rack, it is vital to perform a series of safety checks. Grasp the empty rack at chest height and give it a gentle shake. A properly assembled rack should feel rigid and exhibit minimal wobble. If you detect significant swaying or hear rattling, it is a clear sign that some rivets are not fully seated in their slots; trace the source of the movement and tap those joints secure.
Next, locate the manufacturer’s manual or product label to verify the maximum load capacity. Keep in mind that these weight limits are always based on an evenly distributed load across the entire shelf surface. To maintain optimal stability, always place your heaviest items on the bottom shelf and lighter items on the upper levels. This keeps the center of gravity low, drastically reducing the risk of the unit tipping over.
Finally, evaluate whether your rack requires wall anchoring. While wide, low-profile racks are highly stable on their own, tall and narrow units should always be anchored to the wall, especially in homes with children or pets who might attempt to climb the shelving. In Singapore, where HDB walls are typically solid concrete, you will need to use appropriate masonry plugs and screws to secure the anti-tip brackets. If you are mounting to drywall or partition walls, ensure you use heavy-duty toggle bolts or anchor directly into the wall studs.
Common Assembly Mistakes and How to Fix Them
One of the most frequent mistakes is installing the vertical uprights or horizontal beams upside down. If the uprights are upside down (with the narrow end of the keyhole slots pointing upward), the rivets will not lock into place and the beams will easily slide out under weight. If you realize this has happened, you will need to tap the beams loose, flip the uprights so the narrow keyhole channels point downward, and reassemble.
Another common issue is uneven shelf heights, which occurs when a beam is installed even one slot higher or lower than its counterparts. This causes the shelf panel to wobble or fail to sit flush. To fix this, remove the shelf panel, tap the misaligned beam upward from underneath to release the rivets, count the slots carefully from the floor, and re-seat the beam at the correct level.
Occasionally, components may suffer minor transit damage, resulting in slightly bent tabs or rivets. Never attempt to force a bent part into a slot with heavy hammer blows, as this can permanently deform the upright and ruin the structural integrity of the joint. Instead, use a pair of pliers to gently straighten the bent metal tab so it aligns with the slot, or contact the manufacturer for a replacement part if the damage is severe.
Frequently Asked Questions (FAQ)
Can I disassemble and move a boltless rack later?
Yes, one of the greatest advantages of a boltless rack is its highly reversible design, making it perfect for renters or those who plan to reorganize their space. To disassemble the unit safely, first remove all stored items and lift out the shelf panels. Working from the top down, place a block of wood against the underside of each beam near the joint and tap it upward with a hammer or mallet to release the rivets from the keyhole slots. Avoid prying the joints with screwdrivers or metal tools, as this can bend the tabs and make future reassembly difficult or unsafe.
Do I need to anchor a boltless rack to the wall?
Whether you need to anchor your rack depends on its dimensions, load distribution, and environment. As a general safety rule, any rack with a height-to-depth ratio greater than 3:1 should be anchored to the wall to prevent accidental tipping. Anchoring is also highly recommended if you are storing heavy or hazardous items, placing the rack in high-traffic areas, or if you have young children or pets in the home. Always refer to the manufacturer’s specific guidelines and use anchoring hardware compatible with your wall material.
Community discussion
Share your experience or ask a question. Comments are reviewed before publication.