
Managing networking hardware in a compact Singapore HDB flat often presents a unique spatial puzzle. With limited square footage and concrete walls that can block wireless signals, finding the right spot for your router, modem, and associated cabling is crucial. A dedicated router rack offers a practical way to consolidate this essential equipment, keeping surfaces clear and cables organized.
Choosing the right rack requires evaluating your specific flat layout, the number of devices you own, and the mounting options available. By shifting your networking gear off desks and TV consoles onto specialized wall mounts, under-desk brackets, or compact desktop organizers, you can maximize your living space while maintaining a stable home network. This guide will walk you through the essential steps to select, install, and organize a space-saving router rack tailored to your home.
Assessing Your Space and Equipment Needs
Before purchasing any storage solution, take a precise inventory of your physical space and the hardware you need to accommodate. HDB flats often feature a centralized distribution board (DB) box, which is typically located near the entryway or foyer. This area is frequently crowded, making it essential to measure the exact wall or shelf clearance available around your power outlets and fiber termination points.
Products mentioned in this guide
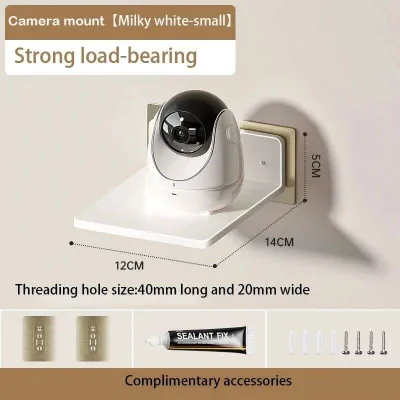
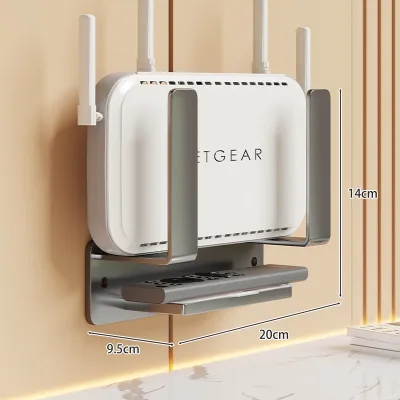
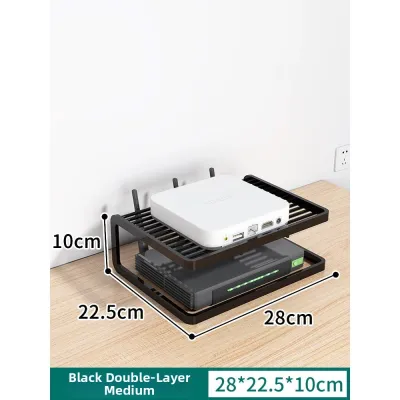
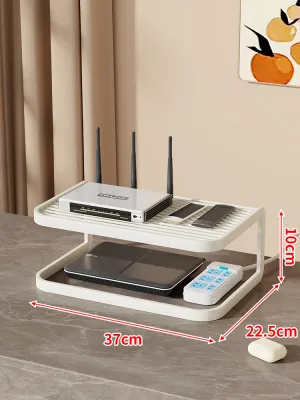
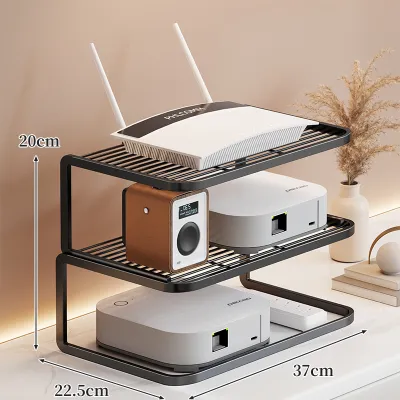
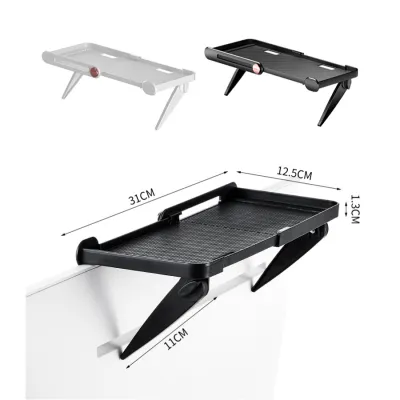
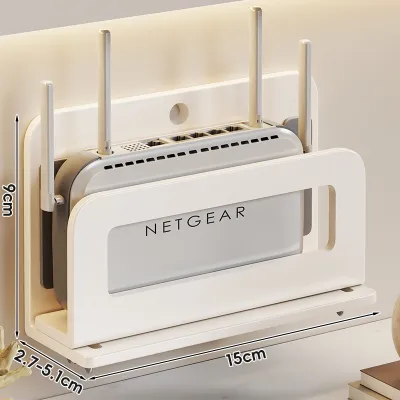
Prices are valid at publication and may change. Please refer to the product page for the latest price.
Next, gather all the devices that make up your home network. A standard setup usually includes a fiber modem (Optical Network Terminal), a wireless router, and potentially a network switch or smart home hub. Do not forget to account for the bulky power adapters, often referred to as “wall warts,” which can take up significantly more physical space on a power strip than standard plugs.
Ventilation is another critical factor that is easily overlooked. Routers and modems run continuously and generate a surprising amount of heat. Placing these devices in tight, unventilated corners or completely sealed enclosures can lead to thermal throttling, which degrades network performance and shortens the lifespan of your equipment. Ensure your chosen location allows for continuous, passive airflow around all sides of the devices.
Additionally, consider the proximity of your setup to other electronic devices. Placing your router too close to large metal objects, household appliances, or thick concrete pillars can interfere with your wireless signal. Mapping out these spatial constraints beforehand will help you determine whether a wall-mounted, under-desk, or desktop solution is the most practical choice for your flat.
Types of Space-Saving Router Racks
Several rack configurations are designed specifically to minimize floor space usage in compact homes. Understanding the strengths and limitations of each type will help you select the most appropriate option for your layout.

Wall-Mounted Shelves and Pegboards
Wall-mounted shelves are highly effective for utilizing vertical space, especially near the DB box or behind a television console. These shelves are available in various materials, including ABS plastic, powder-coated steel, and solid wood. For maximum flexibility, modular pegboard systems allow you to mount the router, wrap excess cables, and position power strips on a single vertical plane. This keeps the entire setup off the floor and away from high-traffic areas. Wall-mounted options are particularly useful in narrow hallways or entryways where floor-standing furniture is not practical.
Under-Desk Mounts and Adhesive Racks
If you prefer to keep your walls clear, under-desk mounts offer an excellent alternative. These brackets screw or adhere to the underside of your work desk, suspending the router and modem out of sight. This configuration is particularly useful for home offices or study corners, as it keeps the desk surface entirely free for your computer, monitor, and writing materials. Adhesive-based racks are suitable for lightweight routers, but they require clean, non-porous surfaces to ensure a secure hold. Be sure to check the adhesive’s weight rating before mounting your devices.
Multi-Tier Desktop Organizers and Corner Units
For those who cannot drill into walls or prefer a non-permanent setup, multi-tier desktop organizers consolidate multiple devices vertically on a desk or console table. Instead of spreading your modem, router, and smart hub horizontally, these organizers stack them safely with dedicated shelves. Corner units are another smart variation, specifically shaped to fit into the underutilized 90-degree angles of a room, turning dead space into a functional networking hub. These units often feature open backs to facilitate easy cable routing and heat dissipation.
Key Selection Criteria for Compact Living
When comparing different router racks on online marketplaces, look beyond aesthetics and focus on practical specifications that match your home environment.
Weight Capacity and Material Stability
Always verify the manufacturer’s stated weight capacity against the total weight of your equipment, including the heavy power adapters and cables. While plastic racks are lightweight and budget-friendly, metal or reinforced wooden racks offer greater structural stability for heavier, multi-antenna routers. Inspect the joint construction and mounting brackets to ensure they can withstand continuous downward pressure without sagging over time. If you plan to store multiple devices on a single rack, a sturdy metal frame is often the most reliable choice.
External vs. Usable Dimensions
Pay close attention to the difference between a rack’s external dimensions and its actual usable surface area. A rack might fit perfectly on your wall, but the internal shelving must be wide and deep enough to hold your router without the device hanging over the edge. Remember to account for protruding antennas, which may need to be angled outward, and the rear-facing cable connectors, which typically require an additional 3 to 5 cm of clearance behind the device to prevent severe cable bending.
Integrated Cable Routing and Power Strip Accommodation
A high-quality router rack should do more than just hold your devices; it should actively help manage the clutter. Look for models that feature integrated cable routing cutouts, built-in cable wrap pegs, or a dedicated lower compartment designed to house a multi-outlet power strip. This allows you to consolidate all power connections within the rack itself, leaving only a single main power cord running to the wall outlet. This not only improves the visual appeal of your setup but also makes cleaning and dusting much easier.
Installation and Cable Management Strategies
Proper installation and systematic cable management are essential to ensure your router rack remains secure and your network runs efficiently.
Wall Types and Mounting Hardware
Before mounting any rack to a wall, identify the wall material. Most internal walls in HDB flats are made of solid concrete, which requires a masonry drill bit, plastic wall plugs, and sturdy screws to secure heavy loads. If you are mounting to a drywall partition or a plywood cabinet panel, you must use specialized drywall anchors or toggle bolts. Always follow the manufacturer’s installation instructions carefully, and avoid relying solely on adhesive strips for heavy or valuable networking equipment unless the product is explicitly rated for that weight on your specific wall surface.
Systematic Cable Routing
When routing your cables, aim to separate power cords from data cables (such as Ethernet and fiber optic patch cords) to minimize potential electromagnetic interference. Avoid bending fiber optic cables at sharp angles, as this can damage the delicate glass core and disrupt your internet connection. Use adjustable hook-and-loop fasteners rather than tight plastic zip ties to bundle cables; this allows you to make adjustments easily in the future without risking damage to the cable jackets. Labeling each cable at both ends can also save significant time during future troubleshooting.
Ensuring Adequate Airflow
Position your router so that its built-in ventilation grilles are completely unobstructed. Maintain a minimum clearance of 5 cm between the router and any solid surfaces, such as the back of a cabinet or the underside of a desk. If you are using a multi-tier rack, avoid stacking devices directly on top of one another, as the heat generated by the bottom device will rise and warm the device above it, potentially causing both to overheat. Regular dusting of the ventilation grilles will also help maintain optimal operating temperatures.
Building Your Shortlist: Pre-Purchase Checklist
Before finalizing your purchase on any ecommerce platform, run through this quick checklist to ensure a seamless setup process.
- Measure Twice: Double-check the physical dimensions of your router, modem, and the intended mounting location. Ensure there is enough clearance for nearby doors to open fully and for household members to walk past without bumping into the rack.
- Verify Hardware Inclusion: Read the product description carefully to confirm whether mounting hardware (screws, wall plugs, or adhesive pads) is included in the package. If not, source the correct hardware separately before the rack arrives.
- Check Return Policies: Because sizing and fit can be tricky in compact spaces, prioritize sellers on online marketplaces that offer clear return policies or fit guarantees. This protects you if the rack does not accommodate your specific router model or wall type.
- Assess Cable Lengths: Ensure your existing power cables and Ethernet cords are long enough to reach the new rack location without being stretched taut. If necessary, plan to purchase longer, high-quality cables to complete your installation safely.
Frequently Asked Questions (FAQ)
Can I enclose my router in a cabinet without affecting Wi-Fi signals?
Enclosing a router inside a solid wooden or metal cabinet will significantly degrade your Wi-Fi signal strength. Materials like concrete, brick, and metal cause severe signal attenuation, while solid wood causes moderate reduction. If you must place your router inside a cabinet, choose a unit with open-slat doors, a plastic front panel, or a fabric mesh face to allow the signal to pass through more easily. Additionally, ensure the cabinet has active or passive ventilation holes to prevent heat buildup, and consider placing the router on an open shelf if you notice a drop in wireless performance.
Is it safe to mount a router rack directly above a bed or seating area?
Mounting a router rack directly above a bed, sofa, or desk seating area is generally not recommended due to safety and maintenance concerns. If a wall anchor fails or the rack is accidentally bumped, falling equipment could cause injury or damage. If you must mount the rack in a high-traffic or seating area, use heavy-duty mechanical fasteners (such as expansion bolts in concrete) rather than adhesive strips, and regularly check the stability of the mount. Additionally, keep in mind that overhead locations accumulate dust quickly and are more difficult to access for routine maintenance, cable adjustments, or device restarts.
Community discussion
Share your experience or ask a question. Comments are reviewed before publication.