
Building an efficient modular storage system around a metal pegboard requires selecting accessories that match both the physical dimensions of your board and the specific items you intend to store. While a bare metal pegboard offers a durable, sleek foundation, its utility depends entirely on the ecosystem of hooks, bins, shelves, and specialized brackets you attach to it. By combining these elements strategically, you can transform a flat wall into a highly organized, three-dimensional workspace that maximizes vertical space.
To achieve this, you must look beyond basic aesthetic choices and analyze compatibility, structural integrity, and layout. The right accessories not only keep your tools and household items within arm’s reach but also distribute weight safely to prevent damage to your walls. Whether you are setting up a home workshop, organizing a utility closet, or creating a craft station, understanding how different accessories interact with your pegboard is the first step toward a successful installation.
Assessing Your Storage Needs and Pegboard Specifications
Before purchasing any accessories, you must determine the physical specifications of your metal pegboard. Not all pegboards are built to the same standard, and mismatching accessories with your board can lead to loose fits, bent hooks, or damaged mounting holes. The most critical measurement to verify is the center-to-center hole spacing. Pegboards typically follow either an imperial standard of 1-inch (25.4 mm) spacing or a metric standard (often 25 mm or 32 mm). You must use a precise ruler or caliper to measure the distance from the center of one hole to the center of the adjacent hole.
Products mentioned in this guide
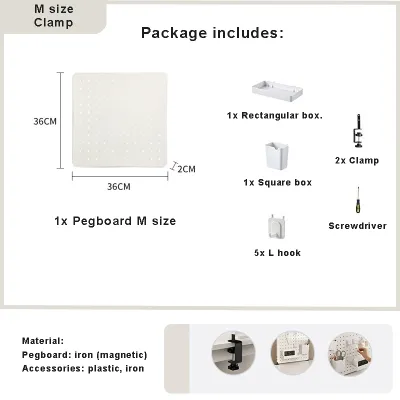
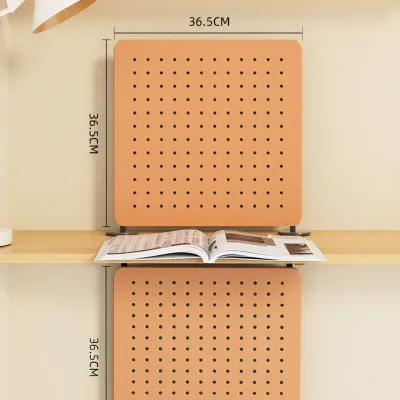
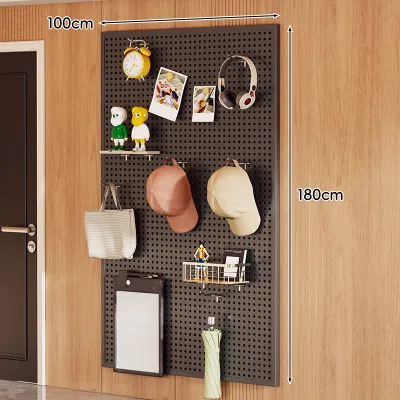
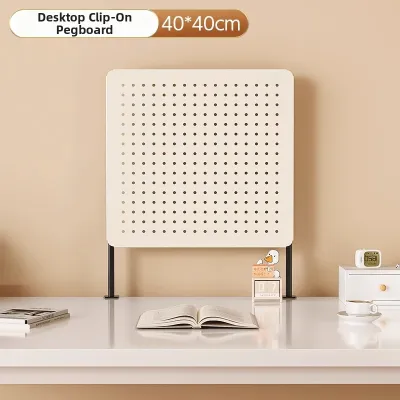
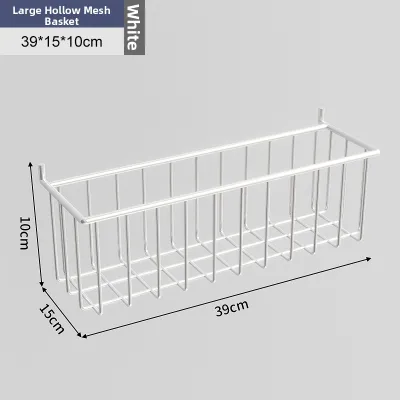
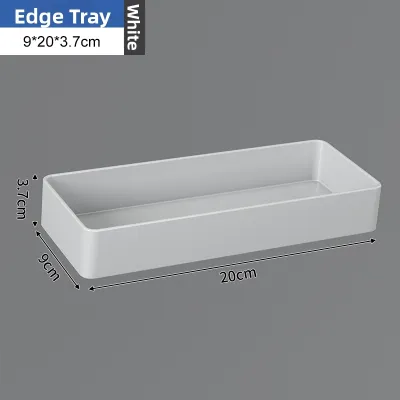
![[AUVIL] Korea Premium Steel Pegboard | Solid & Modern | Accessories choice | For Home & Office Decoration](https://img.lazcdn.com/g/p/466c05a2a3810c9d341f8f47ac9ff925.jpg_400x400q80.jpg_.webp)
Prices are valid at publication and may change. Please refer to the product page for the latest price.
Equally important is the hole diameter, which typically ranges from 1/8 inch (approx. 3.2 mm) to 1/4 inch (approx. 6.35 mm). Accessories designed for larger 1/4-inch holes will not fit into smaller 1/8-inch holes, while small-diameter hooks placed in large holes will wobble excessively and slip out during use. Additionally, check the thickness and material gauge of your metal pegboard. Heavy-duty steel boards can support thick, load-bearing brackets, whereas thinner aluminum or light-gauge steel boards may bend if paired with heavy, cantilevered shelves.
Once you have established your board’s specifications, categorize the items you plan to store by their size, weight, and frequency of use. Grouping your items allows you to estimate the exact ratio of hooks, bins, and shelves you will need. For example, frequently used hand tools require quick-access single hooks, while loose hardware like screws and wall plugs are best suited for clear plastic bins. Heavier items, such as power drills or large paint cans, will require robust brackets or reinforced shelves.
Essential Hooks and Hangers for Everyday Tools
Hooks are the foundation of any pegboard system, offering a simple way to hang items of various shapes and sizes. Choosing the correct hook design ensures that your items remain secure yet easy to retrieve.

Standard Hooks for Light to Medium Items
For everyday items such as scissors, tape measures, lightweight hand tools, and small cables, standard hooks are the most practical choice. These are available in several configurations, including straight hooks, curved hooks, and ring holders. Straight hooks are ideal for items with built-in hanging holes, while curved hooks prevent tools from easily sliding off the end. Ring holders are particularly useful for cylindrical items like screwdrivers or small flashlights.
When selecting standard hooks, look for designs that feature a slight upward angle at the tip. This subtle bend acts as a natural stop, preventing items from slipping off when the board is bumped. Additionally, consider hooks equipped with built-in locking mechanisms, such as plastic peg locks or screw-in retention clips. These stabilizers lock the hook’s prongs into the adjacent holes, ensuring the hook remains firmly attached to the metal pegboard when you pull an item off.
Heavy-Duty Brackets and Tool Holders
For heavier or awkwardly shaped tools, standard single-prong hooks are insufficient and can pose a safety hazard. Instead, you should look for multi-pronged brackets and specialized tool holders designed to distribute weight across multiple pegboard holes. These accessories often feature a wider mounting plate that engages three or more holes, reducing the localized stress on the metal board.
Specialized holders are engineered for specific tool profiles, such as custom cradles for cordless drills, multi-slot racks for screwdrivers, and wide double-loop brackets for hammers or mallets. Before purchasing these heavy-duty options, always check the manufacturer’s labeled load capacity printed on the packaging. Do not assume all metal brackets can hold the same weight; a bracket’s capacity depends on its material thickness, weld quality, and the number of engagement points.
Adding Depth: Shelves, Bins, and Baskets
To maximize the storage potential of your metal pegboard, you need to transition from flat hanging to three-dimensional storage. This is achieved by incorporating shelves, bins, and baskets that allow you to store loose, bulky, or non-hangable items.
Wire Baskets and Small Parts Bins
Loose hardware, craft supplies, and small components are difficult to hang on individual hooks. Wire baskets and clip-on bins solve this problem by providing dedicated containment zones. Wire baskets offer excellent visibility, allowing you to see the contents from below, which is ideal for storing bulkier items like aerosol cans, cleaning cloths, or sanding discs.
When selecting clip-on bins, pay close attention to the lip and clip depth of the mounting bracket. The bins must sit flush against the metal board to prevent them from tilting forward or wobbling when you drop items inside. High-quality bins feature a rigid rear flange that locks securely into the pegboard slots or holes. For frequently accessed parts, choose open-front bins that allow you to reach inside without removing the bin from the board.
Floating Shelves and Bracket Supports
Floating shelves provide flat, continuous surfaces on your pegboard, making them perfect for items that cannot be hung, such as paint cans, power tool battery chargers, or small potted plants. These shelves are typically supported by heavy-duty L-brackets that hook directly into the pegboard.
To ensure safety, always select shelves that utilize stabilizing pins or lower support arms. These design features rest against the face of the pegboard below the mounting holes, preventing the shelf from tipping or pivoting upward when weight is applied to the front edge. If you are fabricating your own wooden shelves to mount on pegboard brackets, ensure the wood is securely fastened to the brackets using appropriate screws to prevent the shelf from sliding off.
Specialized Attachments for Custom Workflows
Beyond standard hooks and shelves, specialized attachments allow you to customize your metal pegboard for specific tasks. These accessories target unique organizational pain points and help streamline your workflow.
Common specialized mounts include paper towel holders, extension cord reels, hex key organizers, and magnetic tool strips. Magnetic strips are particularly useful for securing small metal items like drill bits, tweezers, or precision screwdrivers, allowing for rapid attachment and removal. By mixing these specialized attachments with standard hooks, you can create dedicated functional zones on your board, such as a cleaning station with a paper towel holder and spray bottle hooks, or a dedicated electronics repair zone.
Keep in mind that specialized attachments often require specific hole patterns or multiple anchor points to function correctly. For instance, a paper towel holder requires two separate mounting brackets aligned horizontally at a precise distance. Always verify the mounting footprint and compatibility requirements of these accessories before purchasing to ensure they will fit your specific pegboard layout.
Installation Sequence and Weight Distribution
Proper installation is critical to ensuring your modular storage system remains stable and safe over time. A poorly planned layout can cause your metal pegboard to bow, pull away from the wall, or drop heavy items.
To prevent these issues, always follow a logical installation sequence. First, securely mount the metal pegboard to the wall, ensuring it is perfectly level. Once the board is mounted, begin arranging your accessories by placing the heaviest items and largest shelves at the bottom or center of the board. This keeps the center of gravity low and reduces the pulling force on the top wall anchors. Reserve the upper sections and outer edges of the board for lighter items, such as standard hooks, small plastic bins, and lightweight hand tools.
This strategic weight distribution prevents the metal board from bowing in the middle and minimizes leverage on the wall mounting screws. When mounting the board, you must identify your wall type. In Singapore apartments, walls are typically made of solid concrete or structural brick. Drilling into these hard surfaces requires a rotary hammer drill and specific masonry anchors (such as nylon wall plugs or sleeve anchors). You must follow the anchor manufacturer’s instructions precisely, paying close attention to the recommended drill bit size, hole depth, and any curing times for adhesive anchors if used.
Never exceed the rated load capacity of your wall anchors or the pegboard itself. If you plan to store exceptionally heavy equipment, or if you are unsure of your wall’s load-bearing capacity, consult a professional contractor to handle the installation.
Compatibility Checks and Common Pairing Mistakes
Building a modular system often involves sourcing accessories from various manufacturers, which increases the risk of compatibility issues. Avoiding common pairing mistakes will save you time and protect your investment.
One of the most frequent errors is attempting to mix accessories designed for different hole spacings. Forcing a metric-spaced hook into an imperial-spaced board, or vice versa, can bend the accessory’s prongs or permanently deform the holes in your metal pegboard. If an accessory does not slide in smoothly with light pressure, do not force it.
Another common mistake is hanging heavy, unbalanced items on single-prong standard hooks. Without a second anchor point, the weight of the item can cause the hook to pivot sideways, leading to dropped tools and potential injury. Always use multi-point brackets or specialized holders for asymmetrical or heavy items.
Finally, consider the environmental conditions of your storage space. While metal pegboards are highly durable, plastic bins and accessories can degrade over time. If your pegboard is installed in an unairconditioned service yard, balcony, or garage in Singapore’s humid climate, cheap plastic accessories may become brittle and crack when exposed to ambient heat or indirect sunlight. For these semi-outdoor environments, prioritize metal baskets or high-grade, UV-resistant polymer bins to ensure long-term durability.
Frequently Asked Questions (FAQ)
Can I use plastic accessories on a metal pegboard?
Yes, you can use plastic accessories on a metal pegboard, provided the mounting prongs match your board’s hole spacing and diameter. However, keep in mind that plastic clips and hooks may wear out, deform, or crack faster than metal alternatives under heavy loads or frequent use.
How do I keep metal hooks from slipping out of the holes?
To prevent metal hooks from lifting out when you retrieve a tool, use accessory locking mechanisms such as plastic peg locks, rubber O-rings, or double-wire hooks. These stabilizers secure the hook tightly against the face of the metal pegboard, keeping it firmly in place.
Community discussion
Share your experience or ask a question. Comments are reviewed before publication.