
Using a leather repair kit is a practical way to restore your sofa’s appearance when it suffers from surface scuffs, minor cuts, or deep tears. To achieve a seamless finish that blends with the surrounding material and withstands daily use, you must carefully assess the damage, prepare the surface, and apply the repair compounds in thin, controlled layers. While a DIY kit can successfully address many common issues, the key to a lasting repair lies in matching the specific leather type, following precise curing times, and knowing when the damage requires professional restoration.
Assess the Damage and Prepare the Work Area
Before opening any repair compounds, you must determine if your sofa’s material is compatible with a standard DIY leather repair kit. Leather furniture comes in various finishes, and a kit designed for pigmented or protected leather may ruin delicate surfaces like aniline, semi-aniline, nubuck, or suede. Check the manufacturer’s tag, which is often located under the sofa cushions or on the dust cover underneath the frame, to identify the exact leather type. If the tag is missing, you can perform a simple water drop test on an inconspicuous area: protected leather will repel water for a short time, while aniline or unfinished leather will absorb it almost instantly and darken.
Once you have confirmed compatibility, evaluate the depth, size, and nature of the damage to plan your repair strategy. Superficial scratches that only affect the color layer require a simple color-matching compound or touch-up fluid. Deeper cuts, punctures, or tears that penetrate through the leather hide demand a structural sub-patch and a flexible leather filler to rebuild the lost material. Measuring the length and width of the damage helps you verify if the backing fabric and filler volume provided in your kit are sufficient for the task.
Products mentioned in this guide
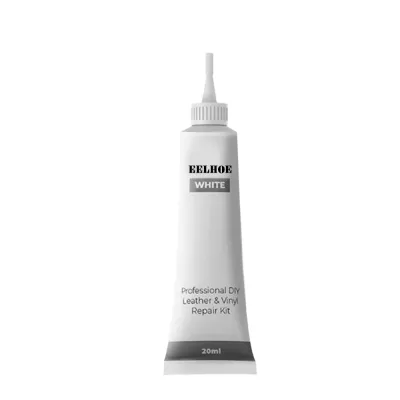
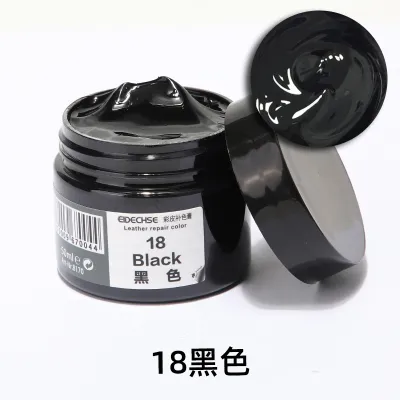
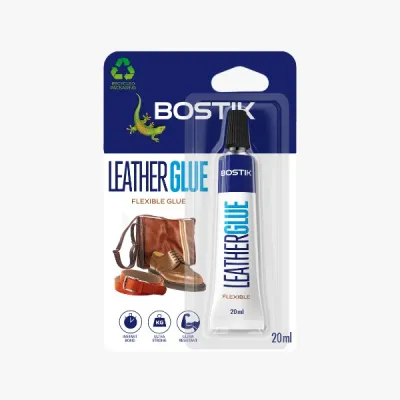
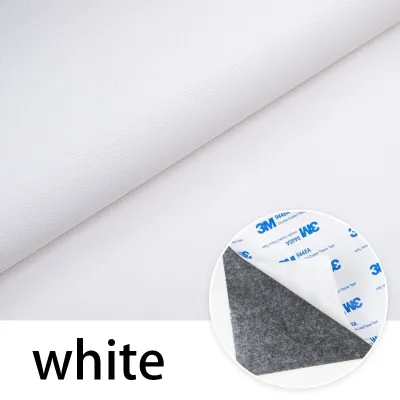
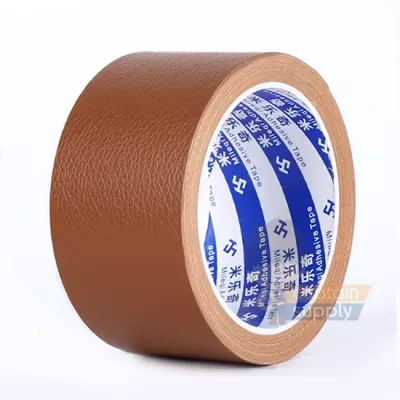
Prices are valid at publication and may change. Please refer to the product page for the latest price.
Proper adhesion of any repair compound depends entirely on how clean the surface is before application. Dust, body oils, pet dander, and household grime create a barrier that prevents adhesives and fillers from bonding securely to the leather fibers. Clean the affected area thoroughly using a mild, leather-safe cleaner, avoiding products that contain harsh solvents, silicones, or heavy oils. Wipe the area down with a clean, lint-free microfiber cloth and allow the leather to dry completely in a well-ventilated room before proceeding.
Gather the Necessary Tools and Kit Components
A successful leather repair requires having all your materials organized and ready before you begin the application process, as many adhesives and color compounds start to cure quickly once exposed to air. Open your chosen leather repair kit and inventory its contents to ensure everything is present and undamaged. A typical comprehensive kit includes color mixing compounds, a base leather filler, a specialized adhesive, backing fabric for structural support, grain paper or texture pads, and application tools like a spatula or sponge.

In addition to the kit components, you will need to gather several household tools to facilitate a precise application. Keep a pair of fine tweezers nearby for positioning backing fabric, sharp embroidery scissors for trimming frayed leather fibers, and fine-grit sandpaper (typically 400 to 600 grit) for smoothing rough edges. If your kit specifies a heat-cure process, you will also need a controlled heat source, such as a household iron or a hair dryer, along with a heat transfer tool to cure the compound without scorching the surrounding leather.
Preparing your physical workspace is just as important as preparing the sofa itself to prevent accidental damage to your home. Set up your work area in a space with excellent ventilation, especially if your kit contains solvent-based adhesives or strong colorants. Protect the surrounding cushions, wooden legs, and nearby flooring by laying down drop cloths or old newspapers. Use low-tack masking tape to mask off the immediate borders of the repair zone, ensuring that excess color or filler does not accidentally stain the undamaged leather nearby.
Step-by-Step Repair Process for Scratches and Tears
Executing a leather repair requires patience, a steady hand, and strict adherence to the manufacturer’s instructions. Every leather repair kit is formulated with specific chemical compounds that dictate exact mixing ratios, drying times, and application sequences. Do not attempt to speed up the process by mixing different brands, nor should you substitute household glues, craft paints, or industrial adhesives, as these can cause the leather to stiffen, crack, or peel over time.
As you begin applying the compounds, monitor the leather’s reaction closely to ensure compatibility. If you notice any unusual bubbling, discoloration, melting, or curling of the leather edges, stop the process immediately. These signs indicate an adverse chemical reaction, which can happen if the leather has been treated with aftermarket silicone sprays or if the material is actually a highly sensitive synthetic blend. If a negative reaction occurs, wipe away the wet compound immediately with a dry cloth and consult a professional leather technician.
Fixing Minor Scratches and Surface Scuffs
For shallow scratches that have not penetrated through the hide, the goal is to restore the color and smooth out the texture. Start by inspecting the edges of the scratch; if there are any tiny, raised fibers or rough ridges, use fine-grit sandpaper to lightly sand the area until it feels flush with the surrounding leather. Be extremely gentle during this step, applying minimal pressure to avoid sanding through the protective topcoat of the undamaged areas. Wipe away any sanding dust with a dry, clean microfiber cloth.
Next, prepare your color compound by mixing the primary colors provided in the kit to match your sofa’s specific shade. Apply a tiny test speck of the mixed color to a hidden area, such as the underside of the frame, and let it dry to verify the match, as wet compounds often look lighter or darker than their cured state. Once satisfied, apply a small amount of the color-matched compound to the scratch using the provided sponge or spatula, working in thin layers. Wipe away any excess compound from the surrounding undamaged leather immediately to prevent a halo effect, and gently press the grain paper or texture pad onto the wet compound to mimic the natural leather pattern.
Patching Deeper Tears, Cuts, and Holes
Deeper damage that cuts completely through the leather requires a multi-step structural repair to prevent the tear from spreading under the weight of daily use. Begin by using sharp scissors to carefully trim away any loose, frayed, or burnt fibers along the edges of the tear, creating clean borders for the patch. Cut a piece of the provided backing fabric so that it is approximately one centimeter larger than the damage on all sides. Using tweezers, carefully insert the backing fabric through the tear, flattening it out completely beneath the leather hide so that it sits smooth and wrinkle-free.
Once the backing fabric is positioned, apply a thin layer of the kit’s leather adhesive between the underside of the leather hide and the top of the backing fabric. Press down firmly on the edges of the tear to bond the leather to the support fabric, and allow this adhesive layer to dry completely according to the kit’s instructions. Next, use a palette knife to apply the leather filler over the backing fabric, filling the void. Apply the filler in multiple thin layers rather than one thick layer, allowing each layer to dry thoroughly to prevent the compound from shrinking, cracking, or sinking as it cures.
After the final layer of filler has cured completely, it should sit slightly below or flush with the surrounding leather surface. Use fine-grit sandpaper to gently sand the cured filler until it is perfectly flat and smooth, taking care not to scuff the adjacent healthy leather. Wipe away the dust, and then apply your color-matched compound over the sanded filler. Use a sponge to feather the edges of the color outward into the surrounding leather, and press the texture pad firmly onto the surface to blend the repaired area seamlessly with the sofa’s natural grain.
Blending, Curing, and Final Inspection
The final steps of the repair process determine how well the patch blends into the rest of the sofa and how long it will endure daily wear. If your leather repair kit includes a clear finishing sealant or protective topcoat, apply it over the cured color compound using a clean sponge or lint-free cloth. This sealant is crucial because it locks in the color, provides a consistent matte, satin, or glossy sheen, and protects the repaired area from friction, body oils, moisture, and UV light degradation.
Once all layers of filler, color, and sealant have been applied, you must allow the repair to cure undisturbed for the full duration specified on the product label. This curing period can range from several hours to a full day, depending on the ambient temperature and humidity in your home. Avoid sitting on the sofa, placing heavy objects on the repaired cushion, or applying any leather conditioners during this time, as premature pressure or moisture can disrupt the chemical bonding process and cause the patch to fail.
After the curing period has elapsed, perform a final inspection of the repaired area under different lighting conditions. Examine the patch under both natural daylight and artificial indoor lighting, looking at it from multiple angles to check the color match and sheen consistency. Keep in mind that while a high-quality DIY repair can make damage virtually invisible from a distance, minor differences in texture, grain pattern, or light reflection may still be visible upon close inspection.
When to Stop and Call a Professional
While modern leather repair kits are highly effective for minor cosmetic issues, certain types of damage are beyond the scope of DIY solutions and require the expertise of a professional restoration specialist. If your sofa has suffered structural failures, such as torn seams, broken stitching, sagging cushions, or deep punctures that extend into the internal foam padding or wooden frame, a surface kit will not suffice. Attempting to glue structural seams or fill deep structural voids with cosmetic filler will inevitably lead to the repair reopening when someone sits on the sofa.
The type of leather and the extent of the damage also play a significant role in determining whether to hire a professional. High-end aniline or semi-aniline leathers, which lack a heavy protective pigment layer, are incredibly difficult to repair with standard kits because they absorb liquids and change color dynamically. Furthermore, extensive damage, such as widespread pet scratching across multiple cushions, large missing chunks of leather, or severe cracking from sun exposure, requires professional-grade spray equipment and specialized compounds to restore without looking patchy.
Finally, matching complex multi-tone finishes, distressed leather, or vintage patinas is an art form that is exceptionally difficult to replicate with a basic hand-applied kit. Professional technicians use advanced airbrushing techniques, custom-blended dyes, and specialized grain-copying compounds to recreate the exact look of aged leather. If your sofa is a valuable heirloom, a designer piece, or features a complex finish, investing in professional restoration is the safest way to preserve its beauty and value without risking permanent, unsightly damage. While a basic kit might cost under S$50, a professional repair might cost upwards of S$150 to S$300, but the investment is often worth it to protect high-value furniture.
Frequently Asked Questions (FAQ)
Can I use a standard leather repair kit on faux or bonded leather?
While some leather repair kits are labeled as compatible with synthetic materials, using them on faux or bonded leather requires caution. Faux leather, such as polyurethane (PU) or polyvinyl chloride (PVC), has a plastic surface that may not bond well with adhesives designed for natural leather fibers. Bonded leather is particularly problematic because it consists of shredded leather scraps glued to a polyurethane backing; once it begins to peel or delaminate, the surrounding material is structurally weak and will likely continue to disintegrate around your repair site. If you decide to attempt a repair on synthetic leather, check the kit label for explicit compatibility with PU or vinyl, and always test the compound on a hidden area first to ensure it adheres without melting the plastic.
What should I do if the repaired area feels stiff or sticky?
A stiff or sticky finish on a repaired leather surface is usually the result of applying the compounds too thickly, insufficient drying time between layers, or high ambient humidity during the curing process. If the area is sticky, it often means the solvents in the filler or colorant have not fully evaporated; allow the sofa to sit undisturbed in a well-ventilated room with a fan running to encourage complete curing. If the area is fully cured but feels stiff, you can gently buff the surface with a soft, dry microfiber cloth to help loosen the fibers and restore flexibility. Avoid using harsh household chemicals, rubbing alcohol, or heavy leather conditioners to resolve stickiness, as these substances can dissolve the repair compounds and ruin your hard work.
Community discussion
Share your experience or ask a question. Comments are reviewed before publication.