
To stop furniture from sliding and scratching your floors, you must replace worn-out glides with a high-quality non slip pad tailored to your specific flooring material and the weight of your furniture. Shifting furniture does more than disrupt your room layout; every minor movement grinds trapped dust and grit into your floor’s protective finish, leading to deep, permanent scratches. By identifying why your furniture moves, selecting the correct pad material, and executing a clean installation, you can secure your household items and preserve your floor’s pristine appearance.
Simply pushing sliding furniture back into place is a temporary fix that actually accelerates floor damage. Over time, friction wears down factory-installed feet, exposing raw wood, metal screws, or hard plastic edges to your floor. Taking a systematic approach to replacing these pads ensures long-term stability and prevents costly floor refinishing or tile replacement bills.
Identifying Why Furniture Slides and Scratches Floors
Identifying the warning signs of floor damage early can save you from expensive repairs. Common indicators include fine white lines on varnished wood, dull patches on vinyl, or dark scrape marks on light-colored ceramic tiles. You might also notice your sofa shifting slightly every time you sit down, or hear a sharp, scraping noise when pulling out a dining chair. These symptoms indicate that the protective barrier between your furniture and the floor has failed.
Products mentioned in this guide
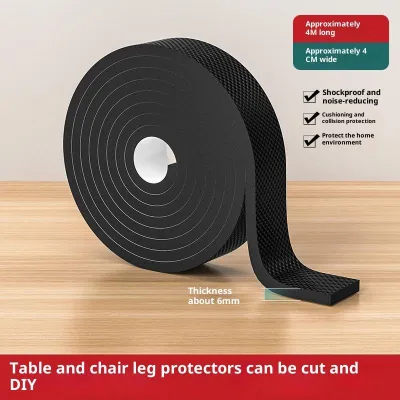
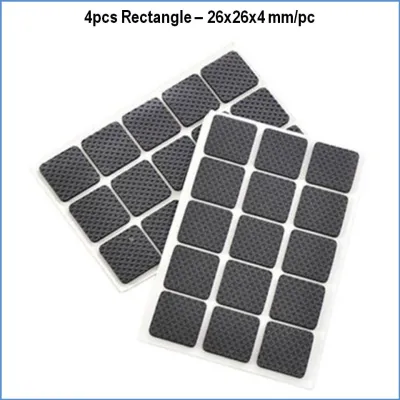
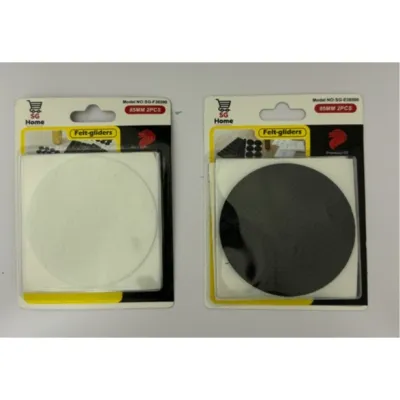
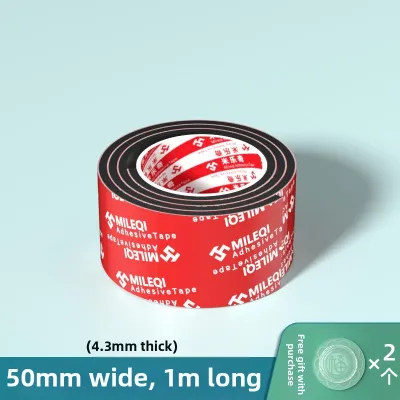
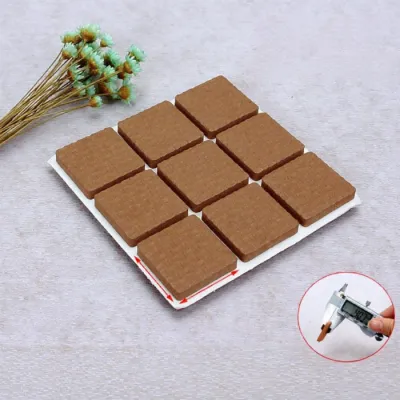
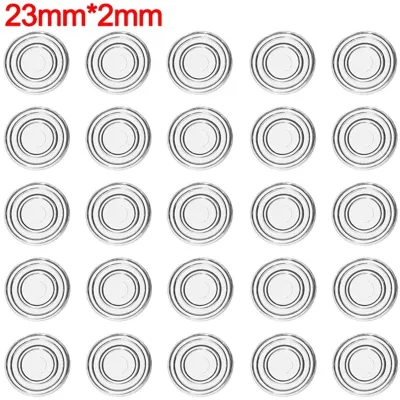
Prices are valid at publication and may change. Please refer to the product page for the latest price.
Several factors contribute to this unwanted movement. Factory-installed glides frequently wear down, crack, or fall off entirely, leaving bare wood or sharp metal fasteners exposed. Uneven furniture legs can also concentrate the entire weight of an object onto a single corner, magnifying the friction and pressure on that specific spot. Furthermore, smooth floor finishes—such as polished porcelain tiles, high-gloss marble, or sealed hardwood—lack the natural texture needed to grip furniture legs. In Singapore’s tropical climate, high relative humidity can also cause wooden furniture legs to expand and contract, occasionally loosening joint connections and causing minor wobbles that lead to sliding.
Relying on temporary solutions or ignoring the issue altogether will worsen the damage. Pushing a heavy cabinet or sofa back into place without protection grinds microscopic dirt particles into the floor finish, acting like sandpaper. Additionally, using makeshift pads—such as folded cardboard or cheap, thin stickers—can trap grit underneath or slide off entirely, leaving a sticky adhesive residue that attracts even more abrasive dirt.
Choosing the Right Replacement Non-Slip Pads
Selecting the right non slip pad requires balancing the material of your flooring with the physical characteristics of your furniture. A pad that works perfectly on hard ceramic tiles may fail or even damage a delicate hardwood floor. Understanding how different materials interact with your floors is the first step toward a successful replacement.

Matching Pad Materials to Your Flooring
Different floor surfaces require specific pad materials to achieve the right balance of grip and protection.
- Rubber and Silicone Pads: These materials offer a high coefficient of friction, making them the ideal choice for hard, smooth surfaces such as polished ceramic tiles, marble, and polished concrete. They grip the floor tightly, preventing any lateral movement. However, you must check your flooring manufacturer's guidelines before use; some low-grade rubber compounds contain plasticisers that can chemically react with polyurethane wood varnishes or luxury vinyl tiles (LVT), leaving permanent yellow stains.
- Felt Pads: Dense felt pads are excellent for protecting hardwood, laminate, and vinyl floors from scratches. However, they offer very little slip resistance. Felt is designed to allow furniture to glide smoothly, making it perfect for dining chairs that are moved frequently, but highly unsuitable for heavy sofas or beds that you want to keep firmly anchored.
- Cork and Dense Foam Pads: Cork and high-density EVA foam pads serve as excellent middle-ground options. They provide moderate slip resistance and excellent shock absorption. These are highly effective for heavy, stationary furniture pieces on laminate or engineered wood floors where rubber might cause staining and felt would allow too much movement.
Sizing and Weight Capacity
To ensure your replacement pads do not fail prematurely, you must match them to the physical dimensions and weight of your furniture.
Begin by measuring the footprint of each furniture leg. Use a ruler or caliper to find the exact diameter of round legs, or the width and length of square and rectangular legs. Choosing a pad that matches these dimensions ensures maximum surface contact, which distributes the weight evenly and prevents the adhesive from peeling at the edges.
Weight capacity is equally critical. Heavy furniture pieces—such as solid teak dining tables, large wardrobes, or multi-seater sofas—will rapidly compress thin, low-density pads. Once a pad compresses completely, the hard wood or metal of the furniture leg makes contact with the floor, defeating the purpose of the pad. For heavy items, select heavy-duty, high-density rubber or reinforced felt pads that are at least 3mm to 5mm thick to ensure they maintain their cushioning under load.
Step-by-Step Guide to Installing Replacement Non-Slip Pads
Proper installation is key to ensuring your new non-slip pads stay securely attached for years. Following a clean, methodical process prevents the pads from shifting or peeling off under pressure.
1. Preparation First, safely tilt or flip your furniture to access the bottom of the legs. If you are working with heavy items, always ask a helper for assistance to avoid injury or accidental floor damage. Carefully remove any worn-out factory glides, staples, or old nail-on pads using a claw hammer or pliers. Next, clean the bottom of the furniture leg thoroughly. If there is old, sticky adhesive residue, apply a small amount of isopropyl alcohol or a dedicated adhesive remover to a cloth and scrub the area clean. Avoid using harsh acetone on finished wood or plastic, as it can dissolve the furniture’s protective coating.
2. Drying Allow the cleaned furniture legs to dry completely before applying the new pads. In Singapore’s humid environment, even a tiny amount of trapped moisture can ruin the adhesive bond, causing the pad to slide off the leg within a few weeks. Wipe the area with a dry microfiber cloth and wait at least ten minutes to ensure all cleaning solvents have fully evaporated.
3. Application Peel the protective backing off the adhesive pad, taking care not to touch the sticky surface with your fingers, as skin oils reduce adhesion. Align the pad precisely with the bottom of the furniture leg. Once aligned, press the pad firmly onto the leg and hold it with strong, even pressure for at least 30 seconds. To ensure a permanent bond, let the adhesive cure for 24 hours before returning the furniture to its upright position and applying weight.
4. Nail-on or Screw-on Alternatives For heavy furniture that is moved occasionally, adhesive pads can eventually shear off. In these cases, nail-on or screw-on non-slip pads offer a more permanent mechanical connection. However, you must observe a strict safety boundary before installing these: check your furniture leg material and the manufacturer’s instructions. If the legs are made of hollow metal, thin plastic, or fragile, narrow wood, do not use nail-on or screw-on pads, as they can split the leg or ruin the structural integrity of the furniture. If you encounter these materials, stick to heavy-duty adhesive pads or consult a professional furniture repair service.
Troubleshooting: When Non-Slip Pads Don't Work
If your furniture continues to slide or scratch your floors even after installing new pads, there are several common issues you can troubleshoot.
Uneven furniture legs are a frequent culprit. If one leg is slightly shorter than the others, it will not make firm contact with the floor, reducing the overall grip of your non-slip pads and causing the furniture to wobble. To fix this, place a spirit level on top of the furniture to identify the low point. You can resolve the imbalance by inserting thin plastic or wood furniture shims between the leg and the non-slip pad, ensuring all four legs share the weight load evenly.
Dirty floors can also compromise the performance of your pads. Over time, household dust, pet hair, and leftover floor wax or polish accumulate on the bottom of rubber or silicone pads. This creates a slippery barrier between the pad and the floor, causing the furniture to slide easily. Regular sweeping and mopping will prevent this buildup and keep your pads functioning correctly.
Extremely heavy furniture can also overwhelm standard pads. If you find that standard adhesive pads are constantly crushing, shifting, or peeling off under the weight of a heavy solid wood cabinet or piano, you need to increase the surface area of protection. Consider upgrading to heavy-duty caster cups or large, interlocking rubber floor protectors that distribute the weight across a much wider footprint.
Maintaining Your Non-Slip Pads and Floors
To extend the lifespan of your non-slip pads and keep your floors looking new, establish a simple maintenance routine.
Perform a quick visual inspection of your furniture pads every six months. Look for signs of severe compression, cracking, tearing, or peeling edges. Pay close attention to dining chairs and other frequently moved items, as these pads wear out much faster than those under stationary sofas or sideboards. Replace any damaged or worn pads immediately to prevent sudden floor scratches.
Keep the grip surfaces clean to maintain high friction. For rubber or silicone pads, wipe the bottom of the pads with a damp microfiber cloth occasionally to remove dust and hair. This simple step instantly restores their non-slip properties. For felt pads, use a soft brush or vacuum attachment to remove embedded grit and dust that could act as an abrasive against your floor.
Finally, avoid using harsh chemical cleaners, bleach, or abrasive scrubbing pads on or around your furniture legs. These chemicals can degrade rubber and silicone compounds, dissolve the adhesives holding the pads in place, or strip away your floor’s protective wax or polyurethane sealant. Stick to pH-neutral floor cleaners and damp cloths for safe, effective maintenance.
Frequently Asked Questions (FAQ)
Can I use non-slip pads on all types of flooring?
While most non-slip pads are highly versatile, you must match the pad material to your specific floor type to avoid damage. Rubber and silicone pads are excellent for securing furniture on ceramic tiles, marble, and concrete, but low-quality rubber can react with polyurethane wood finishes or vinyl flooring, leaving permanent yellow stains. Always check your flooring manufacturer’s care guide, and opt for high-quality, non-reactive felt or specialized foam pads for delicate wood or vinyl surfaces.
How often should I replace furniture non-slip pads?
The lifespan of your non-slip pads depends on the weight of the furniture and how often it is moved. Pads on heavily used items like dining chairs typically require replacement every 6 to 12 months, as constant movement wears down the material. For heavy, stationary items like wardrobes or sofas, high-quality pads can last 2 to 3 years. Replace them immediately if you notice flattening, cracking, peeling edges, or if the furniture begins to slide again.
Will non-slip pads leave sticky residue on my floor?
High-quality non-slip pads are designed with floor-safe adhesives that should not leave residue under normal conditions. However, prolonged exposure to high temperatures, direct sunlight, or moisture can cause the adhesive to break down and seep onto the floor. If you find sticky residue after removing a pad, you can safely clean it by applying a small amount of isopropyl alcohol or a mild, floor-approved adhesive remover to a microfiber cloth and gently wiping the area.
Community discussion
Share your experience or ask a question. Comments are reviewed before publication.