
Replacing a worn-out felt pad on your furniture legs is one of the simplest yet most effective ways to preserve the beauty and longevity of your home’s flooring. Over time, the protective barriers on the bottoms of chairs, tables, and heavy cabinets degrade due to friction, weight, and environmental factors. In Singapore’s humid climate, adhesive backings can slide out of place, while dust and grit easily cling to exposed glue, turning a protective cushion into an abrasive surface. Ignoring damaged pads risks deep scratches on delicate surfaces like hardwood parquet, polished marble, or luxury vinyl tiles. By taking the time to systematically remove old pads, clean the furniture legs, and install high-quality replacements, you can restore smooth movement and quiet operation to your household furniture.
Signs Your Furniture Felt Pads Need Replacing
Identifying when to replace a felt pad requires regular observation of your furniture’s movement and the condition of your floors. The most obvious indicator is a change in acoustics; if a chair that once slid silently across the room begins to make a scraping or grinding noise, the felt has likely worn thin or fallen off entirely. You should also periodically inspect the physical state of the pads themselves. A healthy pad is thick, soft, and firmly centered on the leg, whereas a compromised pad will appear severely compressed, matted, or shredded.
In many cases, the adhesive backing on stick-on pads begins to fail, causing the pad to shift sideways. This exposes the sticky glue residue, which acts as a magnet for dust, pet hair, and abrasive grit. When you drag a chair with exposed adhesive, this trapped debris rubs directly against your flooring, causing fine scratches that dull polished surfaces over time. Furthermore, look out for visible scuffs or dark streaks on your floors, particularly along high-traffic paths like dining areas. If you notice any wobbling or unevenness when sitting at a table or on a chair, it may indicate that the pads on one or more legs have flattened unevenly or detached completely, requiring immediate replacement to redistribute the weight safely.
Products mentioned in this guide
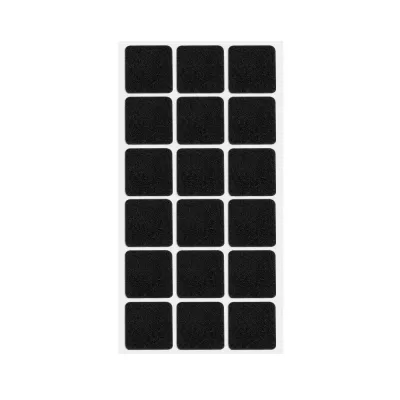
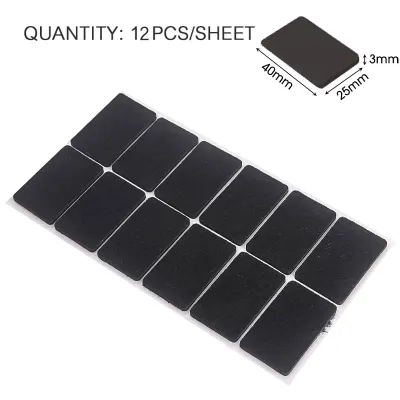
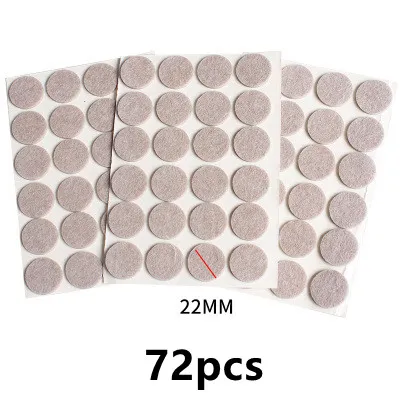
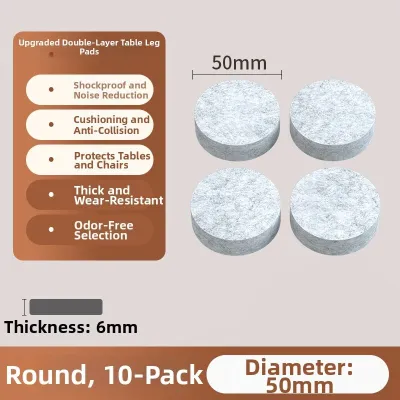
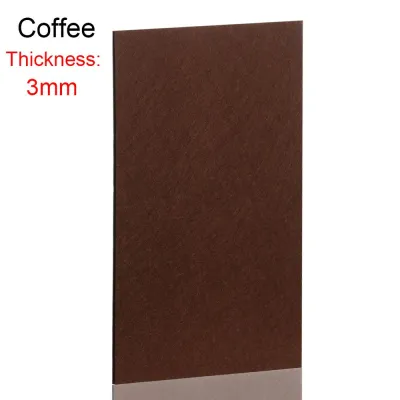
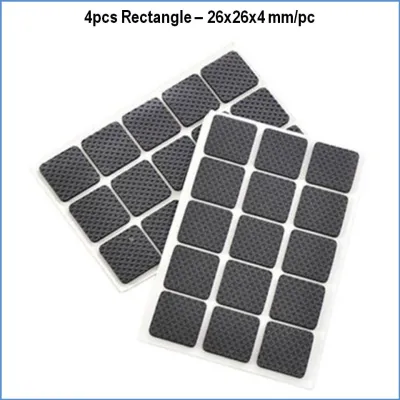
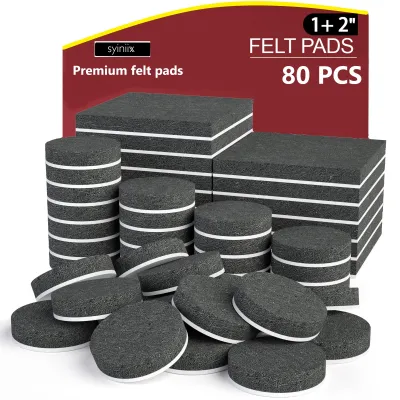

Prices are valid at publication and may change. Please refer to the product page for the latest price.
Tools and Materials for Felt Pad Replacement
Before starting the replacement process, gathering the correct tools ensures you can complete the task efficiently without damaging your furniture. The specific items you need will depend on whether your current protectors are adhesive, nail-on, or screw-in varieties. Having a clean, well-lit workspace and a soft blanket or towel to lay your furniture on will protect the tops and sides of your pieces from scratches while you work on the legs.

For removing adhesive pads, prepare a plastic scraper, a dull putty knife, or an old plastic credit card. Avoid sharp metal blades, which can easily gouge wood or slice through protective finishes. You will also need clean microfiber cloths and a mild cleaning agent, such as a small amount of household oil or a specialized adhesive remover, to clean off old glue residue. For mechanically fastened pads, keep a pair of pliers and a screwdriver (both flathead and Phillips, depending on the screws used) nearby. Finally, have your replacement felt pads on hand, ensuring they match the size and attachment style suitable for your furniture legs. Always check the manufacturer’s packaging for any specific preparation tools or curing requirements before you begin.
How to Safely Remove Old Felt Pads
Removing old furniture glides requires patience and a gentle touch to prevent splitting the wood, stripping decorative veneers, or scratching metal legs. Before you begin, check your furniture manufacturer’s care instructions to ensure that your planned removal method does not void any warranties or damage specialized finishes. If the instructions are unavailable or if you encounter unexpected resistance, proceed slowly and prioritize protecting the integrity of the furniture leg.
Removing Peel-and-Stick (Adhesive) Pads
To detach adhesive-backed felt pads, start by sliding your plastic scraper or credit card under the edge of the pad. Apply steady, horizontal pressure to slide the tool between the felt and the bottom of the furniture leg. If the adhesive is stubborn, you can gently warm it with a hair dryer on a low-heat setting for a few seconds to soften the glue, taking care not to overheat and blister the wood finish or veneer. Avoid pulling the pad straight up with force, as this can tear away fibers from softwoods or lift delicate wood veneers. If the felt splits and leaves a layer of compacted fiber and glue behind, continue scraping gently with your plastic tool, working from the outer edges toward the center until the bulk of the material is removed.
Removing Nail-On or Screw-In Pads
Mechanically fastened pads require a different approach to avoid damaging the internal structure of the wood leg. For nail-on pads, grip the plastic or metal base of the pad firmly with a pair of pliers. Pull straight outward along the angle of the nail to avoid bending the fastener or enlarging the hole in the wood. If the pad has a screw-in attachment, select a screwdriver that fits the screw head precisely to prevent stripping the head, then turn it counterclockwise to back the screw out completely.
If you encounter a nail or screw that is deeply rusted, bent, or embedded so firmly that the wood begins to split or crack during extraction, stop immediately. Forcing a stuck fastener can ruin the structural integrity of the furniture leg. In such cases, if you cannot safely remove the fastener, consult a furniture repair professional. Alternatively, if the nail head is stable and flush with the wood but cannot be pulled out, you can leave it in place and glue a thick, heavy-duty adhesive felt pad directly over it, provided the surface remains level and the metal does not contact the floor.
Preparing the Furniture Leg Surface for New Pads
Once the old pad is removed, preparing the bottom of the furniture leg is critical to ensuring the new felt pad adheres securely or fastens tightly. Any remaining glue residue, dust, or wood fibers will prevent a flat, stable connection, causing new adhesive pads to fall off prematurely or mechanical pads to sit crookedly. Begin by wiping the bottom of the leg with a dry microfiber cloth to remove loose dust and debris.
To tackle stubborn adhesive residue, use gentle methods first. Dampen a cloth with a small amount of mild household oil or soapy water and rub the residue gently. If you choose to use a commercial adhesive remover or rubbing alcohol, exercise extreme caution: strong chemical solvents can permanently dissolve, dull, or strip furniture finishes, paints, and veneers. Always check the product label and test a tiny drop of the solvent on an inconspicuous area of the furniture—such as the inner side of a leg near the frame—before applying it to the bottom. If the furniture has specialized coatings or you are unsure of its material composition, stop and consult the manufacturer’s care guide.
If the bottom of the leg is rough, uneven, or has raised wood fibers from a previous nail, use a piece of fine-grit sandpaper (such as 220-grit) to lightly smooth the surface. Sand only the very bottom face of the leg, keeping the sandpaper flat to avoid rounding the edges. After sanding, thoroughly wipe away all wood dust with a damp cloth and allow the wood to dry completely. A clean, dry, and flat surface is essential for a long-lasting bond.
Step-by-Step Installation of New Felt Pads
With the furniture legs clean, dry, and smooth, you are ready to install the replacement felt pads. Proper alignment and installation techniques are vital to ensure the pads remain centered, distribute the furniture’s weight evenly, and do not damage your flooring.
Applying Adhesive Pads
To install peel-and-stick felt pads, select a pad that matches the shape and size of the furniture leg bottom as closely as possible. If using customizable sheets, cut the felt to size using sharp shears. Carefully peel the protective paper backing from the pad, taking care not to touch the exposed adhesive with your fingers, as skin oils can weaken the bond. Align the pad precisely with the center of the leg bottom, ensuring no part of the adhesive backing overhangs the edges where it could collect dust.
Once aligned, press the pad firmly onto the wood. Apply strong, steady pressure with your thumb for at least 30 seconds to activate the pressure-sensitive adhesive. For heavy furniture, you can carefully stand the piece upright so its own weight presses the pads into the floor, but place a clean cloth or cardboard underneath to prevent shifting. Allow the adhesive to cure undisturbed for the manufacturer-recommended duration, which is typically 12 to 24 hours. Avoid sliding or dragging the furniture during this curing window, as lateral force can easily dislodge the fresh adhesive before it reaches full bonding strength.
Installing Nail-On or Screw-In Pads
For mechanical fasteners, alignment is equally important to prevent the metal or plastic housing from scraping the floor. If you are replacing a pad of the same style, check if the existing hole is tight and structurally sound. If the original hole is stripped, loose, or too wide, do not attempt to force the new screw or nail into it, as it will quickly wobble loose. Instead, fill the hole with a high-quality wood filler, let it dry completely according to the product instructions, and sand it flush. Alternatively, you can insert a small wooden dowel or toothpick dipped in wood glue into the hole, trim it flush once dry, and then drill a small pilot hole.
Align the new pad over the center of the leg. For nail-on pads, use a small hammer to tap the nail gently and straight into the wood. Ensure the hammer strikes the pad flatly so you do not bend the nail or crush the felt. For screw-in pads, drive the screw with a manual screwdriver until it is snug. Avoid using power drills, which can easily over-tighten the screw, strip the wood fibers, or crack the furniture leg. Stop turning as soon as the screw head is flush with the inner casing; over-tightening can compress the felt layer excessively, exposing the metal screw head to your floors.
Verifying the Installation and Ongoing Maintenance
After completing the installation, perform a thorough quality check before returning the furniture to regular service. Place the furniture on a flat surface and check for any wobbling or unevenness. If a leg sits unevenly, inspect the pads to ensure they are of equal thickness and are centered correctly. Run your fingers around the edges of adhesive pads to confirm they are completely flush with no lifting corners. For mechanical pads, double-check that no metal screw heads or nail shafts are protruding through the felt layer.
Ongoing maintenance is key to extending the life of both your felt pads and your flooring. In Singapore’s dusty environments, pet hair, loose fibers, and tiny outdoor grits can quickly wrap around or embed themselves into the felt. Periodically check the bottoms of your chairs and tables, and use a stiff brush or a slightly damp microfiber cloth to wipe away trapped debris. If a pad becomes heavily soiled or wet from floor mopping, let it dry completely before moving the furniture. Lastly, remember that felt pads are designed to reduce friction, not to make furniture completely immune to dragging damage. Always lift heavy tables, sofas, and cabinets when moving them across the room to prevent tearing the pads or scratching your floors.
Frequently Asked Questions (FAQ)
How often should I replace felt pads on my furniture?
The lifespan of a felt pad depends on the weight of the furniture, how frequently it is moved, and the texture of your flooring. Dining chairs that are slid back and forth multiple times a day on textured tiles will wear out much faster than a heavy sideboard that remains stationary on smooth parquet. Instead of adhering to a rigid calendar schedule, inspect your furniture legs every six months. Look for signs of flattening, thinning felt, sliding adhesive, or accumulated dirt. Replace the pads immediately if you notice the felt has compressed to less than half its original thickness or if the adhesive has begun to slip.
Can I use felt pads on furniture with metal or angled legs?
Standard flat adhesive felt pads often fail on angled, narrow, or hollow metal legs because the contact surface is too small or sits at an angle, leading to uneven pressure and rapid peeling. For these specialized furniture types, look for flexible wrap-around felt pads, slip-on silicone cups with integrated felt bottoms, or threaded felt glides designed specifically for metal inserts. Always check the replacement pad manufacturer’s specifications to ensure compatibility with your specific leg shape, diameter, and angle before purchasing.

Community discussion
Share your experience or ask a question. Comments are reviewed before publication.