
Worn-out rubber feet on chairs, tables, and cabinets can quickly lead to unsightly floor scratches, annoying squeaks, and unstable furniture. Replacing these small but essential components is a highly manageable home maintenance project that preserves both your furniture legs and your flooring. By identifying the existing mounting style, selecting the correct replacement size, and following a systematic removal and installation process, you can restore your furniture’s stability and protect your home’s surfaces.
Over time, rubber naturally degrades due to friction, weight, and environmental exposure. When the rubber hardens, cracks, or wears down completely, the underlying metal screws, nails, or raw wood can make direct contact with your floors. Taking the time to replace these feet not only saves your floors from costly repairs but also ensures your furniture remains level and safe to use.
Assessing Furniture Legs and Choosing the Right Replacement Feet
Before purchasing any replacement parts, you must carefully inspect the bottom of your furniture legs to identify how the current rubber feet are attached. Furniture manufacturers typically use one of three common mounting methods: screw-in, nail-on (or staple-on), or adhesive-backed pads. Understanding this attachment style is crucial because it dictates the tools you will need and the type of replacement feet you must acquire.
Products mentioned in this guide
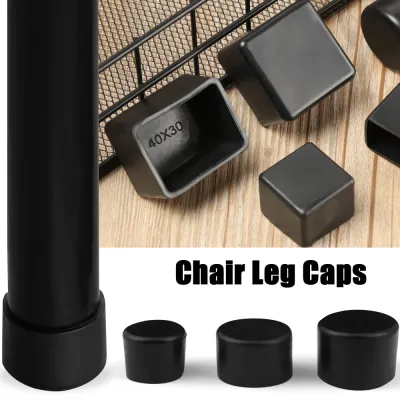
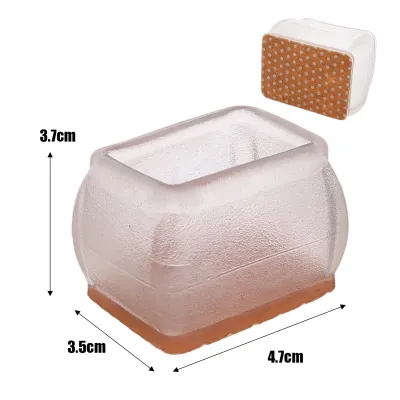
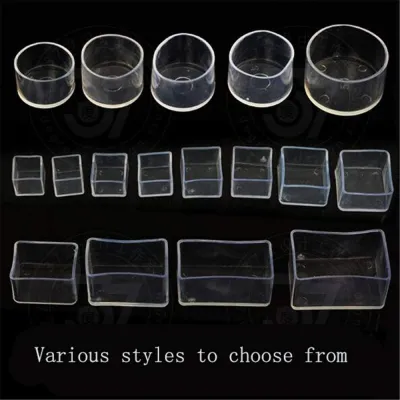
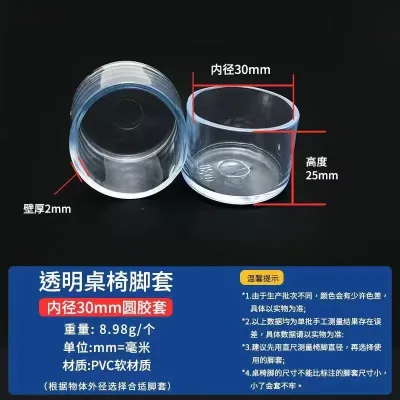
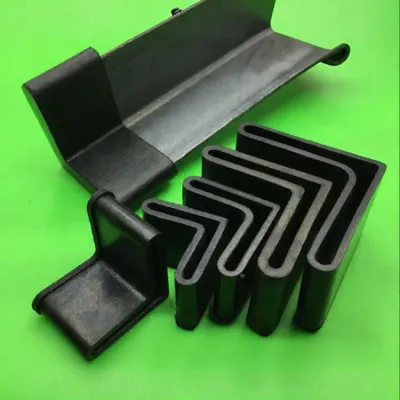
Prices are valid at publication and may change. Please refer to the product page for the latest price.
Once you have identified the mounting style, take precise measurements of the existing feet and the furniture legs. Use a standard ruler or a vernier caliper to measure the exact diameter of the bottom of the leg. If the furniture leg is square or rectangular, measure both the width and depth. For screw-in feet, you will also need to measure the thread diameter and length of the screw, as well as the depth of the existing mounting hole. If you are replacing nail-on feet, note the length of the nail to ensure the new hardware will not penetrate too deeply or split the wood.
Your choice of replacement rubber feet should also depend on your specific flooring material and the weight of the furniture. In many homes, flooring types vary from polished marble and ceramic tiles to luxury vinyl tiles and delicate teak parquet. Harder rubber compounds are highly suitable for heavy, stationary furniture like sideboards or cabinets because they resist compression under heavy loads. Softer rubber or silicone-hybrid feet are excellent for lightweight dining chairs that are frequently moved, as they provide reliable grip and noise reduction without leaving dark scuff marks. Always check the product labels and specifications for load capacity and recommended floor surfaces to ensure a proper match.
Gathering the Right Tools and Materials
Having the correct tools on hand before you begin will make the replacement process much smoother and prevent accidental damage to your furniture. The specific tools you need will depend directly on the mounting method of your existing and new rubber feet. Preparing your workspace with a soft blanket or drop cloth to protect the furniture’s finish while it is turned over is also highly recommended.

For removing old feet and installing new ones, assemble a basic toolkit. If you are dealing with screw-in feet, you will need a manual screwdriver that matches the screw head (usually Phillips or flathead) or needle-nose pliers if the hardware is damaged. For nail-on or staple-on feet, a small flat pry bar or a sturdy flathead screwdriver is necessary, along with a claw hammer. If you are installing new nail-on feet, a rubber mallet is highly useful for tapping them into place without damaging the rubber surface.
Cleaning and safety supplies are equally important for this project. Keep rubbing alcohol (isopropyl alcohol) and several clean microfiber cloths nearby to clean the furniture legs and remove old adhesive residue. Additionally, wear a pair of durable work gloves to protect your hands from sharp metal staples, rusted screws, splinters from aging wood, or any chemical solvents you might use to dissolve stubborn glue.
Removing Old Rubber Feet Without Damaging the Wood
To begin the removal process, carefully turn the furniture upside down or lay it on its side on a protected surface. This gives you clear access to the bottom of the legs and allows you to work safely without straining. The removal technique must be tailored to the specific attachment type to avoid splintering or cracking the wooden legs.
For screw-in feet, position your screwdriver firmly into the screw head and turn counterclockwise. If the screw is rusted or seized, apply a single drop of penetrating oil around the screw head and let it sit for a few minutes to loosen the rust before trying again. If the screw head is stripped and the screwdriver cannot grip it, use locking pliers to firmly clamp onto the outer edge of the screw head or the rubber foot itself, then slowly twist the entire assembly out of the wood.
Nail-on or staple-on feet require a gentle, incremental prying motion to prevent the wood from splitting. Slide the tip of a flathead screwdriver or a small pry bar underneath the edge of the rubber foot. To protect the wooden leg from being dented by the tool’s leverage, place a folded scrap cloth or a piece of thick cardboard between the tool and the wood. Apply gradual upward pressure, rotating the tool around the circumference of the foot to lift it evenly until the nail or staple slides completely out of the leg.
Adhesive feet are generally the easiest to remove, though they often leave behind a sticky residue. Peel the old rubber pad off by hand or with pliers. If the adhesive is stubborn, use a plastic putty knife or a plastic scraper to slide underneath the pad; avoid using metal blades, which can easily gouge the wood. Once the pad is removed, dampen a clean cloth with rubbing alcohol or an approved adhesive remover and rub the bottom of the leg until all sticky residue is completely gone and the wood surface is smooth.
During this removal process, you must monitor the structural integrity of the furniture. If you discover that the wooden leg is splitting, the wood fibers are crumbling due to dry rot, or the original hardware is so deeply embedded and stripped that removing it would destroy the leg, pause immediately. Do not force the removal. Stop and consult a qualified furniture repair professional to assess whether the leg needs structural reinforcement or professional hardware extraction.
Installing the New Rubber Feet Securely
Before installing your new rubber feet, ensure the bottom of each furniture leg is completely clean, dry, and free of any dust, grease, or remaining adhesive. A clean surface is vital because any leftover debris will prevent adhesive pads from bonding correctly or cause mechanical feet to sit unevenly, leading to instability.
To install new screw-in feet, align the screw with the existing hole in the furniture leg. If the original hole has become enlarged or stripped, you can fill it by inserting wooden toothpicks dipped in wood glue, letting it dry, and cutting them flush before inserting the new screw. Tighten the screw firmly using a manual screwdriver. Avoid using a power drill or over-tightening the screw, as excessive force can easily strip the wood fibers or crack the new rubber foot.
For nail-on feet, position the nail precisely in the center of the furniture leg. Tap the center of the rubber foot gently with a rubber mallet or a standard hammer. If you are using a standard hammer, place a small block of wood over the rubber foot to distribute the force and protect the rubber from damage. Ensure the nail goes in perfectly straight. If the furniture leg is made of a very hard wood, pre-drill a small pilot hole that is slightly narrower than the nail to prevent the wood from splitting as you tap the foot flush.
If you are using adhesive rubber feet, peel off the protective backing paper, taking care not to touch the adhesive surface with your fingers. Align the pad carefully with the bottom of the leg and press down firmly. Apply steady, even pressure across the entire surface of the foot for at least thirty seconds to activate the pressure-sensitive adhesive. Refer to the product label for the required curing time; many adhesives require several hours or even a full day to cure completely before the furniture should be stood upright and subjected to weight.
If during the installation you find that the new feet do not sit flush against the wood, or if the bottom surface of the leg is highly uneven, do not force the installation. Stop and reassess the mounting method. You may need to gently sand the bottom of the leg flat or choose a different style of replacement foot to ensure a stable, level base.
Testing Stability and Maintaining the New Feet
Once the installation is complete and any adhesives have fully cured, carefully stand the furniture upright on a flat, level floor. Perform a stability test by gently rocking the furniture from side to side and front to back. If you notice any wobbling, inspect each leg to ensure the feet are fully seated and that no debris is trapped underneath.
Next, carefully move the furniture into its permanent position. Inspect the floor surface immediately to ensure the new rubber feet are not leaving scuff marks or sliding excessively. High-quality rubber feet should provide a secure grip on the floor, preventing the furniture from sliding too easily while remaining gentle on the flooring material.
To prolong the lifespan of your new rubber feet, establish a simple routine maintenance habit. Every few months, wipe the bottom of the rubber feet with a damp cloth to remove accumulated dust, pet hair, and grit. Trapped dirt can act like sandpaper, gradually scratching your floors when the furniture is moved. Additionally, periodically check screw-in feet to ensure they have not loosened over time, and verify that adhesive pads remain firmly centered on the legs.
Frequently Asked Questions (FAQ)
Can I use adhesive rubber feet on furniture that originally had screw-in feet?
While you can physically apply adhesive rubber feet over an area that previously had screw-in feet, it is generally not recommended for heavy or frequently moved furniture. Screw-in feet provide a mechanical connection that easily handles lateral forces, such as when a chair is pulled out from a table. Adhesive pads rely entirely on surface contact; if applied over an empty screw hole, the bonding surface area is reduced, making the pad highly susceptible to sliding off under lateral pressure. If you must switch to adhesive feet, you should first fill the old screw hole with wood filler, sand it completely flush, and limit this application to lightweight, stationary furniture.
How often should I check or replace the rubber feet on heavy furniture?
Heavy furniture puts constant, high pressure on rubber feet, which can accelerate wear. You should visually inspect the feet on heavy items at least once or twice a year. Look for physical signs of degradation such as flattening, cracking, hardening, or splitting of the rubber. If you notice the furniture starting to wobble, or if you detect new scratches or dark marks on your floor, you should replace the feet immediately. In humid environments, rubber can degrade or become sticky more quickly, making regular inspections even more important to protect your flooring.
Community discussion
Share your experience or ask a question. Comments are reviewed before publication.