
Quick Answer: The Chair Pad Replacement Process
Replacing worn-out anti-slip pads on dining chairs is a simple home maintenance task that protects floors from scratches and eliminates scraping noises. The process involves safely removing the old pads, cleaning and leveling the bottom of the chair legs, and installing the new replacements. Before starting, inspect each chair leg for structural damage. If you find deep cracks, splitting wood, or loose metal joints, stop immediately. The leg structure must be repaired or reinforced before you can safely apply new pads. For sound chairs, matching the replacement pad to your flooring and leg type ensures a stable, long-lasting result.
Assessing Chair Legs and Choosing the Right Replacement Pads
Selecting the correct replacement anti-slip chair pad requires evaluating your dining chairs and flooring. Start by measuring the bottom of each chair leg. For round legs, use a flexible measuring tape or caliper to find the exact diameter. For square legs, measure both the width and length. Choosing a pad that matches these dimensions prevents overhanging edges from collecting dust and debris.

Next, match the attachment method to your chair material. Adhesive or stick-on pads are versatile and work well on metal or wooden legs, though they require a clean, flat surface. Nail-in pads offer a secure mechanical hold for solid wood legs but can split thin or engineered wood. Screw-in pads provide the most secure attachment for heavy wooden chairs, requiring a pre-drilled pilot hole to guide the screw safely.
Products mentioned in this guide
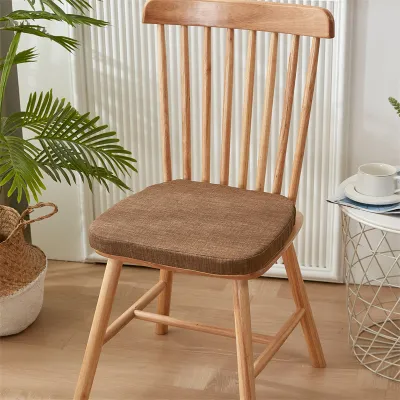
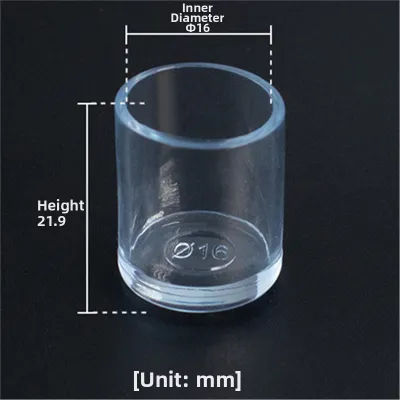

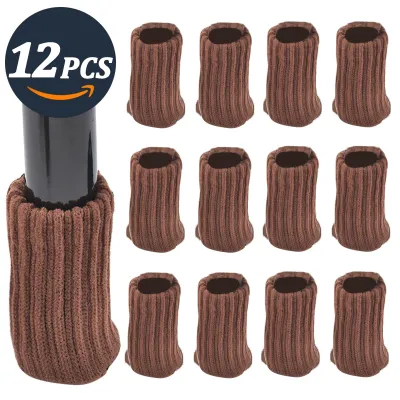
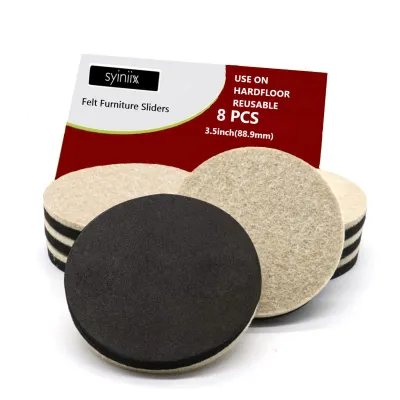
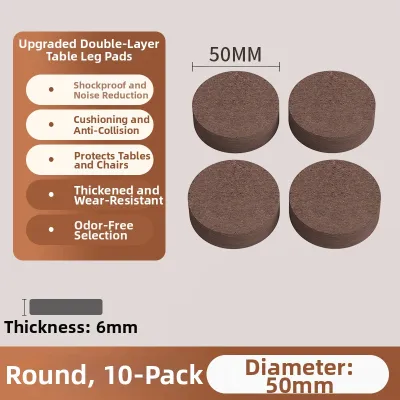
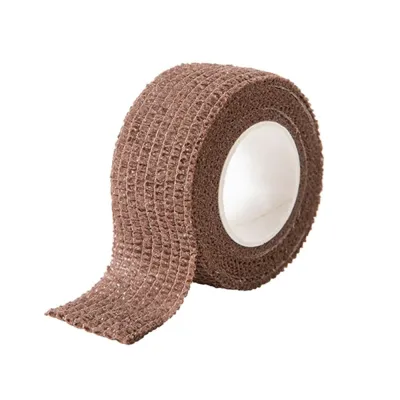
Prices are valid at publication and may change. Please refer to the product page for the latest price.
Finally, match the pad material to your flooring type. Soft felt pads protect hardwood, vinyl, and laminate floors. For hard tile, stone, or terrazzo floors, durable plastic, rubber, or silicone glides resist rough textures. In humid climates, such as Singapore, moisture can weaken adhesive bonds over time, making mechanical fasteners or high-quality polymer adhesives a more reliable choice for long-term stability.
Tools and Materials for Chair Pad Replacement
Gathering the correct tools and safety equipment before starting ensures an efficient replacement process and prevents damage to your furniture.
For basic hand tools, prepare needle-nose pliers to pull out old nails, a flathead screwdriver to pry up stubborn glides, and a sturdy putty knife or plastic scraper to remove adhesive backing. A Phillips screwdriver is necessary for screw-in pads.
For cleaning and surface preparation, you will need rubbing alcohol to degrease the surface, a mild adhesive remover to dissolve stubborn glue, and fine-grit sandpaper (120-grit to 220-grit) to smooth out uneven areas. Keep clean microfiber cloths nearby to wipe away dust.
For safety, wear lightweight work gloves to protect your hands from sharp nails or scraping tools. Eye protection is also recommended when prying metal fasteners or sanding wood to prevent flying debris.
Removing Old Anti-Slip Pads Safely
Before removing the old pads, set up a stable workspace. Place a soft blanket or towel on a sturdy table, then place the dining chair upside down on top of it. This positions the chair legs at a comfortable working height and protects the chair frame from scratches.
Examine the bottom of each leg to identify how the existing pads are attached. Look for hidden screws, nail heads, or layers of hardened glue. If you observe that the wood of the chair leg is splitting, or if a metal threaded insert is loose and spinning, stop the removal process. Forcing a fastener out of a damaged leg can cause further splitting, requiring professional woodworking repairs.
Removing Adhesive (Stick-On) Pads
Over time, adhesive pads can become compressed and difficult to peel off by hand. To remove them safely, slide the edge of a plastic scraper or putty knife under the pad. Work slowly around the perimeter, lifting the pad gradually to avoid gouging the wood.
If the glue is stubborn, apply gentle heat using a hair dryer on a low setting. Hold the dryer a few centimeters away from the pad for ten seconds to soften the adhesive. Alternatively, apply a small amount of mild adhesive remover directly to the edge of the pad using a cotton swab, allowing it to penetrate the glue layer.
Once the pad is removed, use the scraper to gently lift the remaining adhesive residue. Always scrape parallel to the natural wood grain to prevent deep scratches. Avoid using harsh chemical solvents like acetone on finished wood, as they can strip away the protective varnish or stain.
Removing Nail-In or Screw-In Pads
Mechanical fasteners require a careful extraction technique to prevent the wood from splitting. For nail-in glides, grip the exposed metal collar or plastic base firmly with needle-nose pliers. Pull the nail straight out of the leg using a gentle, steady twisting motion.
To avoid denting the wood around the edge of the leg, do not pry the pliers directly against the chair leg. Instead, place a small piece of thick cardboard or a thin scrap of wood under the pliers to act as a protective barrier. This distributes the pressure evenly and keeps the chair leg pristine.
For screw-in pads, select a screwdriver that fits the screw head perfectly to avoid stripping the slots. Turn the screwdriver counterclockwise with firm downward pressure. If you encounter a stripped screw or a bent nail, use locking pliers to grip the head securely and slowly back it out.
Cleaning and Preparing the Chair Leg Surface
A clean, level surface is essential for ensuring that your new anti-slip pads stay securely in place. Any leftover glue, dirt, rust, or wood fibers will prevent proper contact, causing new pads to fall off prematurely.
Begin by scraping away all residual adhesive or debris until the bottom of the leg is flat. If the wood surface is uneven, rough, or has raised fibers from a previous nail hole, use fine-grit sandpaper to lightly sand the area. Sanding creates a smooth, flat surface and opens up the wood pores slightly, which improves adhesive bonding. For metal legs, use the sandpaper to gently remove any surface rust or oxidation.
Next, dampen a clean microfiber cloth with rubbing alcohol and thoroughly wipe the bottom of each chair leg. This step removes fine sanding dust, skin oils, and any remaining chemical residue from the adhesive remover. Allow the alcohol to evaporate completely. In humid environments, ensure the surface is entirely dry to the touch before proceeding to the installation phase.
Installing the New Anti-Slip Chair Pads
The installation method depends entirely on the type of replacement pad you have selected. Following the correct steps ensures the pads remain centered and functional.
Adhesive Pads: Peel the protective backing off the pad, taking care not to touch the sticky surface. Align the pad precisely with the center of the chair leg. Press the pad down firmly, applying even pressure across the entire surface for at least thirty seconds to activate the pressure-sensitive adhesive.
Nail-In Pads: Mark the exact center of the chair leg with a pencil. To prevent the wood from splitting, especially on hardwoods, drill a small pilot hole using a drill bit that is slightly smaller than the diameter of the pad’s nail. Position the nail in the pilot hole, then use a small hammer or rubber mallet to tap the pad straight down until the base sits flush against the wood.
Screw-In Pads: Mark the center of the leg and drill a pilot hole to the depth of the screw. Place the pad over the hole and insert the screw. Tighten the screw manually with a screwdriver until it is snug. Avoid using a power drill or over-torquing the screw, as this can strip the wood threads or crack the plastic housing of the new pad.
Curing Time: If you installed adhesive pads, allow the glue to cure completely before using the chairs. Refer to the product label for specific curing times, but as a general rule, keep weight off the chairs for twenty-four hours to ensure a permanent bond.
Testing Stability and Maintaining the New Pads
Once all the new pads are installed and any adhesives have fully cured, place the dining chairs upright on your floor. Sit on each chair and slide it gently in multiple directions to perform a stability and slide test.
Check for any wobbles, unevenness, or rocking motions. If a chair feels uneven, inspect the bottom of each leg to ensure the pads are seated flush and are of equal thickness. A slightly misaligned nail-in or screw-in pad can cause the chair to sit at an angle, which puts uneven pressure on the leg and can lead to premature wear.
To keep your floors protected, establish a routine to monitor the condition of the pads. Perform a quick visual inspection every few months, looking for signs of flattening, cracking, peeling, or shifting. Over time, felt pads can accumulate household dust, pet hair, and small abrasive grit from the floor. If you notice debris embedded in the felt, clean it gently with a stiff brush or replace the pad entirely to prevent the trapped grit from scratching your floor surfaces.
Frequently Asked Questions (FAQ)
Can I switch from nail-in pads to adhesive pads on my dining chairs?
Yes, you can switch from nail-in pads to adhesive pads, but you must prepare the chair leg surface properly first. The existing nail hole leaves a void that reduces the surface area available for the adhesive to grip, which can cause stick-on pads to shift or fall off. To prevent this, clean the hole of any debris, pack it tightly with a high-quality wood filler, and allow it to cure completely according to the manufacturer’s instructions. Once cured, sand the wood filler flush with the bottom of the chair leg, wipe away the dust with rubbing alcohol, and apply the adhesive pad to the newly restored, flat surface.
How do I know when it is time to replace the anti-slip pads again?
You should replace your anti-slip pads when you observe clear visual or auditory signs of wear. Visually, inspect the pads for extreme flattening, cracking, peeling, or off-center shifting. If you have nail-in or screw-in pads, replace them immediately if the protective felt or plastic layer has worn down enough to expose the metal fastener, as this will gouge your floors. Auditory cues, such as a scraping or grinding noise when sliding the chair, also indicate that the protective barrier has failed. High-traffic dining areas, rough tile grout lines, and heavy daily use will naturally accelerate this wear, requiring more frequent replacements.
Community discussion
Share your experience or ask a question. Comments are reviewed before publication.