
Replacing cabinet legs is a highly effective way to restore stability, adjust the height of your furniture, or completely refresh its aesthetic appeal. Whether you are dealing with a wobbly sideboard in your living room or updating kitchen cabinets during a home refresh, swapping out the legs is a manageable DIY project. The key to a successful installation lies in understanding your furniture’s structural limits, selecting compatible hardware, and preparing the base material properly to support the weight of the cabinet and its contents.
Assess Your Cabinet Structure and Leg Compatibility
Before purchasing replacement parts, examine how the existing legs are attached. Turn your attention to the underside of the cabinet to identify the mounting system. Common configurations include hanger bolts that screw directly into a pre-installed threaded insert, flat or angled top plates secured with wood screws, or heavy-duty corner brackets integrated into the cabinet frame. Matching the new legs to the existing mounting style saves significant installation time, though converting to a different system is entirely possible with the right hardware.
Next, evaluate the material of the cabinet base. Solid wood offers excellent screw-holding power and easily accommodates direct screw-in legs or new mounting plates. However, many modern cabinets are constructed from particleboard or medium-density fiberboard (MDF). These engineered woods are more prone to crumbling or stripping under tension. If your cabinet base is made of particleboard, check if the material around the mounting points is intact. If it is damaged or soft, reinforce the area with a solid wood backing block or use specialized mounting plates that distribute the weight over a larger surface area.
Products mentioned in this guide
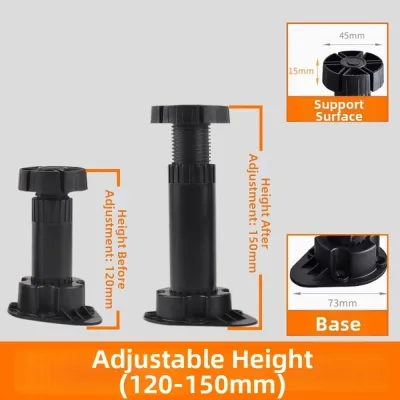
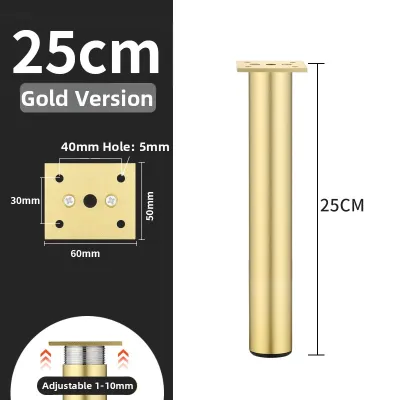
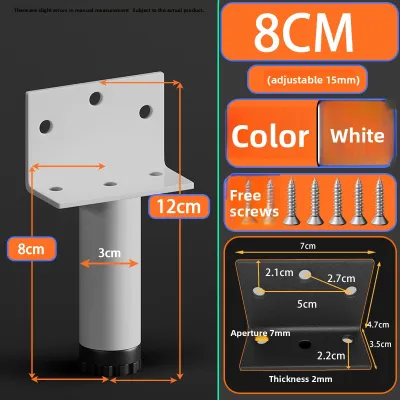
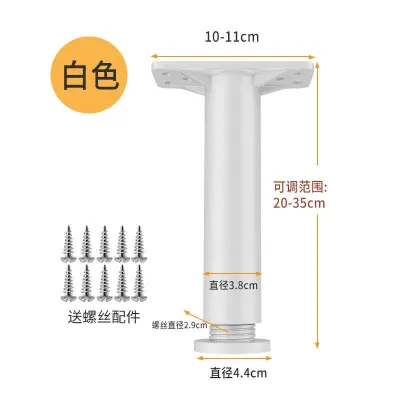
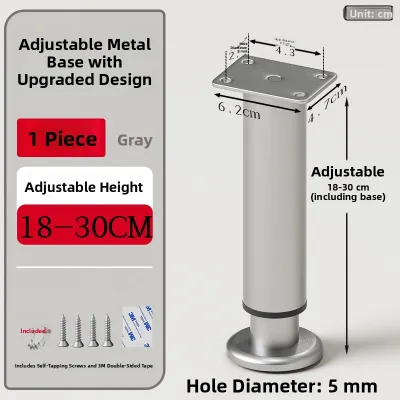
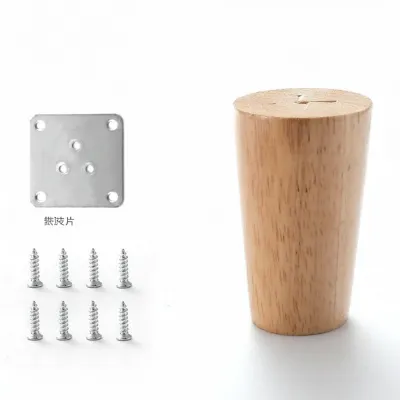
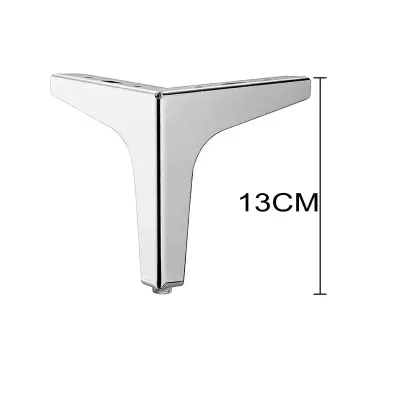
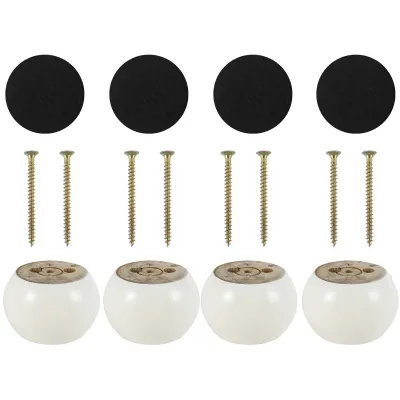
Prices are valid at publication and may change. Please refer to the product page for the latest price.
Weight distribution and proportional sizing are critical factors in preventing structural failure or tipping. Consider what the cabinet holds; a heavy buffet filled with tableware requires far more robust support than a lightweight media console. Check the manufacturer’s specifications for both the cabinet and the replacement legs to ensure the load capacity matches your needs. Additionally, the height and footprint of the new legs must be proportional to the cabinet’s depth and height. Installing excessively tall or narrow legs on a deep, top-heavy cabinet can compromise its center of gravity, increasing the risk of tipping when doors or drawers are opened.
Gather the Right Tools and Replacement Hardware
Having the correct tools on hand ensures the replacement process goes smoothly without damaging your furniture. For basic disassembly and assembly, gather a set of manual screwdrivers and a variable-speed power drill. A power drill is highly useful for drilling clean pilot holes, but you should use manual screwdrivers for the final tightening steps to avoid over-torqueing and stripping the threads in engineered wood. You will also need a precise tape measure, a sharp pencil for marking placement, and a high-quality spirit level to verify the final alignment.

Your replacement hardware package must be selected with care. This includes the new cabinet legs, matching mounting plates (if the new legs do not screw directly into the frame), and wood screws. When selecting screws, pay close attention to both the gauge and the length. The screws must be thick enough to grip the mounting plate securely, yet short enough that they do not pierce through the bottom panel of your cabinet interior.
Do not overlook safety and protective gear. Because you will be tilting or flipping heavy furniture, work gloves are essential to protect your hands from splinters and sharp hardware. Lay down thick moving blankets or large pieces of clean cardboard on your floor. This simple precaution protects your flooring from scratches and prevents the finished surfaces of your cabinet from getting scuffed or chipped during the process.
Safely Remove the Old Cabinet Legs
The removal process begins with preparation. Completely empty the cabinet of all items, including loose shelves, drawers, and delicate contents, to reduce weight and prevent internal damage. Before moving the cabinet, ensure you have a clear path through your home, especially if you need to transport the unit through tight doorways or lift access areas. With the help of another person, carefully lift and tilt the cabinet onto its back or side onto the prepared moving blankets. Never attempt to flip a large or heavy cabinet alone, as this can lead to personal injury or cause the existing legs to snap sideways, severely tearing the cabinet base.
Once the underside is fully accessible, inspect the mounting hardware. If the legs are screw-in types, gently rotate them counterclockwise to detach them. For legs secured with mounting plates, use your screwdriver or drill to remove the fastening screws. If you encounter rusted, stripped, or stuck screws, apply a small drop of penetrating oil and let it sit for a few minutes. Use a manual screwdriver with a matching head size, applying firm downward pressure as you turn to avoid stripping the screw head further. If a screw head is completely stripped, a screw extractor tool may be required to back it out safely.
With the old legs removed, thoroughly inspect the mounting area. Clean away any dust, wood shavings, or old adhesive. Examine the existing screw holes for signs of wear, stripping, or cracking. If you plan to reuse the same holes but find the wood fibers are stripped and loose, you can repair them by packing the holes with high-quality wood glue and wooden dowels or toothpicks. Once the glue dries completely, cut the excess wood flush with the cabinet base and sand it smooth. This creates a solid, stable surface for drilling new pilot holes or mounting the replacement hardware.
Install the New Cabinet Legs Securely
If your new cabinet legs require a different mounting plate size or a new hole pattern, you must mark and drill new pilot holes. Position the new mounting plates precisely on the cabinet base, ensuring they are positioned symmetrically at each corner. Use your tape measure to verify that the distance from the edges is identical for all four corners, which maintains balanced weight distribution. Mark the screw hole locations with a pencil. Using a drill bit slightly smaller than the core of your mounting screws, drill pilot holes to the required depth. To prevent drilling too deep, wrap a piece of painter’s tape around the drill bit as a depth guide.
Next, secure the mounting plates to the cabinet base. Align the plates with your pre-drilled pilot holes and drive the screws in. It is highly recommended to tighten these screws by hand using a manual screwdriver. This allows you to feel the resistance of the wood and prevents over-tightening, which can strip the threads in MDF or particleboard. Double-check that the screw heads sit flush within the countersunk holes of the mounting plate to ensure a stable connection.
Once the plates are firmly attached, screw the new cabinet legs into place. If your legs feature built-in hanger bolts, thread them clockwise into the center of the mounting plates until they are snug against the plate surface. Do not over-tighten, as this can strip the internal threads of the plate or pull the hanger bolt out of the leg itself. If your new legs feature adjustable leveling feet, thread them in halfway to allow room for adjustments later. Use a spirit level across the base of the cabinet to check for initial evenness before standing the unit upright.
Verify Stability and Alignment
With the new legs securely installed, it is time to return the cabinet to its upright position. Always use a two-person lift to raise the cabinet, ensuring you do not drag or tilt the unit onto the edge of the new legs, which can bend the mounting plates or crack the cabinet base. Once the cabinet is standing on its new legs, perform a gentle shake test by applying light pressure to the top and sides. The cabinet should feel rigid and stable, with no noticeable swaying or flexing at the leg joints.
Next, verify that the cabinet is perfectly level. Place your spirit level on the top surface of the cabinet, checking both from side-to-side and front-to-back. Adjusting the leveling feet is particularly important on tiled or vinyl flooring common in modern apartments, where slight floor variations can cause noticeable wobbles. Turn the adjustable glide on the bottom of the low leg counterclockwise to extend it until the cabinet is level and all four legs make firm, even contact with the floor. If your replacement legs do not have adjustable feet, you can place discreet plastic or wood shims under the legs to eliminate any wobble.
Finally, reinstall the drawers and doors to check their alignment. Changing the height or leveling of a cabinet can slightly shift its frame, which directly impacts how doors and drawers hang and slide. Open and close every door and drawer to ensure they operate smoothly without rubbing against the frame or sticking. If you notice any misalignment, make minor adjustments to the cabinet’s leveling feet or adjust the door hinges until everything aligns perfectly and functions as intended.
Frequently Asked Questions (FAQ)
Can I install legs on a cabinet that originally had a toe kick?
Converting a cabinet with a solid toe-kick base to individual legs is a popular way to create a lighter, more modern look, but it presents unique structural challenges. A toe kick typically distributes the weight of the cabinet continuously along the floor. When you remove the toe kick and install individual legs, the weight is concentrated entirely on the four corners of the cabinet base. If the bottom panel of the cabinet is made of thin plywood or particleboard, it may sag or crack under this concentrated load. To make this conversion safely, you must inspect the underside and determine if reinforcement is needed. Installing a solid wood sub-base or adding heavy-duty cross-bracing inside the bottom frame will help distribute the weight evenly and provide a secure anchoring point for the new legs.
What should I do if the new screws are too long and poke through the cabinet floor?
Using screws that are too long can ruin the finished interior of your cabinet and create sharp, hazardous points inside the storage space. If you realize your screws are too long before installing them, the safest solution is to purchase shorter wood screws of the same gauge. Ensure the replacement screws still penetrate deep enough into the cabinet base to provide adequate holding power—typically at least two-thirds of the material’s thickness. If you must use the screws provided in the kit and they are only slightly too long, you can add metal washers or a spacer block between the screw head and the mounting plate to reduce the penetration depth. If a screw has already poked through the interior floor, back it out immediately, repair the damaged interior wood with wood filler, and reinstall the hardware using a shorter screw or appropriate spacers.
Community discussion
Share your experience or ask a question. Comments are reviewed before publication.