
Replacing a torn, sagging, or dusty cover sheet on the underside of your furniture is a straightforward project that restores both the appearance and the protective barrier of your sofas, chairs, or box springs. This fabric, commonly referred to as cambric, serves to seal the inner frame from dust, pet dander, and pests while preventing loose stuffing or webbing from spilling out. By carefully removing the old fasteners, measuring a fresh piece of breathable material, and securing it tautly to the wooden frame, you can easily extend the life of your favorite household pieces.
Identify Your Dust Cover Type and Assess the Damage
Before beginning the replacement process, you must determine whether your furniture requires a structural bottom cover or a temporary surface sheet. Bottom dust covers are stapled directly to the wooden frame of upholstered furniture to seal the interior components. In contrast, surface dust sheets are loose, draped, or fitted covers designed to protect the exterior upholstery of unused furniture from settling dust during travel or renovations.
Inspect the underside of your furniture to evaluate the extent of the damage. Critical signs of failure include deep tears, severe sagging, fabric that has degraded into a powdery residue, or visible entry points for pests. In humid climates like Singapore, older synthetic fabrics can break down rapidly, losing their structural integrity and failing to protect the inner springs and padding.
Products mentioned in this guide
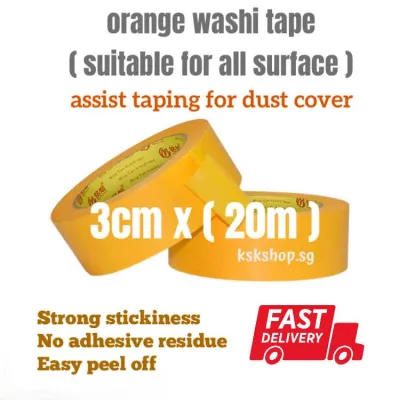
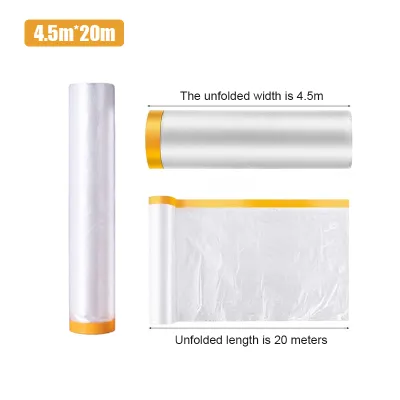
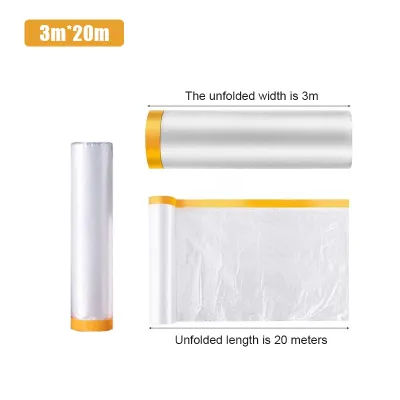
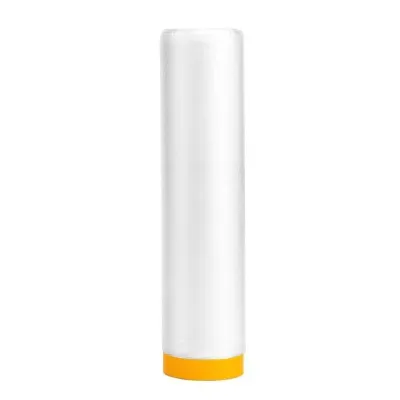
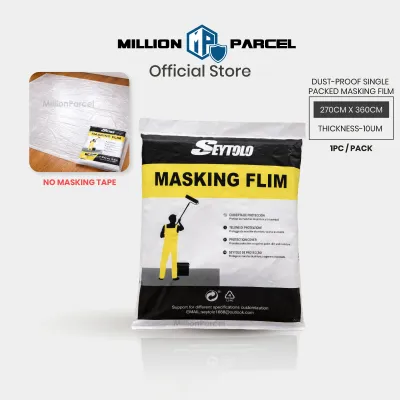
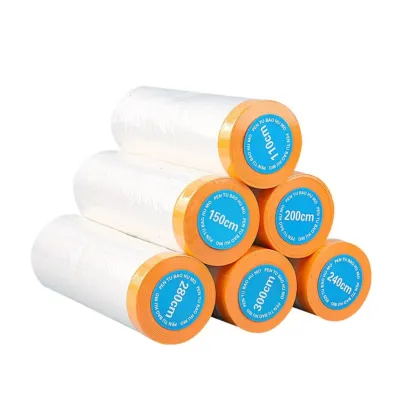
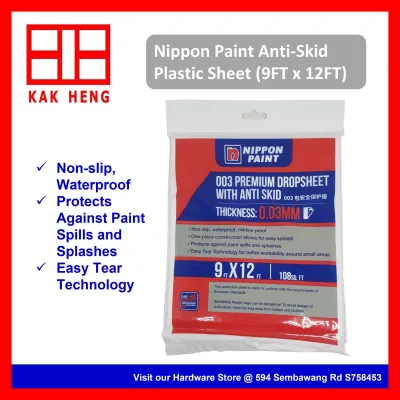
Prices are valid at publication and may change. Please refer to the product page for the latest price.
Before attempting any physical work, verify the overall stability of the furniture piece. Ensure the frame is structurally sound and that the legs or base can support the weight of the piece when it is tilted or flipped. If the frame feels loose or wobbly, address those structural issues before proceeding with the cosmetic fabric replacement.
Gather the Right Tools and Replacement Materials
Having the correct tools on hand will make the removal and installation process much smoother and prevent accidental damage to the furniture frame. You will need a reliable staple gun, which can be manual, electric, or pneumatic, along with staples that match the depth of your furniture’s wooden frame. A dedicated staple remover or a thin flathead screwdriver, needle-nose pliers, a utility knife, and a flexible measuring tape are also essential.

When selecting your replacement material, look for specialized non-woven polypropylene fabric or traditional cambric. These materials are highly breathable, which prevents moisture from becoming trapped inside the dark underside of the furniture—a common cause of mold and mildew growth. Heavy-duty canvas can also be used for pieces that require extra durability, provided the fabric allows for adequate air circulation.
Safety should always be a priority during furniture repairs. Wear sturdy work gloves to protect your hands from sharp, rusted staples and splintered wood. Additionally, safety glasses are crucial, as old staples can fly unpredictably when pried loose, and accumulated dust and debris will inevitably fall from the exposed underside of the frame.
Safely Remove the Old Dust Cover Sheet
To begin the physical work, clear a spacious area in your room and lay down a clean blanket, drop cloth, or cardboard. This protective layer prevents the visible upholstery or polished wood of your furniture from getting scratched or stained while you work. Carefully tilt or flip the furniture piece onto its back or top, ensuring it is fully stable and will not tip over.
If the furniture legs are removable, unscrew them and set them aside in a secure place, noting which leg belongs to which corner. Use your staple remover or flathead screwdriver to systematically pry up the old staples holding the damaged fabric. Slide the tip of the tool under the center of the staple and gently rock it back to lift the legs out of the wood.
Use your needle-nose pliers to pull the loosened staples completely out of the frame. Avoid twisting the tools aggressively, as this can gouge the wood or cause the frame to splinter. Work your way around the entire perimeter, collecting the old staples in a small container immediately so they do not end up on your floor or puncture your footwear.
Carefully peel away the old dust cover sheet once all the staples are removed. If the fabric is still mostly intact, keep it nearby to use as a cutting template for your new material. With the frame fully exposed, use a vacuum cleaner with a brush attachment to clear away accumulated dust, loose threads, and debris from the interior cavity before installing the new cover.
Measure, Cut, and Install the New Dust Cover
Lay your new dust cover fabric flat on a clean, hard floor. Place the old cover on top of it to use as a template, or use your measuring tape to record the exact length and width of the furniture frame. Add an margin of 5 to 10 centimeters on all sides of your measurements to allow for folding and handling.
Cut the new fabric cleanly using sharp fabric shears or a utility knife. This extra margin is essential because you will fold the raw edges under during installation. Folding the edges creates a double-thick hem that prevents the staples from tearing through the fabric when tension is applied.
Align the cut fabric over the underside of the furniture, ensuring it is centered with an even amount of overhang on all sides. Fold the raw edge of one side under by about 2 centimeters to create a clean, straight hem. Drive your first staple through this folded hem directly into the center of the wooden frame.
Move to the exact opposite side of the furniture, pull the fabric taut—but not overly stretched—fold the edge under, and place a staple in the center of that side. Repeat this centering process for the remaining two sides to establish an even tension across the entire surface. This cross-tensioning technique prevents the fabric from warping or wrinkling.
Working from the center staples outward toward the corners, place additional staples every 5 to 8 centimeters along the folded edges. Keep the fabric smooth and consistently taut as you progress. When you reach the corners, fold the excess fabric neatly into a flat diagonal fold, tucking any raw edges inside before securing the corner with multiple staples.
Final Inspection and Long-Term Maintenance
Once the stapling is complete, run a gloved hand along the entire perimeter of the frame to check for any loose, bent, or protruding staples. If you find any staples that did not seat fully into the wood, tap them flush with a small hammer or remove them and drive a fresh staple in their place.
Carefully return the furniture to its upright position, reinstalling the legs if they were removed during the preparation phase. Test the piece for stability and ensure it sits level on the floor without any wobbling. The new dust cover should look neat, flat, and taut from every angle, with no visible sagging.
To prolong the life of your new dust cover, incorporate it into your regular cleaning routine. Vacuum the underside of your furniture periodically using a soft brush attachment to prevent dust buildup. Avoid exposing the underside to excessive moisture during floor mopping, as dampness can degrade the fabric and encourage mold growth in the dark interior of the frame.
Frequently Asked Questions (FAQ)
Can I use standard fabric instead of a specialized dust cover sheet?
While you can technically use standard household fabrics, specialized materials like non-woven polypropylene or cambric are highly recommended. These materials are specifically engineered to offer the ideal balance of dust filtration and breathability. Standard tightly woven fabrics can trap humidity inside the furniture frame, which increases the risk of mold and mildew growth, while lighter fabrics may sag and tear easily under the weight of internal dust.
How do I fix minor frame damage caused during staple removal?
If you notice minor wood splinters or small cracks in the frame after removing the old staples, you can apply a small amount of wood glue to the affected area and clamp it until dry. For stripped screw holes where the legs attach, inserting a wood dowel with glue can help restore the grip. However, if you discover major structural cracks, rotting wood, or compromised joints, stop the project and consult a professional furniture repair service to ensure the piece remains safe to use.
Community discussion
Share your experience or ask a question. Comments are reviewed before publication.