
When a wooden joint on a chair, table, or cabinet begins to wobble, a broken internal dowel is often the culprit. Replacing a damaged wood dowel is a straightforward repair that can save a piece of furniture from being discarded. By following a systematic process of extraction, preparation, and gluing, you can restore the joint to its original strength and stability.
Assess the Joint and Gather Repair Tools
Before starting any repair, you must inspect the joint to understand the extent of the damage. Separate the mating panels gently to expose the joint. Look closely at the broken dowel to see if it has snapped flush with the wood surface, remained lodged deep inside the hole, or simply become loose due to adhesive failure. Also, check the surrounding wood for any hairline cracks or splits that could compromise the repair.
Gathering the correct tools beforehand ensures a smooth repair process. You will need safety glasses to protect your eyes during drilling, a hand drill with a set of wood-boring or brad-point bits, a pair of needle-nose pliers, a small chisel or flathead screwdriver, and a rubber mallet. For the reassembly, prepare high-quality PVA wood glue, a replacement wood dowel of matching diameter, and adjustable bar clamps or strap clamps.
Products mentioned in this guide
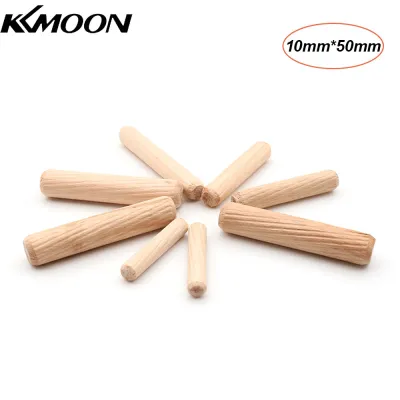
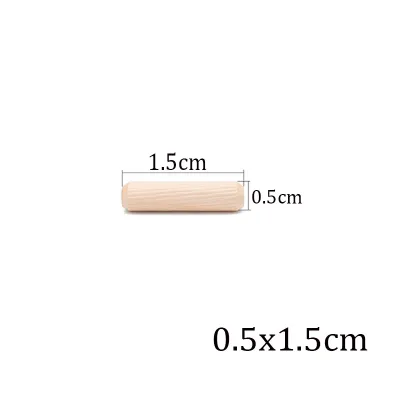
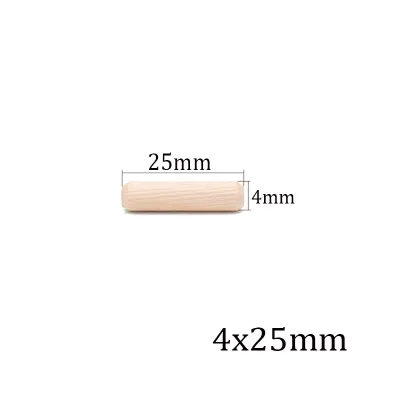

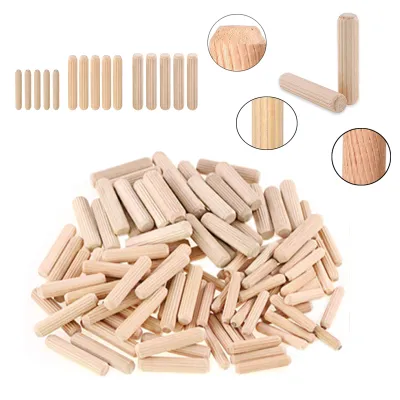
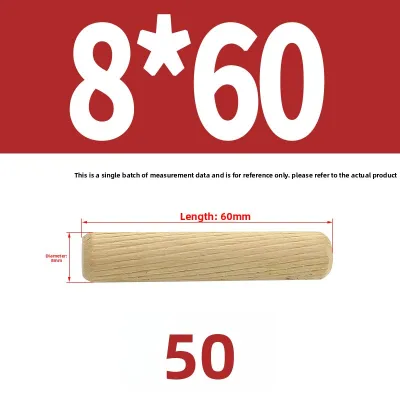
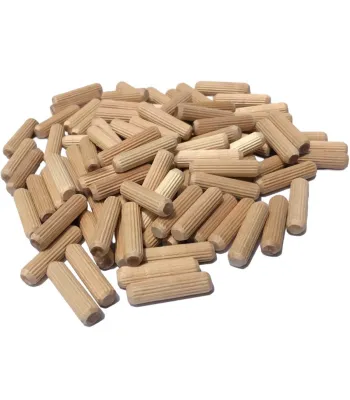
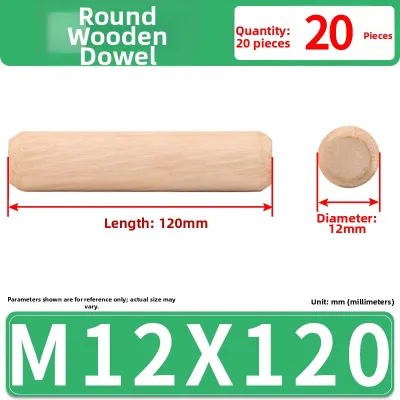
Prices are valid at publication and may change. Please refer to the product page for the latest price.
In some cases, the damage might exceed the scope of a simple home repair. If the structural panel of the furniture is completely split, or if the piece is a valuable antique with intricate joinery, attempting a DIY fix could cause irreversible damage. Under these conditions, seeking the assistance of a professional furniture restoration specialist is the safest course of action to preserve the item’s value and structural integrity.
Extract the Broken Dowel Without Damaging the Wood
Removing the remnants of a broken dowel requires patience to avoid enlarging or damaging the original hole. The extraction method you choose depends entirely on how much of the broken dowel is accessible.

If a portion of the broken dowel protrudes from the hole, you can often remove it using mechanical force. Grip the exposed wood firmly with a pair of pliers or locking grips. Gently twist the dowel back and forth to break the old adhesive bond, then pull it straight out. If the dowel is stubborn, placing a small block of scrap wood next to the hole to act as a fulcrum for your pliers can provide extra leverage without denting the furniture surface.
When a dowel snaps flush with or below the wood surface, drilling it out is the most effective solution. Start by using a center punch or a sharp nail to press a small indentation into the exact center of the broken dowel. This indentation guides your drill bit and prevents it from slipping off-center, which could easily gouge the surrounding furniture panel.
Select a drill bit that is slightly smaller than the diameter of the broken dowel. To prevent drilling too deep and piercing through the opposite side of the furniture panel, measure the depth of the hole and wrap a piece of masking tape around the drill bit at that exact measurement to serve as a visual depth stop. Drill slowly and steadily into the center of the old dowel, allowing the bit to pull out the wood fibers.
Once you have drilled a hole through the center of the old dowel, the remaining outer shell of the dowel will be thin and weak. Use a narrow chisel, a small flathead screwdriver, or a dental pick to gently pry the remaining wood fragments away from the walls of the hole. The old dowel should collapse inward, allowing you to pull the pieces out easily with needle-nose pliers.
Always monitor your progress closely and stop drilling immediately if you feel the drill bit wandering or if you see shavings of the main furniture panel instead of the dowel wood. Forcing a misaligned drill can permanently enlarge the hole, making it difficult to achieve a tight fit with your replacement dowel.
Prep the Hole and Select the Right Replacement
A clean hole and a properly sized replacement are critical for creating a long-lasting adhesive bond. Any leftover glue or wood dust will prevent the new adhesive from penetrating the wood fibers effectively.
Begin by cleaning out the hole thoroughly. Use a small round file, a stiff wire brush, or a vacuum cleaner with a narrow nozzle to remove all traces of old glue, loose wood chips, and fine dust. If the old glue is particularly stubborn, you can carefully scrape the inner walls of the hole with a narrow chisel, taking care not to remove any of the sound wood.
Next, measure the depth and diameter of the cleaned hole to determine the exact size of the replacement dowel. You can use a digital caliper or insert a thin dowel or pencil into the hole, mark the depth with a pencil line, and measure it against a ruler. The replacement dowel should be slightly shorter than the combined depth of both mating holes to allow space for excess glue at the bottom.
When selecting a replacement dowel, opt for a high-quality hardwood variety, such as birch or beech, which offers excellent shear strength. It is highly beneficial to use fluted or spiral-grooved dowels rather than smooth ones. The grooves along the sides of a fluted dowel provide channels for excess glue and trapped air to escape when the joint is pressed together, ensuring a flush fit.
If you only have smooth dowels available, you must manually score them before installation. Use a utility knife or a rough file to cut shallow, longitudinal grooves along the sides of the dowel. Without these grooves, the dowel can act like a piston in a cylinder, trapping air and glue at the bottom of the hole and creating hydraulic pressure that can split the furniture panel.
Glue, Insert, and Clamp the New Dowel
With the hole prepped and the replacement dowel selected, you are ready to reassemble the joint. Proper glue application and clamping pressure are essential to restore the joint’s original load-bearing capacity.
Apply a high-quality PVA wood glue inside the hole. Use a cotton swab, a small artist’s brush, or a thin wooden splint to spread the glue evenly over the inner walls of the hole. Avoid pouring glue directly into the hole, as an excessive amount will pool at the bottom and prevent the dowel from seating fully. Apply a very thin, even coat of glue to the insertion end of the new dowel as well.
Insert the new dowel into the prepped hole. Push it in by hand as far as possible, then tap it gently with a rubber mallet to seat it fully. If you do not have a rubber mallet, place a block of scrap wood over the end of the dowel and tap the block with a standard hammer to distribute the force and prevent mushrooming the end of the dowel.
Align the mating furniture panel with the protruding end of the dowel and press the pieces together. Apply steady, even pressure using adjustable bar clamps or strap clamps to pull the joint tight. To protect the furniture’s finish from being marred or dented by the clamp jaws, always place soft rubber pads or scrap pieces of wood between the clamps and the furniture surfaces.
As you tighten the clamps, a small amount of glue should squeeze out of the joint. Wipe away this excess glue immediately using a clean, damp cloth. Removing the wet glue now is much easier than trying to scrape or sand away dried glue later, which can easily damage the surrounding wood finish.
Cure, Test, and Finish the Repair
The final phase of the repair involves allowing the adhesive to cure completely and restoring the appearance of the furniture piece.
Refer to the adhesive manufacturer’s instructions for the recommended curing time. In warm and highly humid climates, such as in Singapore, wood glue can take longer to cure fully. It is best to leave the joint clamped undisturbed for at least 24 hours to ensure the adhesive reaches its maximum structural strength before subjecting the furniture to any weight or movement.
Once the curing period is complete, carefully remove the clamps. Gently wiggle the joint to test its stability and check for any signs of movement, gaps, or misalignment. A successful repair should feel completely rigid and show no visible gaps between the joined panels.
If the repair process left any minor scuffs, scratches, or dried glue residue on the surrounding wood, use fine-grit sandpaper (such as 220-grit) to gently smooth the area. Work in the direction of the wood grain to avoid creating cross-grain scratches. Apply a matching wood stain, a furniture touch-up marker, or a clear topcoat to blend the repaired area seamlessly with the original finish.
Frequently Asked Questions (FAQ)
Can I Replace a Wood Dowel With a Screw or Metal Pin?
Replacing a wood dowel with a metal screw or pin is generally not recommended for standard wooden furniture joints. Wood dowels are designed to distribute structural loads evenly across the entire surface area of the hole, and they expand and contract naturally alongside the surrounding wood. Metal fasteners, on the other hand, concentrate stress at specific points and do not bond with wood fibers, which can lead to the wood splitting or the fastener loosening over time under regular use. You should only use metal fasteners if the furniture’s original design specifically engineered them into the joint.
How Do I Fix a Stripped or Enlarged Dowel Hole?
If the original dowel hole has become stripped, enlarged, or wallowed out, a standard replacement dowel will not fit securely enough to create a strong bond. For minor gaps, you can mix wood glue with fine sawdust to create a thick paste to fill the void, though this method has limited structural strength. For a robust repair, glue an oversized dowel or wooden plug into the enlarged hole, let it cure completely for 24 hours, and then cut it flush with the surface. Once flush, drill a new hole of the correct diameter directly into the center of the plug to accept your standard replacement dowel. If the surrounding wood panel is severely crumbling or structurally compromised, consult a professional furniture restorer.
Community discussion
Share your experience or ask a question. Comments are reviewed before publication.