
Replacing a worn, broken, or outdated drawer knob is one of the simplest ways to refresh your furniture’s appearance and restore its daily functionality. Whether you are updating a chest of drawers in a bedroom, refreshing kitchen cabinets, or restoring a vintage sideboard, this straightforward task requires only a few basic hand tools and a methodical approach. By taking the time to remove the old hardware carefully and prepare the mounting surface properly, you can ensure that your new hardware sits flush, remains secure, and operates smoothly without damaging the underlying wood.
Many homeowners assume that any replacement knob will fit perfectly into an existing hole. However, variations in drawer front thickness, screw thread standards, and material wear can lead to common issues like loose knobs, stripped threads, or cracked wood. Understanding how to assess your drawer’s structure, select compatible replacement parts, and troubleshoot minor alignment issues will help you achieve a professional-grade result that lasts for years.
Tools and Materials Needed for the Job
Before starting, gathering the correct tools and verifying the compatibility of your replacement hardware will prevent unnecessary delays and protect your furniture. You will need a manual screwdriver that matches the head of both the old and new mounting screws, typically a Phillips or flathead screwdriver. Avoid using power drills, as the high torque can easily strip the delicate threads inside the new knob or crack the wood surrounding the mounting hole.
Products mentioned in this guide
![[SG Seller]Stainless Steel Drawer knob European Mushroom Porcelain White Black Single Hole Handle Stainless Steel Cabinet Handles](https://img.lazcdn.com/g/p/b276f8cb8ff7f5315cbd1c2038cda1b3.jpg_400x400q80.jpg_.webp)
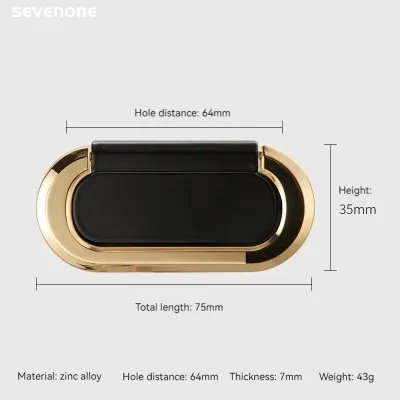
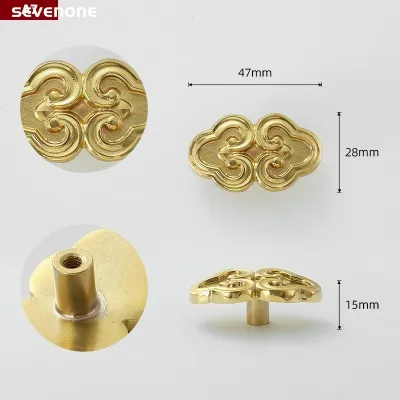
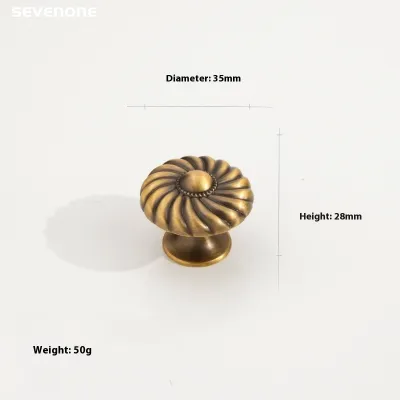
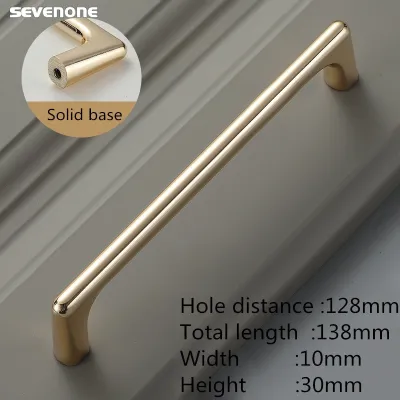
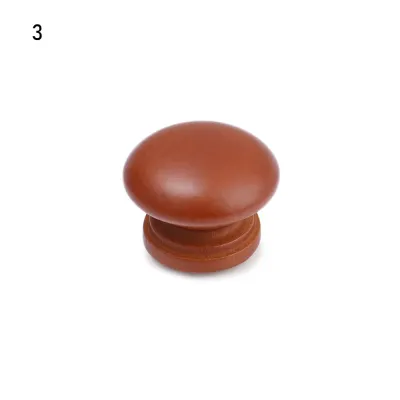
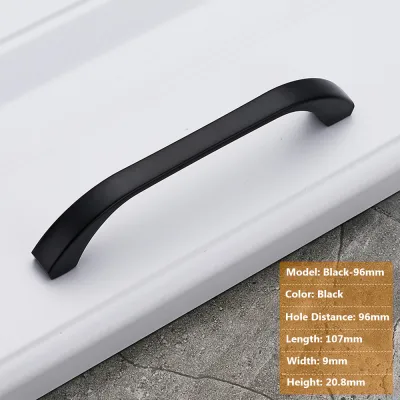
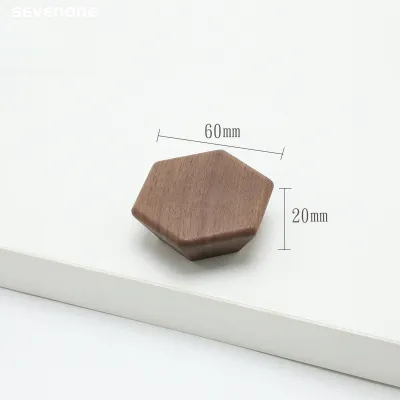
Prices are valid at publication and may change. Please refer to the product page for the latest price.
A pair of pliers can be useful for holding stubborn screws or nuts in place from the inside of the drawer while you turn the knob from the outside. To protect the finished face of your drawer from scratches, keep a roll of painter’s tape and a soft microfiber cloth nearby. If you need to clean the area beneath the old hardware, prepare a mild cleaning solution of warm water and a few drops of dish soap.
When purchasing your new drawer knob, verify that the included mounting screws are compatible with the thickness of your drawer front. Measure the thickness of the drawer panel and compare this to the length of the screw. The screw must be long enough to pass completely through the drawer front and engage deeply with the threaded insert of the knob, but not so long that it bottoms out before the knob is drawn tight against the wood surface.
How to Safely Remove the Old Drawer Knob
To begin, open the drawer fully and empty its contents to allow unobstructed access to the interior mounting screw. Support the exterior knob firmly with one hand to prevent it from spinning or scraping against the drawer face as you work. Insert your screwdriver into the head of the screw on the inside of the drawer, ensuring a tight, flush fit to avoid slipping and stripping the screw head. Turn the screwdriver counterclockwise to loosen the screw, maintaining steady inward pressure.

If you encounter a screw that is rusted, stripped, or stuck, avoid using excessive force, which can gouge the wood or break the fastener. For a stripped screw head, placing a wide, flat rubber band between the screwdriver tip and the screw can provide the extra friction needed to turn the fastener. If the screw is rusted or seized, applying a single drop of penetrating lubricant directly to the screw threads from the inside of the drawer can help loosen the bond; allow it to sit for several minutes, taking care to wipe away any excess immediately to protect the wood finish.
In cases where the mounting screw spins continuously without backing out, the internal threads of the old knob may be stripped. Wrap a soft cloth around the knob to protect its finish, grip it firmly with pliers, and gently pull outward while turning the interior screw counterclockwise. Once the screw is completely disengaged, carefully pull the old knob away from the drawer front.
Preparing the Drawer Front for the New Hardware
With the old hardware removed, inspect the mounting hole and the surrounding wood for any signs of wear, splintering, or structural damage. Over years of use, the constant pulling force exerted on a drawer knob can enlarge the mounting hole or cause the wood fibers on the interior side to splinter. If the hole is structurally sound and matches the diameter of your new mounting screw, you can proceed with cleaning the surface.
Accumulated dirt, oils, and old adhesive often build up beneath the base of old hardware, leaving a visible ring on the drawer front. Dampen a microfiber cloth with your mild soapy water solution and gently wipe the area to remove this buildup, taking care not to saturate the wood. Dry the surface immediately with a clean towel to prevent moisture from penetrating the finish or causing the wood grain to swell.
If the inspection reveals that the mounting hole is enlarged, stripped, or misaligned with your new hardware, you must address these structural issues before installation. For minor enlargement, installing a decorative backplate on the exterior or a wide washer on the interior can provide the necessary support. If the hole is severely damaged, fill the old hole completely with a high-quality wood filler or a glued wooden dowel. Once the filler or glue has cured completely, sand the area flush and drill a precise new pilot hole.
Step-by-Step Installation of the Replacement Knob
To install the new drawer knob, begin by aligning any decorative backplates or washers over the mounting hole on the exterior of the drawer front. Hold the new knob firmly against the front of the drawer, aligning its threaded opening with the prepared hole. From the inside of the drawer, insert the mounting screw through the hole and into the back of the knob, turning it clockwise by hand for the first few rotations to ensure the threads align correctly without cross-threading.
Once the screw is hand-tightened and the knob is held in place, use your manual screwdriver to secure the fastener. Tighten the screw slowly and steadily, checking the alignment of the knob on the exterior side as you proceed. Stop tightening as soon as the knob sits flush and snug against the drawer front or backplate; over-tightening can easily strip the soft metal threads inside the knob, crack the drawer wood, or compress the wood fibers permanently.
After tightening, verify the stability of the installation by gently grasping the knob and attempting to wiggle it from side to side. The knob should feel completely solid and show no movement or play against the drawer face. Open and close the drawer several times using normal force to ensure the hardware feels secure and comfortable to use. If you notice any wobbling or spinning, inspect the connection immediately to determine if the screw is fully seated.
Troubleshooting Common Installation Issues
One of the most common issues encountered during installation is a spinning knob that refuses to tighten completely, even when the screw is turned as far as possible. This problem typically occurs when the mounting screw is slightly too long for the drawer thickness, causing the end of the screw to bottom out inside the knob’s threaded recess before drawing the knob flush against the wood. To resolve this, you can add a small metal washer or a lock washer under the screw head on the inside of the drawer to take up the extra length, or replace the screw with a slightly shorter alternative.
Conversely, if the mounting screw is too short, it will not engage enough threads inside the knob, leading to a weak connection that can easily strip under tension. If you find yourself with a screw that is too short, purchase a longer screw of the same thread type, or use a breakaway screw, which features pre-cut notches that allow you to snap the screw to the precise length required. Always verify the thread pitch (such as metric M4 or standard 8-32) before purchasing replacement screws to avoid damaging the internal threads of your new hardware.
Minor alignment issues can also arise, especially if the original hole was drilled slightly crookedly, causing the new knob to sit at an angle. If the hole is only slightly off, you can sometimes use a small round file to gently enlarge the hole in the desired direction, allowing the screw to pass through at a straight angle. If the misalignment is significant, installing a wider decorative backplate is an elegant and practical solution that conceals the imperfections.
Frequently Asked Questions (FAQ)
Can I install a new drawer knob using the existing hole?
Yes, you can install a new drawer knob using the existing hole, provided the hole is structurally sound and the new hardware is compatible. Ensure that the diameter of the new mounting screw matches the existing hole to prevent the screw from wobbling or slipping through. If you are replacing a single-hole knob with another single-hole design, the process is straightforward; however, if you are replacing a two-hole pull handle with a single knob, you will need to fill the unused holes with wood filler and touch up the finish, or use a specialized backplate to cover the exposed holes.
How do I remove a drawer knob with no visible screws?
If your drawer knob has no visible screws on the inside of the drawer, it may utilize a concealed mounting system or be secured with adhesive. First, check if the knob itself unscrews directly from a threaded post embedded in the drawer front by turning the entire knob counterclockwise. Other designs may feature a small, hidden set screw on the side of the knob’s collar, which must be loosened with a small hex key, or a decorative cap on the front of the knob that can be gently pried off with a plastic tool to reveal the mounting screw underneath. If the knob appears to be glued directly to the wood, check the manufacturer’s instructions for safe adhesive removal methods, and avoid prying forcefully to prevent tearing the wood fibers.
Community discussion
Share your experience or ask a question. Comments are reviewed before publication.