
Replacing worn-out furniture pads is one of the simplest yet most effective ways to protect your home’s flooring from unsightly scratches, scuffs, and deep gouges. Over time, the adhesive on old pads degrades, collecting dust, pet hair, and grit that can turn a protective barrier into an abrasive surface. Properly replacing these worn pads with new 3M furniture pads requires a systematic approach: complete removal of the old pad, thorough elimination of sticky residue, precise surface preparation, and correct application techniques. Taking the time to execute each step carefully ensures that your new floor protectors remain firmly in place, even under heavy use.
In Singapore’s warm and humid climate, adhesive backings can soften if the surface is not prepared correctly, making meticulous cleaning even more essential. Whether you are protecting polished marble, delicate hardwood, or modern vinyl flooring, a secure bond is the key to long-lasting floor protection.
Gathering the Right Tools and Materials for Safe Removal
To achieve a clean, professional-grade replacement, you must gather the appropriate tools before starting. Using the wrong implements can easily scratch wood finishes, chip paint, or damage metal furniture legs. For physical removal, prepare a flexible plastic putty knife, an old plastic credit card, or a length of strong dental floss. These tools allow you to slide under the old adhesive without gouging the furniture material.
Products mentioned in this guide
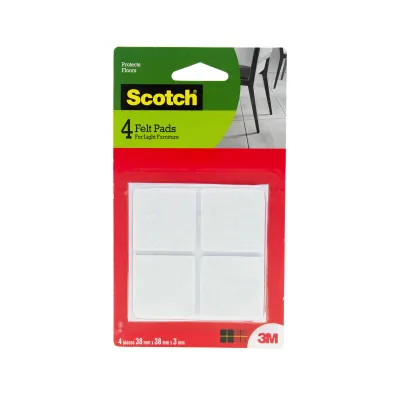
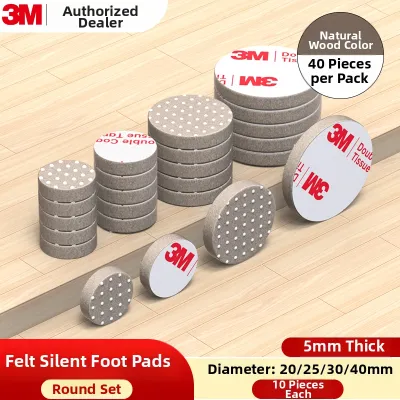
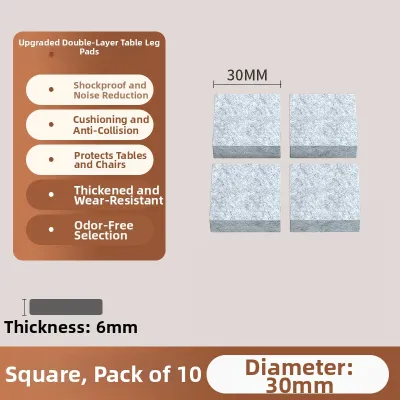
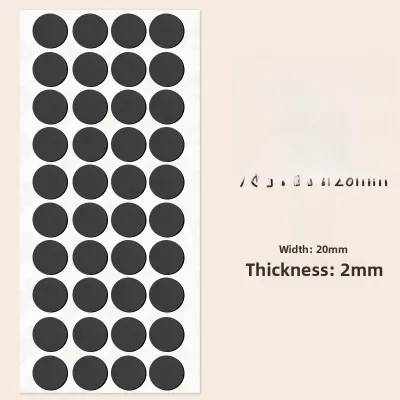
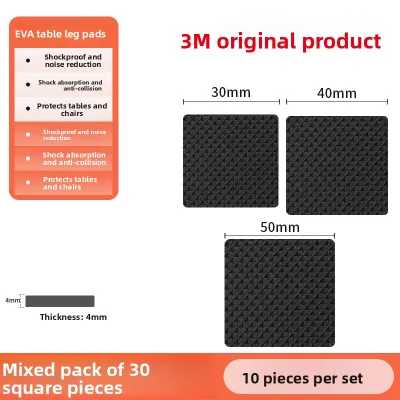
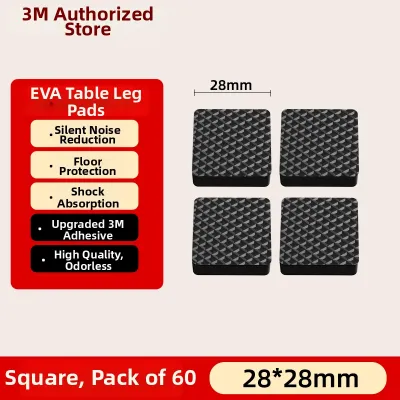
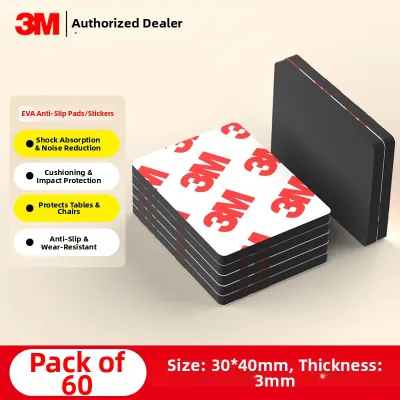
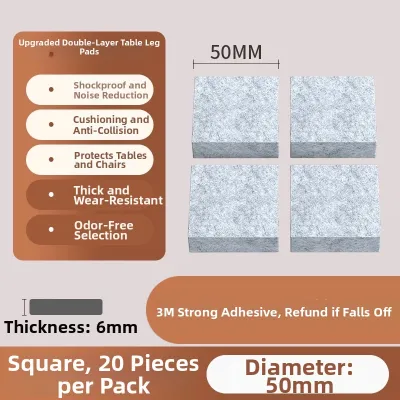
Prices are valid at publication and may change. Please refer to the product page for the latest price.
You will also need a mild adhesive remover or a small amount of isopropyl alcohol to dissolve stubborn residue. For cleaning, keep several lint-free microfiber cloths nearby to wipe away dissolved glue and dust. Finally, ensure you have the correct size, shape, and thickness of replacement 3M furniture pads.
These are widely available in local home improvement stores or online marketplaces, typically costing under S$10 to S$15 for a comprehensive multi-pack. Matching the pad thickness to the weight of your furniture is crucial for maintaining stability and preventing floor wear. Heavy dining chairs, for instance, require denser felt pads than light decorative side tables.
Safely Removing Old Furniture Pads Without Damaging the Finish
The first active step is removing the old, compressed pads without harming the furniture’s finish. Begin by turning the furniture over or laying it on its side on a soft blanket to expose the bottom of the legs. Assess the condition of the old pad; felt pads that have been in place for years may have flattened completely, leaving a hardened layer of adhesive.

To remove them, slide a piece of dental floss underneath the edge of the pad and use a sawing motion to cut through the foam or adhesive layer. If the pad is particularly stubborn, use a flat plastic scraper or an old plastic card to gently pry it upward. Keep the tool flat against the wood or metal surface to avoid digging into the material.
If the adhesive remains bonded to the leg, you can apply gentle heat from a hair dryer on a low setting for a few seconds to soften the glue. Always exercise caution with heat, as excessive temperatures can blister or discolor delicate wood varnishes.
If you choose to use a chemical adhesive remover, apply a tiny drop to an inconspicuous area of the furniture leg first. Stop immediately if you notice any clouding, softening, or color transfer, as this indicates the solvent is incompatible with the furniture’s finish.
Cleaning and Preparing the Surface for Maximum Adhesion
Once the physical pad is gone, you must prepare the surface to ensure the new pressure-sensitive adhesive can form a maximum bond. Microscopic traces of old glue, floor wax, household dust, and natural wood oils will act as a barrier, preventing the new adhesive from contacting the furniture leg directly.
Dampen a clean microfiber cloth with isopropyl alcohol and wipe the bottom of each leg thoroughly. Isopropyl alcohol is highly effective because it cuts through grease and evaporates quickly without leaving a residue. In humid environments, moisture can easily trap itself under new adhesives, so allow the cleaned surfaces to air dry completely for several minutes.
Inspect the bottom of each leg for flatness and structural integrity. If you are working with wooden furniture and find that the leg bases are splintered, rough, or uneven, use a piece of fine-grit sandpaper to lightly smooth the surface. A flat, smooth surface maximizes the contact area for the new pad. Be sure to wipe away all sanding dust with a dry cloth before moving to the application phase.
Selecting the Correct Size and Applying New 3M Furniture Pads
Applying the new 3M furniture pads requires precision to ensure long-term durability and prevent premature peeling. Before peeling the backing, place the dry pad against the furniture leg to verify the fit. The pad should cover the majority of the contact area but must not overhang the edges of the leg.
Overhanging felt catches on floor joints, rugs, and dust, which quickly pulls the pad away from the wood. If necessary, use sharp household scissors to trim larger pads to the exact shape of the leg base.
When you are ready to apply, carefully peel the protective paper backing from the 3M pad, taking care not to touch the exposed adhesive with your fingers, as skin oils can weaken the bond. Align the pad precisely over the center of the leg base and lower it into place.
Once positioned, apply firm, direct, and sustained pressure with your thumb or the palm of your hand for at least thirty seconds. This pressure-sensitive adhesive relies on physical force to activate the chemical bond with the substrate. Avoid applying pads in areas with high ambient humidity or extreme temperatures, as these conditions can interfere with the initial tack of the adhesive.
Allowing Proper Curing Time and Verifying the Installation
After application, the adhesive requires a dedicated curing period to reach its full bonding strength. While it may be tempting to immediately upright the furniture and slide it back into place, doing so can shear the fresh adhesive before it has fully set.
Refer to the manufacturer’s instructions on the packaging for specific curing times, which often recommend letting the adhesive rest undisturbed for several hours or overnight. Keep the furniture upside down or tilted during this period to prevent any weight from pressing down on the new pads.
When you are ready to return the furniture to its upright position, lift the pieces completely rather than dragging them across the floor. Dragging newly applied pads puts immense lateral stress on the adhesive, which can cause them to shift or slide off entirely.
After a few days of normal household use, conduct a quick visual and physical inspection of the pads. Check if any edges are lifting or if the pads have shifted from their original positions, which may indicate that the surface was not fully cleaned or that the furniture is too heavy for the selected pad size.
Troubleshooting Adhesion Failures and Considering Alternatives
If you experience repeated adhesion failures where the new pads slide off within a few weeks, it is important to diagnose the underlying cause. Common culprits include inadequate surface preparation, residual cleaning oils, or applying pads to highly uneven surfaces.
Additionally, exceptionally heavy furniture, such as large solid-wood dining tables or heavy reclining sofas, may exert more lateral force than standard adhesive pads can withstand. For these high-stress applications, adhesive pads may not be sufficient on their own.
You might need to consider alternative fastening methods, such as nail-on or screw-on furniture glides, which provide a mechanical connection to the wood. However, always verify that the furniture legs are thick and stable enough to accept screws or nails without splitting. If you are dealing with valuable antiques, delicate vintage pieces, or severely damaged furniture legs, stop and consult a professional furniture repair service to avoid causing irreversible damage to your valued items.
Frequently Asked Questions (FAQ)
Can I apply new 3M pads directly over old ones?
No, you should never apply new furniture pads directly over old, worn ones. Layering pads compromises the structural stability of your furniture, often causing it to wobble or sit unevenly on the floor. Furthermore, the old pad is likely saturated with dust, floor wax, and moisture, which prevents the new pressure-sensitive adhesive from forming a secure bond. To ensure the new 3M furniture pads function exactly as designed, you must completely remove the old material and clean the surface down to the bare wood, metal, or plastic.
How do I remove sticky residue without damaging wood finishes?
Removing sticky residue from delicate wood finishes requires a cautious, step-by-step approach. Start with the gentlest mechanical methods, such as rubbing the residue with your thumb or a clean microfiber cloth dampened with warm, soapy water. If the residue persists, you can try applying a tiny amount of mild household oil, like mineral oil or olive oil, to soften the adhesive before wiping it away. When using commercial adhesive removers or isopropyl alcohol, always test the liquid on a hidden, inconspicuous area of the furniture leg first. Stop immediately if the wood finish clouds, softens, or changes color, and wipe the area clean with a dry cloth.

Community discussion
Share your experience or ask a question. Comments are reviewed before publication.