
Protecting your home’s flooring from scratches, gouges, and unsightly scuff marks is a continuous maintenance task. In many modern homes, delicate flooring materials like polished marble, homogeneous tiles, and warm teak parquet are standard. While a simple felt pad is highly effective at preventing damage from heavy chairs and tables, these protective layers do not last forever. Over time, they compress, collect abrasive grit, or slide out of place, turning a protective accessory into a hazard for your floors.
Replacing worn-out felt pads is a straightforward DIY task that restores silent, smooth gliding to your furniture. By properly removing the old adhesive or hardware, cleaning the furniture legs, and applying the correct replacement pads, you can safeguard your floors for years to come. This guide walks you through the entire process, from identifying wear to choosing the right materials and executing a flawless installation.
When to Replace Your Furniture Felt Pads
Felt pads are sacrificial barriers designed to wear down so your floors do not have to. Recognizing the early signs of deterioration allows you to replace them before they fail completely and cause permanent scratches on your parquet or vinyl flooring.
Products mentioned in this guide
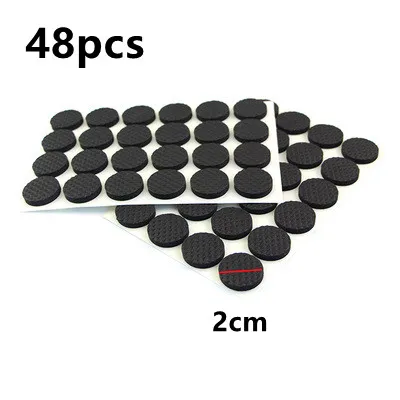
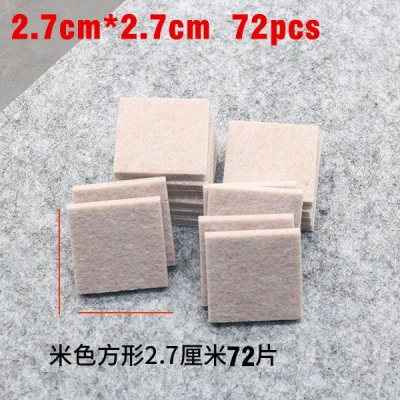
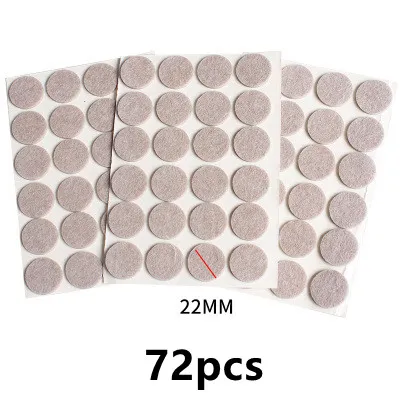
![[Min Buy Any 3] Steve & Leif Heavy Duty Round Felt Self Adhesive Furniture Felt Sliders Anti-Skid Pads](https://img.lazcdn.com/g/p/044da93e9c9e56f3e393d27958cba463.jpg_400x400q80.jpg_.webp)
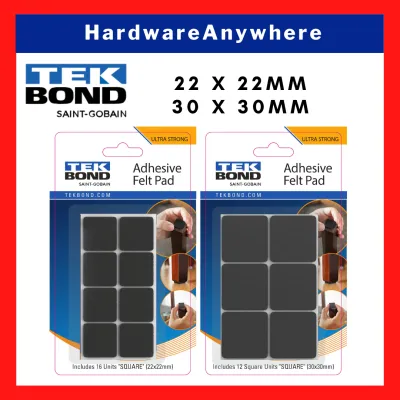

Prices are valid at publication and may change. Please refer to the product page for the latest price.
Visual indicators are the most obvious signs that a replacement is overdue. Inspect the bottom of your furniture legs regularly to check the thickness of the felt. If the pads look compressed, thin, or have frayed edges, they have lost their cushioning ability. Furthermore, look closely for embedded debris; pet hair, dust, and tiny outdoor grit can become trapped in the felt fibers, turning the pad into a rough, sandpaper-like surface that scratches floors every time the furniture moves.
Auditory cues also signal that your pads need attention. If moving a dining chair produces a scraping, squeaking, or grinding noise rather than a silent glide, the felt has likely worn through. This noise indicates that the hard plastic backing of the pad, the metal nail, or the wooden leg itself is making direct contact with the floor.
Loss of adhesion is another common issue, especially in warm, humid climates where standard glues can soften and slide. If you notice a sticky, dark residue creeping out from under the furniture leg, or if the pad has shifted off-center, the adhesive has failed. Once a pad slips, the exposed glue will attract dirt, while the unprotected edge of the furniture leg begins to rub against your floor.
Finally, pay attention to how your furniture sits. Unevenly worn pads can cause chairs or tables to wobble slightly. If one leg’s pad has flattened completely while the others remain intact, the resulting height difference can destabilize the furniture, putting uneven stress on the joints and making seating uncomfortable.
Tools and Materials Needed for the Job
Before starting, gather the necessary tools and replacement parts to ensure a smooth, uninterrupted workflow. Having the right supplies on hand prevents damage to your furniture’s finish and ensures a long-lasting bond for the new pads.

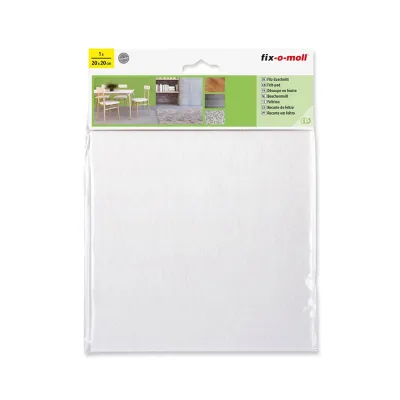
First, select the appropriate replacement felt pad type for your specific furniture and flooring. Adhesive-backed felt pads are highly versatile and easy to install on almost any flat leg bottom. For heavy-use dining chairs, slip-on caps or wrap-around felt sleeves offer excellent durability. For solid wood furniture legs that rarely move, nail-on or screw-in felt gliders provide a highly secure attachment that will not slip off over time.
Next, prepare your cleaning and removal tools. You will need a mild solvent, such as isopropyl rubbing alcohol, to dissolve old adhesive residue without stripping the wood’s finish. Avoid harsh chemicals like acetone unless you have verified they are safe for your specific furniture material. A non-marring scraping tool, such as a plastic putty knife, an old credit card, or a plastic scraper, is essential for peeling away stubborn glue without gouging the wood.
To prepare the surface and apply the new pads, keep a few microfiber cloths nearby to wipe away dust and solvent residue. A measuring tape or ruler is also necessary to measure the diameter of your furniture legs, ensuring you purchase or cut the replacement pads to the exact size. Finally, if you are installing nail-on pads, a hammer or rubber mallet and a small drill bit for pilot holes will be required.
Step-by-Step Guide to Removing Old Felt Pads
Removing old, worn-out pads requires patience to avoid damaging the furniture legs. The removal method depends entirely on how the original pads were attached.
To remove standard adhesive-backed pads, start by sliding a plastic scraper or an old credit card underneath the edge of the felt. Gently pry upward, working your way around the circumference of the leg. If the pad is stubborn, avoid pulling forcefully, as this can tear away loose wood fibers or splinters from the bottom of the leg. Instead, apply a small amount of rubbing alcohol to the edge of the pad to help soften the glue as you pry.
If you are dealing with nail-on or screw-on gliders, a different approach is required. For nail-on pads, slide the claw of a hammer or a pair of pliers under the plastic base of the glider. Apply gentle, straight downward pressure on the tool handle to pry the nail straight out of the wood. Avoid rocking the tool sideways, as this can split the wooden leg or widen the existing hole, making it difficult to install a replacement. For screw-on variants, simply use the appropriate screwdriver to back the screw out.
Once the old pad is removed, inspect the bottom of the furniture leg thoroughly. Look for any splinters, cracks, or deep gouges that may have developed. If you find loose wood fibers, gently pull them away. If the wood is split, apply a small amount of wood glue and clamp it securely, allowing it to dry completely before proceeding with the pad replacement.
Preparing the Furniture Legs for New Pads
Proper surface preparation is the most critical step in ensuring your new felt pads stay securely in place. Adhesive pads require a completely clean, dry, and smooth surface to bond effectively.
Begin by addressing any leftover adhesive residue. Dampen a clean microfiber cloth with isopropyl rubbing alcohol and hold it against the sticky residue for about thirty seconds. This softens the old glue, allowing you to scrape it away easily with your plastic scraper. Wipe the area clean with a dry section of the cloth, and repeat the process until the bottom of the leg is completely free of sticky residue.
When working with delicate wood finishes, always test your cleaning solvent on an inconspicuous area first, such as the inside of a leg near the top. This ensures the solvent will not discolor or dissolve the varnish, lacquer, or paint. If rubbing alcohol affects the finish, switch to a mild dish soap and warm water solution, using it sparingly to avoid oversaturating the wood.
If the bottom of a wooden leg is rough, uneven, or has raised wood grain from moisture, use a piece of fine-grit sandpaper (such as 220-grit) to smooth it out. Lightly sand the flat bottom surface in a circular motion. This removes minor imperfections and creates a slightly textured surface that helps the new adhesive grip the wood more effectively. After sanding, wipe away all wood dust with a damp cloth.
Allow the furniture legs to dry completely. Any trapped moisture under a new adhesive pad will weaken the glue, causing the pad to peel off prematurely. In humid environments, give the legs at least fifteen to twenty minutes to air dry before applying the new pads.
Installing the New Felt Pads Correctly
With the furniture legs clean, dry, and smooth, you are ready to install the new felt pads. Precision during this step ensures the pads remain centered and provide balanced support.
If you are using adhesive-backed pads, select the size that matches the bottom of the leg. If you are using a larger sheet of felt, cut it to shape using sharp scissors, leaving a tiny margin (about one millimeter) inside the edge of the leg so the pad is not visible when the furniture is upright. Peel the protective backing off the pad, taking care not to touch the sticky surface with your fingers. Align the pad carefully over the center of the leg and press down firmly. Apply heavy, even pressure with your thumb for at least thirty seconds to activate the pressure-sensitive adhesive.
For nail-on or screw-on pads, alignment is crucial to prevent the furniture from sitting unevenly. Mark the exact center of the leg bottom with a pencil. To prevent the wood from splitting, drill a small pilot hole using a drill bit that is slightly thinner than the nail or screw shaft. Place the glider over the hole, ensuring it sits flat. Gently tap the nail-on pad into place using a rubber mallet or a hammer cushioned with a cloth. If using screw-on pads, drive the screw in until the head is fully recessed within the plastic or metal housing, ensuring it cannot touch the floor.
For slip-on caps or sleeves, stretch the opening slightly and slide the cap over the bottom of the leg. Ensure the cap fits snugly and sits flush against the bottom surface. If the cap is too loose, it may slide off when the chair is lifted; if it is too tight, it may split over time.
After installation, allow the adhesive to cure. Do not slide the furniture or place heavy weight on it immediately. For best results, let the adhesive cure for at least twelve to twenty-four hours. This allows the bond to reach maximum strength, preventing the pads from shifting when the furniture is put back into daily use.
Testing and Maintaining Your Replaced Felt Pads
Once the curing time has passed, you can return your furniture to its normal position and verify the quality of your work. Regular maintenance will significantly extend the life of your new pads and keep your floors pristine.
First, test the furniture for stability. Place the item on a flat, level floor and check for any wobbles. If one leg sits higher than the others, verify that the pad is centered and fully seated. If necessary, you can add a thin shim of felt under a shorter leg to level the furniture perfectly.
Next, test the movement of the furniture. Gently slide a chair or table across the floor. It should glide smoothly and silently, without catching or dragging. If you feel resistance, check the bottom of the pads to ensure no adhesive has squeezed out onto the sides, which can stick to the floor and cause dragging.
To maintain your new pads, incorporate them into your regular cleaning routine. Vacuum the bottom of your furniture legs using a soft brush attachment to remove accumulated dust, pet hair, and grit. If the felt pads collect stubborn debris that vacuuming cannot remove, use a stiff-bristled brush to gently brush the fibers clean.
Finally, establish a routine inspection schedule. Check the condition of your felt pads every six months, or more frequently for high-use items like dining chairs. By catching wear early and replacing the pads before they wear through, you can ensure your beautiful floors remain free of scratches and scuffs for years to come.
Frequently Asked Questions (FAQ)
How do I remove stubborn adhesive residue from wooden legs?
To remove stubborn adhesive residue without damaging delicate wood finishes, start by applying a small amount of isopropyl rubbing alcohol to a clean microfiber cloth. Hold the damp cloth against the residue for thirty seconds to soften the glue. Gently scrape the softened adhesive away using a non-marring tool, such as a plastic putty knife or an old credit card. Avoid using metal blades, steel wool, or harsh solvents like acetone, which can easily scratch the wood or strip away the protective varnish. Always test any solvent on a small, hidden area of the furniture leg first to ensure finish compatibility.
Should I use nail-on or adhesive felt pads for heavy furniture?
For heavy furniture that is moved frequently, such as dining chairs or bar stools, nail-on or screw-on felt pads are generally preferred. They offer superior holding strength because the mechanical fastener prevents the pad from shifting or peeling off under heavy lateral pressure. However, they require solid wood legs that are thick enough to accept a nail or screw without splitting. For heavy furniture that remains stationary, such as sofas, sideboards, or cabinets, heavy-duty adhesive felt pads are highly suitable. They distribute weight evenly across the flat leg surface and do not require drilling, making them ideal for delicate wood, metal, or hollow furniture legs.

Community discussion
Share your experience or ask a question. Comments are reviewed before publication.