
Planning and assembling a modular shelf rack in a compact space requires a systematic approach that balances precise physical measurements with environmental realities. By accurately mapping your available floor and wall area, selecting a material finish rated for your specific room conditions, and executing a bottom-up assembly, you can transform underutilized corners into highly efficient storage zones. This guide walks you through the entire process, from the initial tape measure reading to the final safety checks, ensuring your new shelving unit remains stable, secure, and perfectly tailored to your home.
Measure Your Space and Define Storage Needs
In compact homes, such as Singapore HDB flats or apartments, every millimeter counts toward a successful installation. Start by measuring the width, depth, and height of the designated area with a high-quality steel tape measure. Do not rely on general floor plans or architectural drawings, as physical walls often have slight variances, slopes, or plaster build-ups that alter the actual dimensions. Look closely for low-profile obstructions like skirting boards, which can prevent a shelf from sitting flush against the wall, thereby reducing stability. Note the locations of wall-mounted pipes, electrical trunking, power outlets, light switches, and window frames that must remain accessible or require clearance to open fully.
Additionally, consider the functional clearance of the surrounding area. Ensure that the depth of the shelf rack does not obstruct the swing radius of nearby doors, cabinet doors, or refrigerator doors. If you are planning to place the rack near a walkway, verify that there is sufficient clearance for household members to pass comfortably without bumping into sharp corners. If the space features overhead fixtures like ceiling fans, wall-mounted air conditioners, or light fixtures, measure the vertical clearance carefully to prevent any physical interference during or after installation.
Products mentioned in this guide
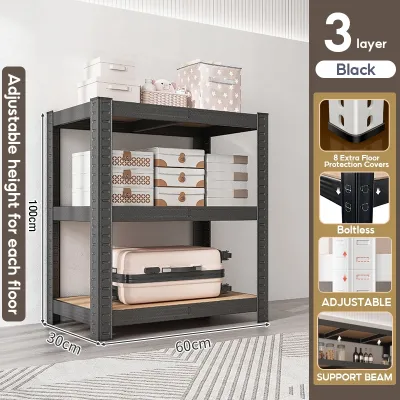
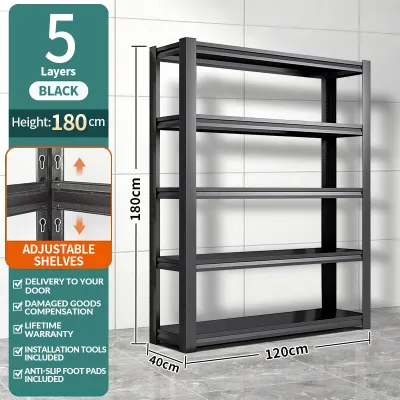
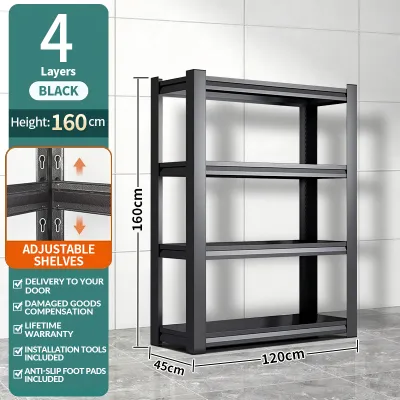
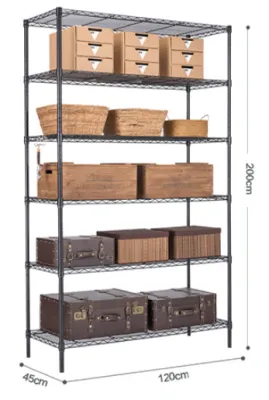
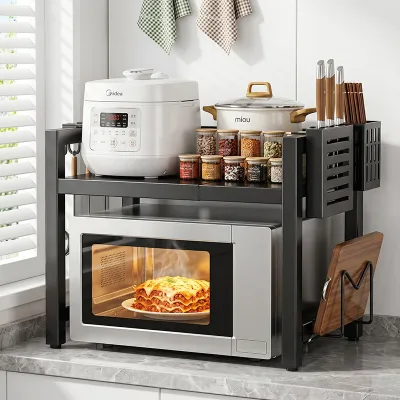
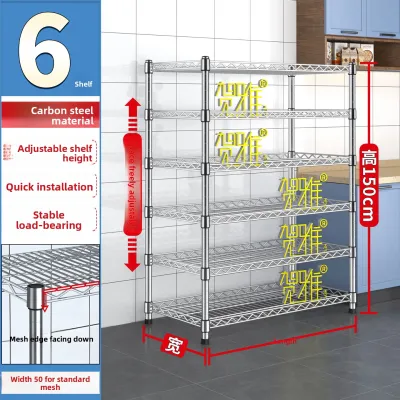
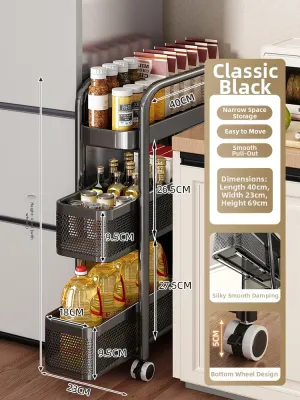
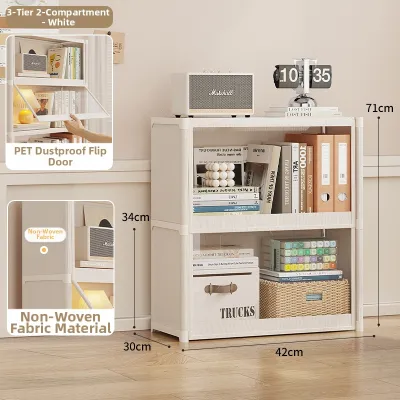
Prices are valid at publication and may change. Please refer to the product page for the latest price.
Next, evaluate the items you intend to store. Measure the height of your tallest kitchen appliances, storage bins, or laundry detergents to determine the necessary clearance between shelves. Estimate the weight of these items to understand your load requirements, keeping in mind that overloading can lead to structural failure. Finally, assess the local environment. A service yard or balcony is exposed to high humidity, direct sunlight, and occasional rain splashes, while a kitchen corner faces heat, steam, and airborne grease. These factors dictate whether you need moisture-resistant finishes, UV-stabilized materials, or easily cleanable surfaces.
Choose the Right Modular Shelf Rack System
Selecting the right system involves matching your environmental assessment with product specifications. Examine the material finishes available on the market. For damp areas like balconies or bathrooms, look for units with explicit manufacturer labels indicating rust resistance, such as powder-coated steel, chrome plating with protective topcoats, or heavy-duty plastics. For dry living areas, wood composites or standard metal frames may suffice, provided you check the care instructions regarding moisture exposure.

Review the manufacturer’s specifications for the maximum load capacity per shelf and the overall weight limit of the entire unit. Never assume a material’s strength based on appearance alone; always verify the certified load ratings on the product packaging. Keep in mind that a shelf’s load capacity is typically rated for evenly distributed weight, not concentrated loads in a single spot. If you plan to store exceptionally heavy items, look for industrial-grade steel racks with reinforced support beams beneath each shelf level.
Consider the structural design of the shelves themselves. Wire shelving is highly popular for kitchens and balconies because it allows excellent airflow, reducing dust accumulation and preventing moisture from pooling. However, wire shelves may require flat liners to prevent small items from tipping over or falling through the gaps. Solid shelving, made of metal sheets or composite wood, provides a flat surface that is easy to wipe clean, making it ideal for storing small pantry items or decorative pieces, though it can block light and airflow in tight spaces.
Consider the modularity of the system. Look for racks with adjustable shelf heights, typically utilizing clip-in or boltless designs, which allow you to reconfigure the layout as your storage needs evolve. Ensure that the system offers expansion options, such as add-on bays or compatible side hooks, so you can scale your storage vertically or horizontally without buying an entirely new unit.
Prepare Your Tools and Workspace
Before unboxing your modular shelf rack, clear a spacious work area near the final installation site. Lay down protective padding, such as thick cardboard, a utility blanket, or a yoga mat, to protect both your flooring and the shelf components from scratches during assembly. Open the packaging carefully, avoiding the use of deep-cutting box cutters that could slice through the protective finish of the metal or wood components inside.
Lay out all components—uprights, shelves, beams, clips, and fasteners—and count them against the parts list to confirm nothing is missing before you begin. Group similar parts together to streamline the assembly process. Take this opportunity to inspect each component for any shipping damage, such as bent metal tabs or cracked plastic clips, which could compromise the structural integrity of the assembled unit.
Gather the necessary tools recommended by the manufacturer. For boltless metal racks, a rubber mallet is often the primary tool required to seat the beams firmly into the upright slots. If you only have a standard metal hammer, use a block of scrap wood between the hammer and the shelf frame to protect the finish from denting or chipping. For wooden or bolted systems, prepare the correct size of screwdrivers or hex keys. If your planning indicates that the shelf must be anchored to the wall for safety, identify the wall material. Concrete or brick walls require a masonry drill bit and wall plugs, while drywall or partition walls require specialized hollow-wall anchors.
Assemble the Shelf Rack Step-by-Step
Begin assembly by constructing the base or bottom frame. This foundation must be perfectly square and level, as any minor misalignment at the bottom will amplify as you build upward. If your unit uses adjustable leveling feet, screw them into the bottom of the upright posts before adding the first shelf. Position the lowest shelf as close to the floor as the design allows; this lowers the overall center of gravity and enhances stability.
Attach the vertical supports to the base frame, ensuring they are oriented correctly according to the manual. Many modular systems use tapered uprights or keyhole slots that must face a specific direction (usually with the wider part of the slot facing upward) for the shelf clips or beams to lock securely into place. If you are assembling a larger or taller unit, consider having a second person assist you to hold the uprights steady while you secure the first few horizontal beams, preventing the frame from twisting or falling.
For boltless systems, use a rubber mallet to tap the horizontal support beams into the keyhole slots of the uprights, ensuring they seat fully and evenly on both sides. Work your way upward, installing one shelf level at a time. Check the alignment and squareness of the frame at each stage using a spirit level or by measuring diagonally across the frame corners. The two diagonal measurements should be equal; if they are not, gently adjust the frame before tightening the connections. When securing joints, tighten fasteners firmly but avoid using excessive force, which can strip threads, bend metal tabs, or crack composite wood panels.
Secure and Stabilize the Installation
Once the physical structure is assembled, move it carefully into its final position. If the shelf rack is tall, narrow, or intended to hold heavy items, anchoring it to the wall is a critical safety step to prevent accidental tipping. Follow the manufacturer’s specific anti-tip guidelines and use the provided brackets or strap kits. If no anchoring kit is included, purchase a heavy-duty wall-tethering strap compatible with your wall type.
Place a spirit level on the top and side surfaces of the rack to verify that the unit is perfectly plumb and level. In wet areas like balconies or bathrooms, floors are often designed with a slight slope to facilitate water drainage. To compensate for this slope, adjust the leveling feet on the lower side of the rack until the bubble on the spirit level is perfectly centered. If your unit does not have adjustable feet, use stable, non-slip shims designed for furniture leveling.
Perform a gentle physical stability test by grasping the frame at mid-height and checking for any wobble or sway. If the unit moves excessively, recheck all joint connections to ensure they are fully seated and tighten any loose fasteners. Ensure that the wall anchors are firmly engaged and do not pull away from the wall when light pressure is applied. Review the weight distribution guidelines in the product manual once more before placing any items on the shelves.
Load Safely and Organize for Small Spaces
Loading your modular shelf rack correctly is essential for maintaining its structural integrity over time. Always place your heaviest items, such as bulk liquids, heavy kitchen appliances, or toolboxes, on the lowest shelves. This practice keeps the center of gravity low, significantly reducing the risk of tipping. Distribute the weight of items evenly across each shelf rather than concentrating heavy loads in the center or on one side, which can cause the shelves to bow or sag.
To maximize the efficiency of a small footprint, incorporate modular accessories. Use clear, stackable bins to group smaller items, and label them for quick identification. This prevents clutter and makes it easier to retrieve items without disturbing the rest of the shelf. If you are using wire shelving, install plastic or acrylic shelf liners to create a smooth, solid surface that prevents small bottles or spices from tipping over.
Attach compatible side hooks, magnetic strips, or hanging baskets to the exterior frame to utilize vertical space that would otherwise go to waste. This is particularly useful in tight kitchens for hanging utensils, oven mitts, or lightweight pans. Finally, establish a routine maintenance schedule. Every few months, inspect the shelf rack for any signs of structural wear, bowing shelves, or loose fasteners, and tighten any joints that may have settled over time due to daily use.
Frequently Asked Questions (FAQ)
Is it safe to place a heavy shelf rack on a tiled balcony?
Placing a heavy shelf rack on a tiled balcony requires careful preparation to protect the flooring and maintain stability. First, inspect the tiles for any existing cracks or hollow sounds, which indicate weak spots that could fail under concentrated loads. Use thick, heavy-duty rubber or silicone protective pads under each leg of the shelf rack to distribute the weight evenly and prevent the metal or plastic feet from scratching or cracking the tiles. If the manufacturer recommends anchoring the rack to the wall, avoid drilling directly into the tiles if possible; instead, aim for the grout lines or consult a professional installer to prevent shattering the ceramic or homogenous tile surface.
How do I prevent a tall modular shelf rack from tipping?
Preventing a tall modular shelf rack from tipping relies on a combination of mechanical anchoring and smart loading practices. Always install the anti-tip wall brackets or safety straps provided by the manufacturer, securing them firmly into the wall structure using fasteners appropriate for your wall type. Keep the heaviest items on the bottom shelves to create a stable base, and never exceed the manufacturer’s specified weight limits for individual shelves or the overall unit. Additionally, avoid placing tempting items or frequently used objects on the very top shelf, as reaching for them can destabilize the unit or encourage unsafe climbing.
Community discussion
Share your experience or ask a question. Comments are reviewed before publication.