
Mounting a pegboard (洞洞板) in a small Singapore Board (HDB) flat is one of the most efficient ways to reclaim vertical space. However, drilling holes into tough concrete walls can trigger noise complaints, require heavy-duty rotary hammers, and permanently damage the wall surface—a major issue for renters or homeowners who want to keep their walls pristine. Fortunately, you can securely install a pegboard without a single drill bit.
By selecting the appropriate adhesive, tension, or freestanding systems, you can build a highly functional storage hub that keeps your workspace, kitchen, or entryway organized. Doing so successfully requires understanding your wall type, selecting the correct mounting method, and following precise installation steps to prevent your items from falling.
Assess Your Wall and Weight Limits Before Installation
Before purchasing any mounting materials, you must evaluate the specific type of wall in your HDB flat. HDB flats typically feature three main wall surfaces: structural reinforced concrete walls, drywall partition walls (often found in newer BTO layouts separating bedrooms), and glazed ceramic or porcelain tiles (standard in kitchens and bathrooms). Each surface interacts differently with no-drill mounting methods.
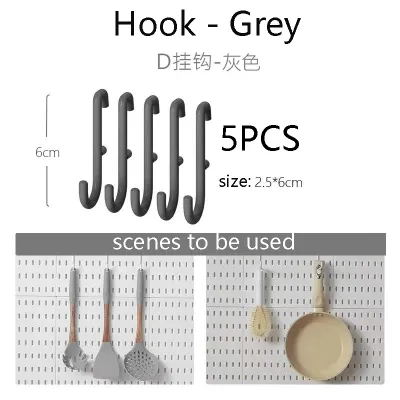
Products mentioned in this guide
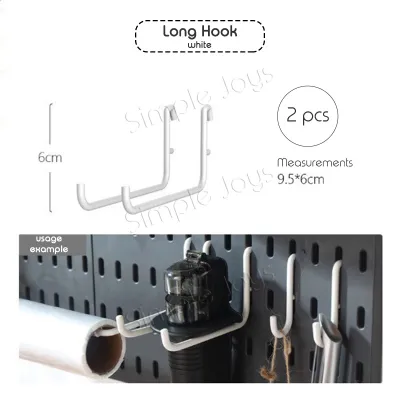
![[SG Stock]DIY Pegboard Set Accessories Desk Organizer Pegboard Holder No Drill Wall Shelf Board Multiple Usage](https://img.lazcdn.com/g/p/d3b6e33bda2c85ee115022b3e312d4a6.jpg_400x400q80.jpg_.webp)
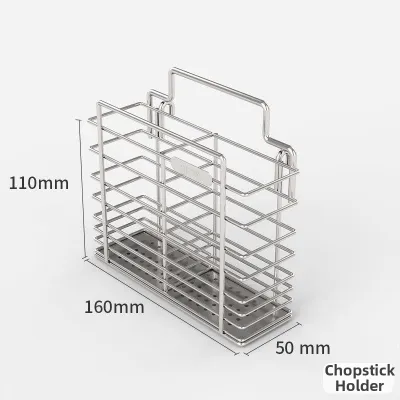
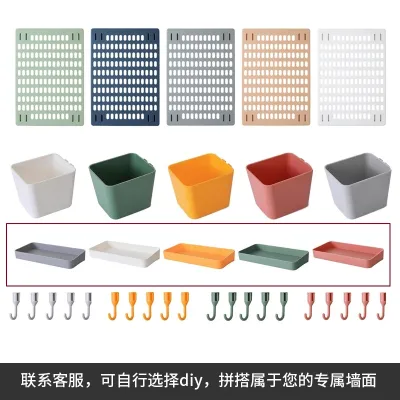
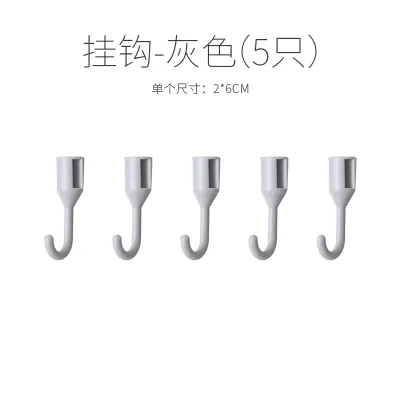
Prices are valid at publication and may change. Please refer to the product page for the latest price.
Concrete walls are incredibly solid but are almost always finished with a layer of plaster and emulsion latex paint. This paint layer is the weakest link in any adhesive setup. Because no-drill methods rely entirely on surface adhesion rather than physical anchoring into the wall’s structure, the adhesive is only as strong as the bond between the paint and the underlying plaster. Drywall partition walls offer a flatter surface, but their painted paper backing can also tear easily under heavy loads. Tiles, on the other hand, provide a non-porous, smooth surface that is ideal for heavy-duty suction cups or specialized mounting tapes, as there is no paint layer to peel off.
Always check the manufacturer’s weight rating for both the pegboard and the chosen adhesive before buying. Remember that these ratings are calculated under ideal laboratory conditions on clean, smooth surfaces. To prevent sudden failures, plan to use only a fraction of the maximum rated capacity—ideally keeping your load under 50% to 75% of the stated limit.
Warning: Strong adhesives carry an inherent risk of peeling the paint off standard HDB latex-painted walls. If you are renting or plan to change your layout in the future, you must weigh this risk against your storage needs. If preserving the paint is your absolute priority, alternative tension-based or freestanding setups are much safer than adhesive strips.
Choose the Right No-Drill Mounting Method for Your Pegboard (洞洞板)
Selecting the right mounting method depends on what you plan to store and where the pegboard will live. Heavy-duty removable adhesive strips are the most common choice for lightweight setups. They use a stretch-release mechanism that minimizes wall damage, making them perfect for small office supplies or crafting tools. Construction adhesives offer a far stronger, semi-permanent bond, but they will almost certainly destroy the paint and plaster layer upon removal, making them unsuitable for renters.

For heavier storage needs, tension pole systems and leaning or freestanding pegboards bypass wall adhesion entirely. These methods transfer the weight of your items directly to the floor or ceiling, providing high structural integrity without any wall contact. Over-the-door mounts are another low-impact option, utilizing brackets that hang over standard bedroom or bathroom doors to support lightweight accessories.
Keep in mind that material names or bold marketing claims on adhesive packaging do not guarantee real-world performance. You must carefully verify the product labels and technical specifications for exact weight limits, curing times, and surface compatibility before proceeding.
| Mounting Method | Best Surface | Relative Weight Capacity | Wall Impact |
|---|---|---|---|
| Removable Adhesive Strips | Smooth painted drywall, tiles, metal | Low to Medium (up to 5 kg total) | Minimal (low risk of paint peel if removed correctly) |
| Construction Adhesive | Bare concrete, unpainted wood | High (up to 15 kg) | Severe (will tear paint, plaster, or drywall) |
| Tension Pole Systems | Concrete floor and solid ceiling | Very High (up to 25 kg) | None (no wall contact) |
| Leaning/Freestanding Boards | Any flat floor surface | High (up to 15 kg) | None (uses floor support) |
| Over-the-Door Brackets | Standard wooden or metal doors | Medium (up to 8 kg) | None (hangs on door frame) |
Step-by-Step Guide to Installing a Wall-Mounted Pegboard Safely
If you decide that a wall-mounted adhesive pegboard is the best fit for your space, following a meticulous installation process is critical to prevent the board from falling.
Preparation: Begin by thoroughly cleaning both the wall surface and the back of the pegboard. Use a clean microfiber cloth saturated with isopropyl alcohol (rubbing alcohol) to wipe down the target area. This step is crucial because microscopic dust, grease, and oils from fingers will severely compromise the adhesive bond. Avoid using household glass cleaners or detergent sprays, as they often leave behind a thin chemical residue that prevents the adhesive from bonding fully. Allow the surfaces to dry completely for at least 15 minutes before proceeding.
Application: Lay the pegboard face down on a clean, flat surface. Plan the placement of your adhesive strips carefully. Place them evenly across the flat solid borders and central structural ribs of the pegboard back. Crucially, ensure that no part of the adhesive strip overlaps or blocks the pegboard holes. If an adhesive strip covers a hole, inserting a peg hook later can push the strip away from the wall, instantly breaking the adhesive seal and causing the board to fail.
Curing: Align the pegboard carefully on the wall using a spirit level. Press the board firmly against the wall, applying even pressure with your hands across all adhesive points for at least 30 seconds. For many heavy-duty removable strips, you must temporarily unlatch the pegboard from the wall-facing side of the strips, press the wall-mounted strips directly with your fingers to secure the bond, and then let them cure. Strictly follow the manufacturer’s required curing time—usually a full 24 hours—before reattaching the pegboard or hanging any items. Skipping this curing phase is the most common cause of adhesive mounting failures.
Mounting and Verification: Once the curing period is complete, reattach the pegboard to the wall mounts. Before loading your items, perform a gradual weight test. Start by placing a few lightweight items on the board and monitoring it over a 24-hour period. Check for any signs of movement, peeling edges, or gaps forming between the wall and the adhesive.
Stop Condition: If you observe any slipping, cracking sounds, bowing of the pegboard, or visible peeling of the paint or adhesive during this testing phase, abort the installation immediately. Remove the pegboard and all weight to prevent a sudden fall that could damage your floor, belongings, or the wall itself.
Alternative No-Drill Setups for Renters and Delicate Walls
For renters, those with delicate wall finishes, or anyone looking to store heavier items, wall adhesives might not be a viable option. Fortunately, several highly effective alternatives provide excellent storage capacity with zero wall damage.
Tension Pole Systems
Tension pole systems utilize vertical metal or wood rods that wedge tightly between your floor and ceiling, creating a robust framework to mount your pegboard. To set this up successfully, first measure your ceiling height accurately; typical HDB ceilings range from 2.6 to 2.8 meters, so ensure your tension poles are rated for this height range. When assembling, use a spirit level or a plumb line app to verify that the poles are perfectly vertical (plumb) on both the front-to-back and side-to-side axes. A tilted pole is highly unstable and prone to slipping under load. Because Singapore’s tropical humidity can cause minor material expansion or contraction, check the tension mechanism monthly and tighten it as necessary to maintain a secure hold.
Leaning and Freestanding Boards
Leaning pegboards rest their entire weight on the floor while leaning gently against the wall at a slight angle, while freestanding units use wide, stable base feet to stand independently. When setting up a leaning board, always install high-grip rubber or silicone anti-slip pads at the base where the board contacts the floor. This prevents the board from sliding outward on smooth HDB vinyl, parquet, or polished tile flooring. Additionally, apply soft felt or silicone bumpers to the top contact points where the board rests against the wall to prevent paint scuffs and black marks. Ensure the leaning angle is stable—typically between 5 and 10 degrees—to eliminate tipping hazards without taking up excessive floor space.
Over-the-Door Mounts
Over-the-door pegboard setups utilize flat metal brackets that hook over the top edge of a standard door, suspending the board vertically against the door surface. Before purchasing, verify your door clearance by placing a coin on top of the door and closing it; if the door closes smoothly, there is enough clearance (usually about 1.5mm to 2mm) for the brackets. Ensure your door hinges are sturdy and properly tightened, as hollow-core bedroom doors can sag under excessive weight. When organizing, make sure the door can open and close completely without the pegboard hooks or stored items catching on the door frame or adjacent walls.
Organize and Maximize Your Pegboard in a Compact HDB Layout
To ensure your no-drill pegboard remains secure over time, you must organize your items strategically. The physics of adhesive and tension mounts require smart weight distribution. Always place your heaviest items—such as metal tools, large storage baskets, or heavy scissors—at the very bottom of the pegboard or directly over the strongest mounting points. This minimizes the leverage and peeling force exerted on the top adhesive strips, which bear the brunt of the pulling force.
Opt for lightweight, space-saving accessories designed specifically for compact layouts. Choose slim plastic hooks, compact fabric pockets, and modular fold-down shelves rather than heavy steel brackets. Multi-tier hanging cups are excellent for grouping small stationery, crafting tools, or keys, keeping the overall profile of the pegboard flush against the wall to reduce outward gravitational pull.
Finally, organize your pegboard by zoning items according to how often you use them. Keep high-frequency items, like keys, daily-use tools, or charging cables, at eye level for easy access. Place seasonal or rarely used items at the very top or bottom. This zoning strategy prevents you from constantly tugging on the board to reach tucked-away items, which can gradually weaken adhesive bonds over time.
Safe Removal and Wall Restoration
The true test of a no-drill installation is how cleanly it can be removed when it is time to move out or redecorate. If you used high-quality stretch-and-release adhesive strips, the removal process is highly reliable when executed correctly. Never pull the strip outward (perpendicular to the wall), as this will instantly tear the paint and plaster. Instead, hold the pegboard gently, grasp the exposed removal tab, and pull it slowly and steadily parallel to the wall, stretching it downward or upward in the direction of the strip. The strip will stretch to several times its original length before releasing cleanly.
For stubborn adhesives or tape that feels completely locked to the wall, use a hairdryer on a low or medium heat setting to gently warm the area. Direct the warm air at the adhesive backing for 30 to 60 seconds to soften the underlying polymer. Once the adhesive is warm and pliable, attempt the stretch-and-release pull again.
If any sticky residue remains on your HDB wall paint, do not use harsh abrasive sponges or metal scrapers, which will scratch the surface. Instead, apply a small amount of baby oil, eucalyptus oil, or a gentle commercial adhesive remover to a soft microfiber cloth. Gently rub the residue in a circular motion until it dissolves. Always test a tiny, hidden area of your wall paint first to ensure the solvent does not strip or discolor the latex paint. Finally, wipe the area clean with a damp cloth and a drop of dish soap, then dry it thoroughly. Always consult the specific adhesive manufacturer’s removal guidelines before starting the process to ensure a damage-free result.
Frequently Asked Questions (FAQ)
Can I store heavy power tools on a no-drill pegboard?
No, adhesive-mounted pegboards are not suitable for heavy power tools, drills, or heavy metal hardware. Adhesive strips and tapes are designed strictly for light to medium loads, such as office stationery, keys, craft supplies, and lightweight kitchen utensils. Attempting to hang heavy power tools on an adhesive mount risks sudden failure, wall damage, and broken equipment. If you need to store heavy tools, you must use a heavy-duty floor-to-ceiling tension pole system or opt for structural drilling with appropriate wall plugs. Always check the specific weight rating of your pegboard and mounting hardware, and never exceed those limits.
Will removing adhesive strips peel my HDB wall paint?
There is always a minor risk of paint peeling, especially on older HDB walls, poorly primed surfaces, or walls finished with low-grade builder’s paint. Because latex paint can become brittle over time, strong adhesives may pull the paint layer away from the plaster underneath. To minimize this risk, always use high-quality, reputable removable adhesive brands, follow the correct stretch-and-release removal technique, and use a hairdryer to soften the adhesive before pulling. If you are unsure of your wall’s paint quality, test a single adhesive strip in a hidden area—such as behind a door or inside a closet—before committing to a full installation.
Community discussion
Share your experience or ask a question. Comments are reviewed before publication.