
To choose the right shelve display rack for your home, you must measure your space using a three-dimensional approach that accounts for physical footprint, utility access, and user movement. Simply measuring the empty floor space is a common mistake, often resulting in blocked electrical outlets, cramped walkways, or furniture that visually overwhelms the room. By taking precise measurements of your wall footprint, mapping out architectural obstacles, and calculating traffic clearance, you can select a display unit that looks intentional and functions perfectly.
In Singapore’s compact HDB flats and condominiums, maximizing storage while maintaining a sense of spaciousness requires careful planning. A display rack that is too deep can turn a living room corridor into a tight bottleneck, while one that is too tall might block the airflow of a wall-mounted air conditioner. Taking fifteen minutes to measure your room systematically before browsing online stores or visiting showrooms will save you from the hassle of costly returns and structural hazards.
Measure the Wall Footprint and Visual Proportions
When planning to install a shelve display rack, the first step is to establish the absolute physical boundaries of your target wall or corner. Use a metal measuring tape rather than a soft fabric one, as metal tapes remain rigid over long distances and provide highly accurate readings. Measure the total width of the wall from corner to corner, and the height from the floor to the ceiling at three different points—left, center, and right—since floors and ceilings in residential buildings are rarely perfectly level. If you are placing the rack in a recessed alcove or under a sloped ceiling, measure the narrowest point of the opening to ensure the furniture will slide in without friction.
Products mentioned in this guide
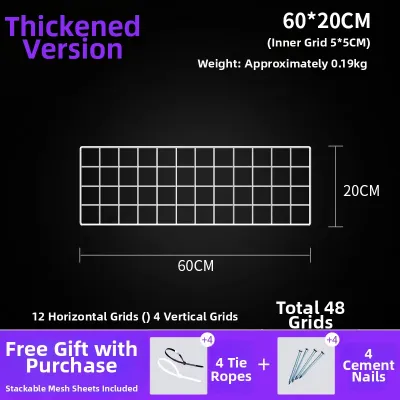
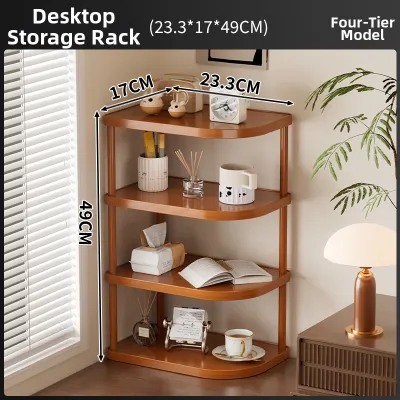
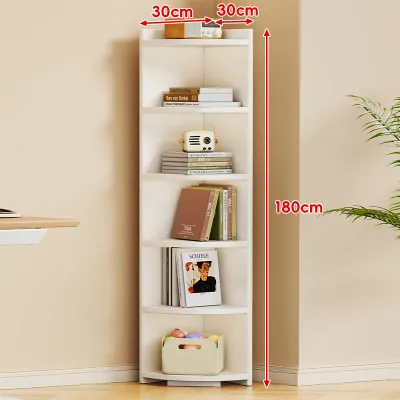
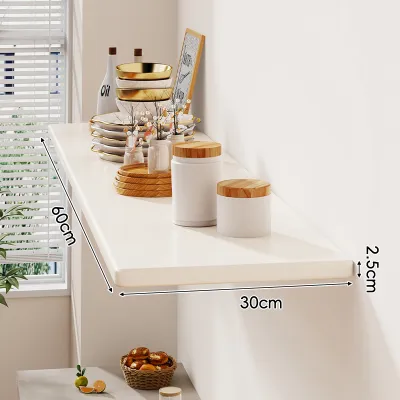


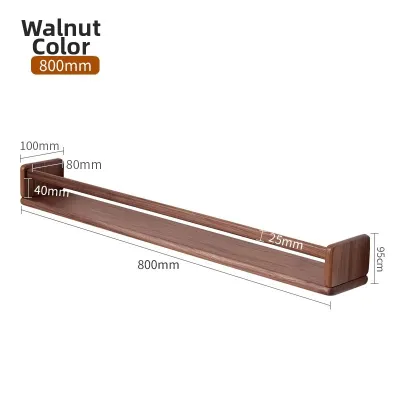

Prices are valid at publication and may change. Please refer to the product page for the latest price.
One of the most overlooked details in room measurements is the presence of skirting boards, baseboards, or decorative wall moldings. These architectural features protrude from the base of the wall, typically by 10 to 20 millimeters, preventing a flat-backed display rack from sitting flush against the wall surface. If your chosen rack does not have a base cutout to accommodate skirting, you must measure the depth of the skirting board and subtract this from your available floor depth, or plan to purchase a unit with adjustable feet or a recessed back. Failing to account for this gap can cause the rack to lean forward slightly, creating instability and an unsightly gap at the top.
Visual proportion is just as critical as physical fit when selecting a shelve display rack. A massive, full-wall unit can make a small living room feel claustrophobic, whereas a tiny modular shelf might look lost on an expansive feature wall. To maintain a balanced aesthetic, aim for the display rack to occupy no more than two-thirds of the wall’s total width, leaving breathing room on either side. If your room receives limited natural light, consider a partial-height unit or an open-backed modular system that allows the wall color to show through, which helps preserve a sense of openness and prevents the furniture from blocking natural light paths.
Map Out Hidden Obstacles and Utility Points
A beautiful shelving unit becomes a daily frustration if it blocks access to essential utilities or home controls. Before finalizing your rack dimensions, map out the exact locations of all wall-mounted fixtures, including electrical outlets, light switches, smart home panels, and fiber optic data ports. In Singapore homes, the main distribution frame or data points are often located in specific corners of the living room, which are also prime spots for display furniture. Measure the distance from the nearest corner to the outer edge of each outlet, and record the height from the floor to the top and bottom of the switch plates.

If your display rack has a solid back panel, placing it directly over an outlet will render those plugs unusable unless you cut custom cable holes or choose a rack with a recessed backboard. For open-backed racks, you must verify that the horizontal shelves do not align directly with the center of a light switch or power socket, which would block you from plugging in appliances or turning on lights. Ideally, maintain a clearance zone of at least 100 millimeters around all active switches and outlets to allow your hands to reach them comfortably without scraping against the rack’s frame or display items.
Additionally, create a comprehensive checklist of other architectural protrusions that could interfere with the rack’s placement. This includes window sills that extend past the wall surface, wall-mounted fans, intercom systems, and protruding door frames. If your home uses radiator heating or has wall-mounted air conditioning units, measure their projection from the wall and their vertical clearance. Placing a tall wooden bookcase directly beneath or next to an air conditioner vent can expose the wood to rapid temperature fluctuations and condensation, leading to warping or mold growth over time.
Calculate Traffic Flow and Door Swing Clearances
A successful furniture layout must prioritize the human element, ensuring that daily movement through the room remains natural and unhindered. To prevent your shelve display rack from becoming a physical obstacle, you must calculate the clearance required for nearby doors, windows, and drawers to operate. Use your measuring tape to trace the full swing radius of any adjacent doors—including room entry doors, balcony glass doors, and wardrobe doors. Draw a physical arc on the floor with masking tape if necessary to visualize where the door will travel, and ensure the display rack sits well outside this boundary.
Beyond door swings, you must evaluate the walking paths, or traffic lanes, that run parallel to the proposed display rack. In standard residential design, a primary walkway should have a clear width of at least 900 millimeters to allow two people to pass each other comfortably. For secondary pathways, such as the space between a display rack and a coffee table or sofa, maintain a minimum clearance of 600 to 750 millimeters. If the rack is placed in a high-traffic zone like an entryway or hallway, opting for a shallower unit with a depth of 300 millimeters or less will help keep the passage wide and safe.
Finally, do not forget to factor in the “interaction zone”—the physical space a person occupies when using the display rack. To browse items on lower shelves, a person must bend down or squat, which temporarily extends their physical footprint by 600 to 800 millimeters in front of the unit. Similarly, reaching for items on high shelves requires space to step back and look upward. If you place a large dining table or armchair directly in front of the display rack without leaving this interactive buffer, accessing your books or collectibles will feel cramped and inconvenient.
Translate Room Dimensions into Shelve Display Rack Specifications
Once you have gathered your precise room measurements, you must translate these numbers into the actual specifications of the furniture you intend to buy. It is easy to confuse the overall external dimensions of a display rack with its internal, usable shelf space. For example, a rack with a nominal width of 900 millimeters might have thick wooden side panels of 25 millimeters each, reducing the actual internal shelf width to 850 millimeters. If you are planning to store specific items like vinyl records, large art books, or standardized storage boxes, check the internal height, width, and depth specifications of the individual shelves rather than relying on the external dimensions.
When comparing products, always factor in manufacturing tolerances and installation clearance. Wood and metal furniture can have minor dimensional variations of a few millimeters from the listed catalog size. To avoid a scenario where a rack is too tight to slide into its designated spot, always leave a “breathing gap” of at least 20 to 30 millimeters on each side and at the top. This clearance is especially critical for flat-pack furniture that must be assembled inside the room, as you will need physical space to maneuver tools, lift the unit upright, and slide it into its final position against the wall.
The depth of your display rack should be directly tailored to what you plan to store, balancing storage capacity against floor space conservation. Consider these standard guidelines:
- Standard novels and paperbacks: Require a shelf depth of 150 to 200 millimeters.
- Large binders, textbooks, and vinyl records: Require a shelf depth of 300 to 320 millimeters.
- Decorative storage boxes, baskets, and oversized art books: Require a shelf depth of 350 to 400 millimeters.
Choosing a rack that is deeper than necessary wastes floor space, while a rack that is too shallow will cause items to overhang, creating a safety hazard.
Check Structural Limits and Installation Needs
Before purchasing your shelve display rack, you must evaluate the structural integrity of your room to ensure it can support the weight of the furniture and its contents. The type of wall you are placing the rack against dictates the anchoring methods and maximum load capacity. In Singapore, most structural walls are made of solid reinforced concrete, which provides excellent support but requires a hammer drill and heavy-duty masonry wall plugs for secure mounting. Conversely, internal partition walls are often made of gypsum drywall or hollow bricks, which have much lower load-bearing capacities and require finding the underlying wooden or metal studs for secure anchoring.
Floor leveling is another critical factor that affects the stability and longevity of your shelving unit. Older buildings or hastily finished floors often have subtle slopes or uneven patches that are invisible to the naked eye but become highly apparent when a tall, heavy bookcase is placed on them. Use a spirit level to check the floor’s flatness along the path where the rack will stand. If the floor is uneven, look for display racks equipped with adjustable leveling feet, which allow you to compensate for floor variances and prevent the frame from twisting, warping, or wobbling under load.
Safety must always be a primary consideration, especially for tall freestanding units that exceed 1.2 meters in height. To prevent accidental tip-overs, which pose a severe risk to young children, pets, and even adults during cleaning, tall display racks must be anchored securely to the wall using anti-tip brackets or safety straps. When calculating your space, remember that installing these safety kits often requires a small gap of 10 to 20 millimeters between the back of the rack and the wall. Ensure that this minor offset is factored into your depth calculations so that the front of the unit does not creep into your calculated walking paths.
Frequently Asked Questions (FAQ)
How much space should I leave between a tall display rack and the ceiling?
For safety, air circulation, and ease of maintenance, it is best to leave a vertical clearance gap of at least 100 to 150 millimeters between the top of a tall display rack and the ceiling. This space allows for proper heat dissipation if you install LED strip lighting on the shelves, prevents dust buildup from becoming trapped, and ensures you have enough physical clearance to lift and position the unit during installation. Visually, this gap also prevents the room from feeling cramped or claustrophobic. Always check the manufacturer’s assembly manual to see if additional clearance is required to upright the unit from the floor during assembly.
Is it safe to place a shelve display rack in front of a window or air conditioner?
Placing a shelve display rack directly in front of a window or air conditioner is generally not recommended. Blocking a window restricts natural light and ventilation, while placing a unit directly in front of or beneath an air conditioning blower can disrupt airflow patterns, forcing the appliance to work harder and increase energy consumption. Furthermore, the localized temperature changes and potential condensation from an air conditioner can cause wooden shelves to warp, split, or develop mold, while direct sunlight from a window will fade book covers and damage delicate collectibles. If space constraints force you to use this area, opt for a low-profile, open-backed console unit that sits well below the window sill or AC unit.
Community discussion
Share your experience or ask a question. Comments are reviewed before publication.