
Selecting the perfect shelving rack for your home requires more than just finding a design that matches your decor. In Singapore’s compact HDB flats and BTO apartments, maximizing vertical space while maintaining comfortable walkways is a delicate balancing act. To choose the right shelving rack size, you must measure your available floor area, account for architectural features like skirting boards and ceiling beams, and factor in necessary clearances for doors and pathways. Precise planning ensures your new storage unit fits seamlessly into your room without blocking light, air conditioning, or foot traffic.
Taking the time to measure your space systematically prevents the hassle of returning heavy, bulky items. A shelving unit that is even a few millimeters too wide can disrupt your entire room layout or fail to fit into a designated alcove. By understanding the unique structural features of local public housing, you can select a storage solution that is both highly functional and safe for daily use.
Essential Tools and Preparation for Accurate Measurements
Before browsing online catalogs or visiting furniture showrooms, you must gather the proper tools and establish a consistent measurement system. A reliable metal tape measure is the most critical tool for this task, as soft fabric tapes can stretch over time and lead to inaccurate readings. For spaces with high ceilings or long corridors, a laser distance measurer can be a valuable addition, allowing you to capture vertical and horizontal spans quickly and independently. You should also keep a notepad or a digital device nearby to record your findings immediately, alongside a sturdy step ladder to reach higher points safely.
Products mentioned in this guide
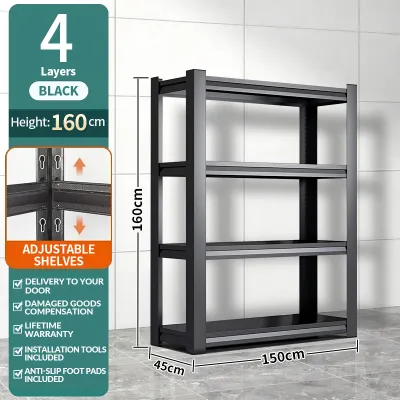
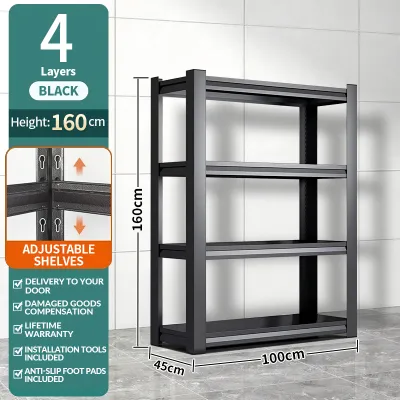
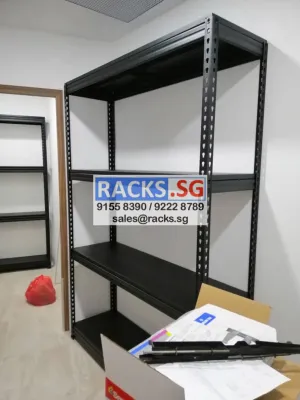
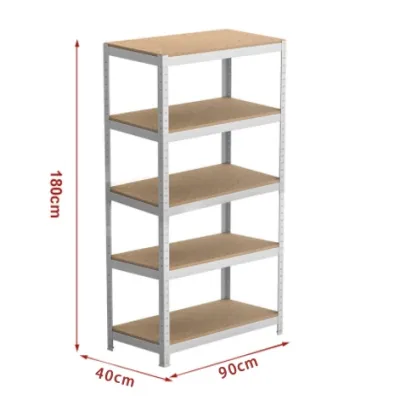
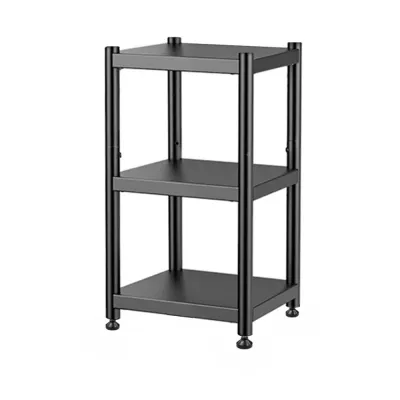
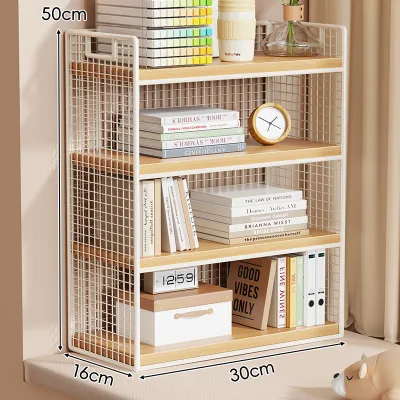
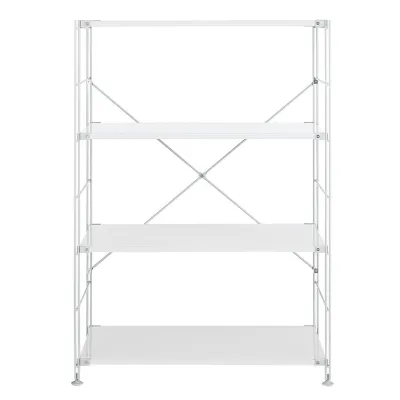
Prices are valid at publication and may change. Please refer to the product page for the latest price.
Standardizing your units of measurement is essential to prevent costly errors. It is highly recommended to record all dimensions strictly in millimeters or centimeters, as most furniture manufacturers and local retailers specify their product dimensions using these metric units. Mixing inches and centimeters frequently leads to conversion mistakes that can make the difference between a shelving rack that fits perfectly and one that blocks an entryway.
Additionally, you must take multiple measurements at different points along the same wall. In many homes—especially older HDB flats—walls, floors, and ceilings are rarely perfectly plumb, level, or square. Take three separate measurements for every dimension: one near the floor, one at mid-wall height, and one close to the ceiling. Always use the smallest of these three measurements as your maximum limit when choosing a rigid, fixed-size storage unit.
How to Measure the Width, Height, and Depth of Your Space
To find a shelving rack that fits your room comfortably, you need to conduct a thorough three-dimensional assessment of the designated area. This involves looking beyond the open floor space and identifying subtle architectural details that could interfere with your installation.

Measuring Width and Accounting for Skirting
When measuring the width of your wall or alcove, start by stretching your tape measure horizontally across the area where the rack will stand. It is crucial to measure this horizontal distance at the bottom, middle, and top of the wall to detect any inward bowing or misalignment. If you plan to install a shelving rack in a tight alcove or between two existing pieces of furniture, even a minor variance of five millimeters can prevent the unit from sliding into place.
You must also account for skirting boards, which are the wooden or tiled trims running along the base of your walls. Because skirting boards protrude from the wall surface, they prevent flat-backed shelving units from sitting completely flush against the wall. To ensure your measurements are accurate, measure the distance between the skirting boards on opposing walls rather than the bare walls themselves. If you are placing a rack against a single wall, subtract the thickness of the skirting board from your total available width to determine the true footprint of your unit.
Checking Height Against Ceiling Features
Vertical measurements require a similar level of precision. Measure the height from the floor to the ceiling at several points across the width of the designated space. However, the raw floor-to-ceiling height is rarely your actual limit. You must deduct clearance for any overhead features that could obstruct the top of the shelving rack or make the upper shelves unusable.
Look upward and identify any ceiling fans, air conditioning units, exposed structural beams, or curtain pelmets in the immediate vicinity. A tall shelving rack placed too close to an air conditioning unit can block airflow, reduce cooling efficiency, and make filter maintenance incredibly difficult. Similarly, ensure there is sufficient clearance between the top of the rack and any ceiling fans to prevent dangerous physical contact. If you plan to store items on the very top shelf, leave at least 30 to 40 centimeters of open space below the ceiling so you can easily lift items on and off the rack.
Determining Depth and Obstructions
Measuring the depth of your space determines how far the shelving rack will protrude into your room. Extend your tape measure outward from the wall to visualize the footprint of the rack on your floor. While doing this, look for wall-mounted obstacles that might dictate where the rack’s uprights or shelves can sit.
Common obstructions in Singapore homes include power sockets, light switches, fiber optic data ports, and window sills. If a shelving rack covers a power outlet, you may lose access to essential plugs, or the plugs themselves may force the rack to sit further away from the wall, taking up valuable floor space. Ensure you map out these fixtures and choose a rack with open sides, adjustable shelving heights, or a frame design that leaves these utility points fully accessible.
Adapting to HDB and BTO Layout Constraints
Singapore’s public housing designs present unique spatial challenges that require careful planning before purchasing a shelving rack. Understanding how to navigate these architectural features will help you avoid delivery and installation headaches.
Navigating Narrow Corridors and Foyers
Many HDB flats, particularly older corridor-facing units and modern BTO layouts, feature narrow entryways, foyers, and hallways. When planning your storage, you must measure the width of these transitional spaces to ensure you can physically transport the shelving rack into your home. This is especially important for pre-assembled furniture or heavy-duty metal boltless racks.
Before placing an order, measure the clear width of your main entrance door frame, internal bedroom doors, and any tight corners in your hallway. You must also consider the journey from the lift lobby to your front door. If your building’s lift has a low ceiling or a narrow doorway, large flat-pack boxes or fully welded frames may not fit inside. Always check these external dimensions to guarantee that delivery personnel can safely maneuver the product into your apartment.
Working Around the Household Shelter
The reinforced household shelter, commonly referred to as the bomb shelter, is a standard feature in modern BTO flats. While this space is frequently repurposed as a pantry or utility storeroom, it comes with strict structural regulations and physical limitations that affect your shelving choices.
First, the heavy steel door of the household shelter opens outward and requires significant clearance to swing fully open. You must measure the door’s swing radius and ensure that any floor-standing shelving rack placed outside the shelter does not block this path. Blocking the door’s arc is not only inconvenient but also violates safety regulations by obstructing a critical escape route. Within the shelter itself, you must rely entirely on freestanding shelving units. HDB regulations strictly prohibit drilling, hacking, or mounting screws into the reinforced concrete walls or the steel door of the household shelter, as doing so compromises its protective integrity.
Factoring in Clearances, Pathways, and Safety Margins
A well-sized shelving rack should enhance your home’s organization without compromising the daily flow of movement or household safety. To achieve this balance, you must apply several practical clearance rules to your final measurements.
Walkways and Ergonomics To maintain comfortable traffic flow, you must subtract a generous walking margin from your total measured depth. In high-traffic areas like the living room, kitchen, or main hallway, aim to preserve a clear walkway of at least 90 centimeters in front of the shelving rack. This allows two people to pass each other comfortably. In tighter spaces like study rooms or bedrooms, a minimum clearance of 70 centimeters is acceptable, but anything less will feel cramped and restrict your movement.
Door and Drawer Swing Do not forget to map out the swing radius of nearby architectural doors, wardrobe doors, and kitchen cabinets. If your shelving rack is positioned too close to a wardrobe, you may find yourself unable to open the wardrobe doors fully. If you are choosing a shelving rack that features its own drawers or cabinet doors, measure the extension depth of these components when fully opened to ensure they do not collide with other furniture.
Ventilation and Heat Dissipation If you plan to place your shelving rack near heat-generating appliances, such as a refrigerator, microwave oven, or home network router, you must leave an adequate ventilation gap. Placing a wooden or metal rack flush against a refrigerator can trap heat, causing the appliance to consume more electricity and potentially shortening its lifespan. A clearance gap of at least 5 to 10 centimeters is recommended to allow for proper heat dissipation.
Anti-Tip Safety and Wall Anchoring For safety and stability, tall shelving racks should be securely anchored to the wall. Before deciding on a rack’s height, identify the composition of the wall behind it. Concrete structural walls offer excellent support for heavy-duty anchors, whereas partition walls made of gypsum board or drywall have much lower load-bearing capacities and require specialized toggle bolts. If you are unable or unwilling to drill into your walls, you must choose a shorter, wider shelving rack with a lower center of gravity to ensure stability. Always consult the manufacturer’s care and installation instructions to verify the correct anchoring hardware for your specific wall type.
Common Shelving Rack Sizing Mistakes to Avoid
Even with a tape measure in hand, it is easy to overlook minor details that can disrupt your storage plans. Awareness of these common pitfalls will help you make a more informed purchase.
Ignoring Packaging Dimensions One of the most frequent mistakes is focusing solely on the finished, assembled dimensions of the shelving rack. Many heavy-duty metal racks are delivered in long, heavy flat-pack boxes. If these boxes are too long to fit into your HDB lift or too heavy to carry up the stairs, you may face delivery delays or additional handling fees. Always check the packaging dimensions and weight limits before finalizing your purchase.
Overlooking Shelf Thickness When calculating how much storage space you will have, do not assume that the total height of the rack divided by the number of shelves gives you the height of each compartment. You must subtract the thickness of the shelves themselves, as well as the height of the supporting horizontal beams or brackets. For heavy-duty boltless racks, these structural beams can take up several centimeters of vertical space per tier, significantly reducing the clearance available for tall storage boxes.
Assuming Perfectly Square Rooms Assuming your walls meet at a perfect 90-degree angle is a recipe for frustration. If you buy a rigid, wide shelving rack designed to fit exactly into a corner or alcove, any slight deviation in the wall’s angle will prevent the rack from fitting. Always leave a safety tolerance of at least 1 to 2 centimeters on all sides to accommodate minor wall irregularities.
Neglecting Baseboard Gaps Failing to measure the height and depth of your skirting boards often results in a shelving rack that leans forward dangerously. If the rack’s feet cannot sit flush against the wall because of the baseboard, the top of the unit will tilt away from the wall. To prevent this, look for shelving racks designed with a baseboard cutout at the back, or use adjustable leveling feet and shims to stabilize the unit on uneven floors.
Frequently Asked Questions (FAQ)
Can I drill into my HDB household shelter walls to mount a shelving rack?
No, you cannot drill into these walls. HDB regulations strictly prohibit any form of drilling, hacking, or nailing into the reinforced concrete walls, floor, ceiling, or steel door of the household shelter. Doing so compromises the structural integrity and protective function of the shelter. To organize your household shelter safely and legally, you must use freestanding floor-standing shelving racks, boltless metal racks, or tension-based storage systems that do not require wall anchors.
What should I consider when measuring space for a shelving rack in a rented flat?
If you are renting a flat in Singapore, you must prioritize damage-free storage solutions that do not violate your tenancy agreement. Focus on measuring space for freestanding, modular, or tension-pole shelving racks that do not require drilling into the walls. When choosing a tall rack, look for non-invasive anti-tip safety options, such as securing the unit to adjacent heavy furniture or using specialized adhesive straps designed for rental properties. Ensure you measure the floor space carefully to avoid scraping the walls or skirting boards during assembly and installation.
Community discussion
Share your experience or ask a question. Comments are reviewed before publication.