
Finding the perfect shoe rack cabinet involves more than just selecting an attractive design that matches your home decor. A cabinet that is even a few centimeters too deep can turn a high-traffic entryway into a frustrating bottleneck, while one that is too small will leave your footwear overflowing onto the floor. To achieve a seamless fit, you must systematically evaluate your physical space, account for architectural obstacles, and calculate your household’s actual storage requirements.
By taking precise measurements of your floor area, wall clearances, and door swing paths, you can confidently select a piece of furniture that balances capacity with accessibility. This guide walks you through the step-by-step process of measuring your entryway, hallway, or closet to ensure your new shoe organizer functions beautifully without obstructing your daily routine.
Assess Your Available Footprint and Clearance
Before browsing online marketplaces or visiting furniture showrooms, you must establish the absolute physical boundaries of your designated space. Use a heavy-duty metal measuring tape rather than a flexible fabric one, as metal tapes remain rigid over longer distances and provide more accurate readings. Begin by measuring the maximum width, depth, and height of the floor and wall area where you plan to position the cabinet.
Products mentioned in this guide

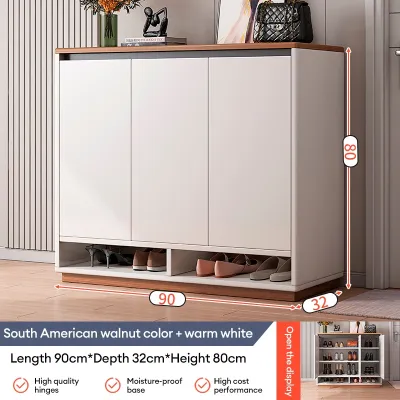
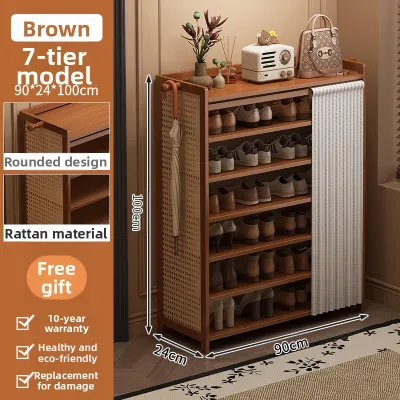
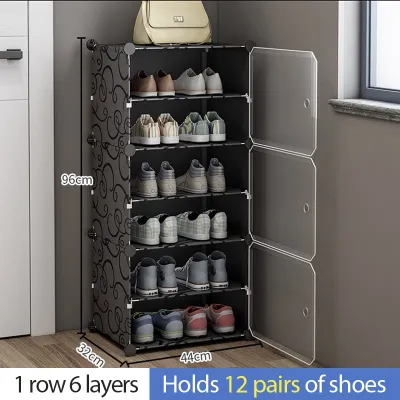
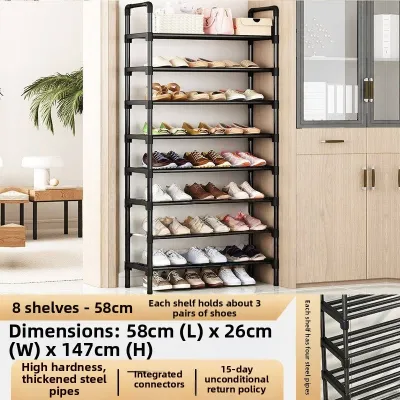
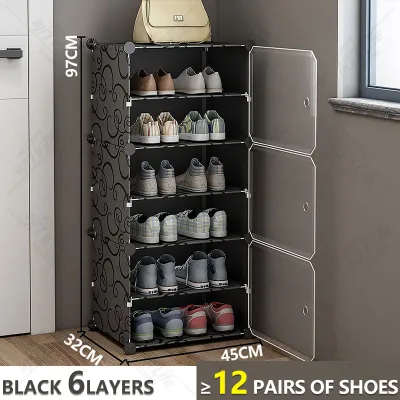
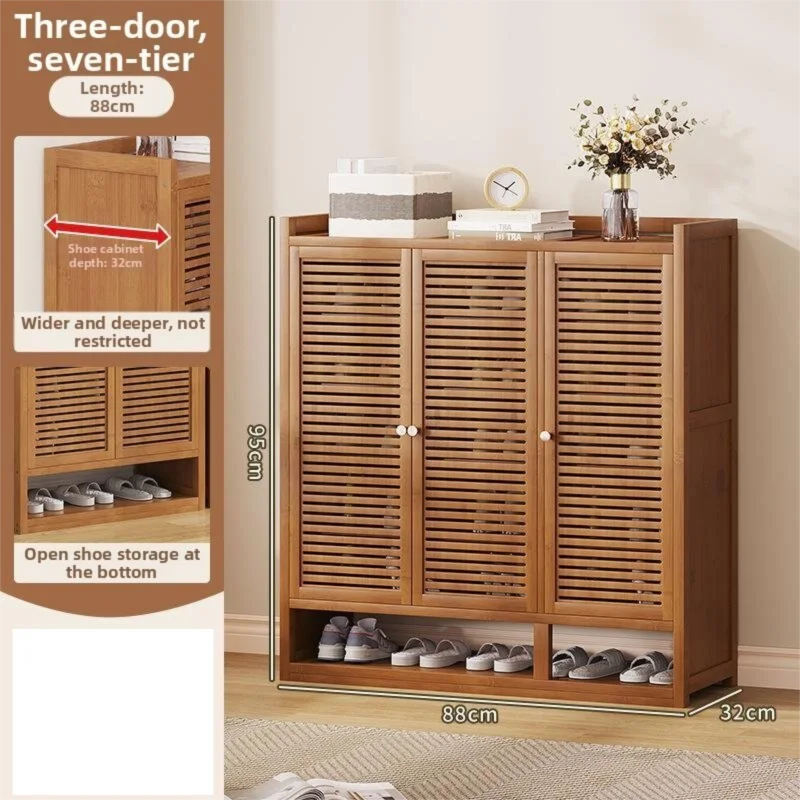
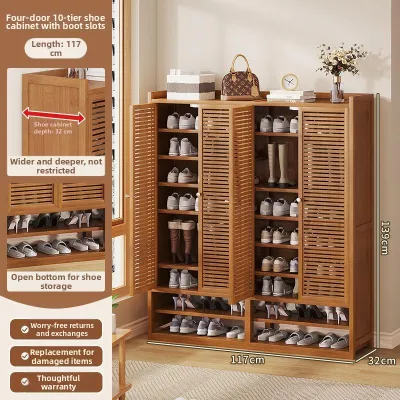
Prices are valid at publication and may change. Please refer to the product page for the latest price.
Do not rely solely on wall-to-wall measurements, as architectural details can significantly reduce your usable space. Take note of baseboards, door frames, window sills, and light switches that might protrude into the area. Baseboards, for instance, often prevent a cabinet from sitting flush against the wall, which can steal up to two centimeters of depth and cause stability issues if the unit is not properly anchored.
Next, map out the swing radius of any nearby doors, including your main entrance door, closet doors, or adjacent room entryways. A shoe rack cabinet must never impede the full opening path of these doors, as this creates a constant physical hazard and can damage both the door and the furniture over time. Mark the door’s path on the floor with painter’s tape to visualize the clearance zone clearly.
Finally, verify the remaining walkway clearance to ensure comfortable traffic flow through your home. In high-traffic transition zones like entryways and hallways, you should aim to preserve a clear passage of at least 90 centimeters. This space allows household members to walk past comfortably, carry groceries, or maneuver mobility aids without bumping into the cabinet.
Determine Your Shoe Storage Capacity Needs
Once you have established your physical space limits, you must align them with your actual storage requirements. Begin by conducting a thorough audit of your household’s footwear collection. Count every pair of shoes that needs a home in the new cabinet, and remember to factor in a buffer of ten to fifteen percent for future purchases or guest footwear.

The types of shoes you own will dictate the internal configuration and height requirements of the cabinet. Standard flats, sneakers, and sandals typically require a shelf height of about 15 centimeters, whereas high heels, ankle boots, and high-top sneakers need 20 centimeters or more. If your collection includes tall boots, you will need adjustable interior shelves that can be repositioned or removed to accommodate varying heights.
Balancing your storage goals with your physical footprint is a crucial step in the decision-making process. If your available floor space is highly restricted, a standard horizontal cabinet may not offer enough capacity. In such cases, you must decide whether to prioritize a taller vertical unit that utilizes wall space or adjust your storage expectations.
If your footprint cannot accommodate your entire collection, consider implementing a seasonal rotation strategy. Keep your daily-wear shoes, school shoes, and work footwear in the primary entryway cabinet, while storing formal wear, seasonal boots, and athletic gear in secondary closet organizers or under-bed storage boxes. This keeps your main entryway organized and clutter-free.
Evaluate Entryway and Closet Specific Constraints
Entryway and Hallway Considerations
For narrow corridors and tight entryways, shallow-depth designs are often the most practical choice. Tilt-out shoe cabinets are specifically engineered for these spaces, utilizing angled compartments that store shoes vertically to keep the cabinet’s overall depth under 25 centimeters. However, before purchasing a tilt-out model, verify that your household’s largest shoe sizes will fit within the compartment dimensions specified by the manufacturer.
Height is another critical factor when placing a cabinet in an entryway. Ensure the top of the unit does not block natural light from nearby windows, nor should it obstruct wall-mounted utilities such as intercom systems, security panels, or electrical distribution boards. In many Singapore apartments, these utility panels are located near the main door, and keeping them accessible is essential for safety and maintenance.
Proper ventilation is vital for entryway cabinets to prevent the buildup of moisture and unpleasant odors, particularly in warm or humid climates. Look for cabinets featuring slatted doors, open-back designs, or built-in ventilation grilles that encourage continuous airflow. If you select a fully enclosed cabinet, plan to use moisture absorbers or charcoal deodorizers to keep the interior fresh.
Closet and Wardrobe Integration
Integrating a shoe rack cabinet into an existing closet or wardrobe system requires a different set of measurements. Start by measuring the internal clear dimensions of the closet, paying close attention to the depth. You must ensure that hanging clothes, which often drape outward by 55 to 60 centimeters, do not press against or block the shoe cabinet.
Decide whether a freestanding cabinet or a modular insert is the best fit for your closet layout. Freestanding units offer the flexibility of being easily moved or repositioned, while modular inserts can be secured directly to your existing wardrobe shelving for a clean, custom-built appearance.
Ensure that the cabinet’s doors or drawers can open fully within the closet space. If your closet has sliding doors, the shoe cabinet must be positioned so that it does not interfere with the door tracks or prevent the sliding panels from opening completely. For walk-in closets, verify that opening the shoe cabinet drawers does not block the main walkway or collide with adjacent storage features.
Common Measuring Mistakes to Avoid
One of the most common oversights when purchasing furniture is forgetting to measure the delivery path. A shoe rack cabinet might fit perfectly in your entryway, but it is useless if it cannot pass through your building’s lift doors, narrow stairwells, or your apartment’s main entrance. Always check the packaged dimensions of the cabinet against these transit points before finalizing your order.
Another frequent mistake is ignoring the extra depth required when cabinet doors are fully opened or drawers are pulled out. A cabinet that appears slim when closed can easily double its footprint when in use, completely blocking a hallway and trapping family members. Always add the depth of the open doors or drawers to the cabinet’s closed depth to calculate the total operational footprint.
Never assume that your walls are perfectly plumb or your floors are completely level. Uneven floors can cause a tall shoe cabinet to lean forward, creating a serious tip-over hazard, while bowed walls can prevent a cabinet from sitting flush. Use a spirit level to check your surfaces, and look for cabinets equipped with adjustable leveling feet to compensate for minor floor variations.
Finally, do not overlook the thickness of carpets, door mats, or area rugs that will sit in front of or underneath the cabinet. A thick welcome mat can easily catch on the bottom edge of low-clearance cabinet doors, preventing them from opening smoothly or causing premature wear to both the rug and the door hinges.
Frequently Asked Questions (FAQ)
How much clearance is needed in front of a shoe cabinet?
The clearance required in front of your cabinet depends heavily on its door style. Traditional swing doors require a clear space equal to the width of the door panel, whereas sliding doors and tilt-out drawers require minimal front clearance. Regardless of the door type, you should always add a standing buffer zone of at least 50 to 60 centimeters to the mechanical opening distance. This extra space ensures you can comfortably stand, bend down, and retrieve your shoes without feeling cramped or blocking the entire corridor.
Can I place a shoe rack cabinet behind a door?
Placing a shoe cabinet behind an entryway or bedroom door is possible, provided you have a wide enough gap when the door is fully opened. Measure the distance from the wall to the back of the opened door; if this gap is wider than the cabinet’s depth, it can be a highly efficient use of space. However, you must ensure the cabinet does not prevent the door from opening to at least a 90-degree angle, as blocking emergency exits or restricting egress paths violates basic home safety standards. If the floor space is too tight, consider lightweight over-door organizers or slim, wall-mounted shoe racks instead.
Community discussion
Share your experience or ask a question. Comments are reviewed before publication.