
To get the right dust cover size for your shelf, you must measure the absolute maximum external width, height, and depth of the unit, rather than relying on the internal shelf dimensions or standard product titles. Adding a small clearance margin of one to two centimeters to these measurements ensures the cover slips on and off easily without catching on corners or tearing at the seams.
In homes where space is optimized and dust can accumulate quickly near windows or ventilation vents, a well-fitting dust cover is an excellent way to protect books, electronics, and collectibles. Taking accurate measurements prevents the frustration of purchasing a cover that is too tight to drape properly or so loose that it sags onto the floor.
By establishing a systematic approach to measuring your shelving unit, you can find an accessory that fits securely and complements your living space. This guide outlines the exact steps, tools, and considerations needed to capture your shelf’s true physical footprint.
Products mentioned in this guide


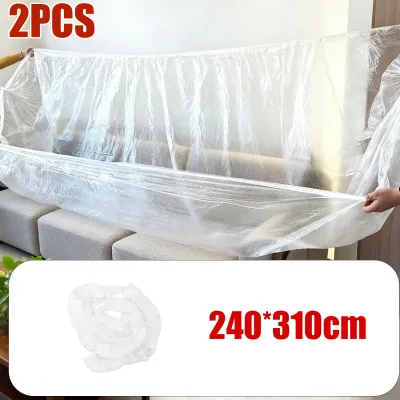
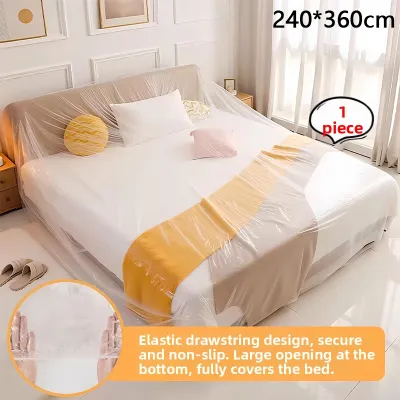
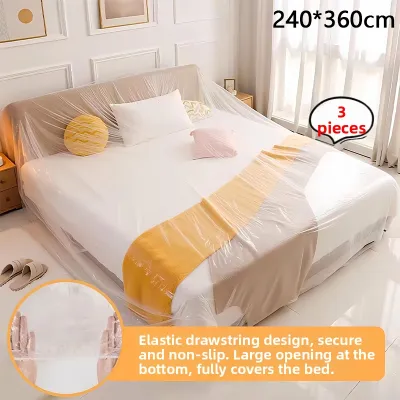
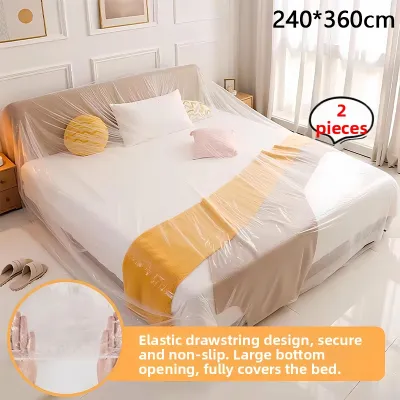
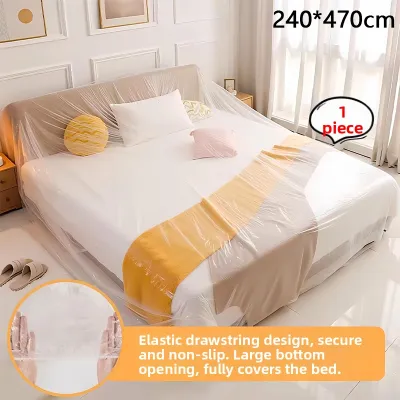
Prices are valid at publication and may change. Please refer to the product page for the latest price.
Tools You Need Before Measuring
Having the correct tools on hand before you begin ensures your measurements are both accurate and consistent. A flexible metal tape measure is the most reliable tool for capturing long, straight external dimensions across the width, height, and depth of your furniture. Unlike fabric sewing tapes, a metal tape measure remains rigid over longer spans, preventing sagging that can lead to inaccurate, oversized readings.
For tight corners, decorative moldings, or recessed panels, a rigid wooden or plastic ruler can help you measure small offsets and trim thicknesses. You should also keep a notepad or a digital device nearby to write down each dimension immediately as you measure it. Trying to memorize multiple numbers often leads to transposition errors when you are browsing product listings later.
If you are measuring tall bookcases, utility racks, or high wall-mounted shelves, safety should be your primary concern. Always use a stable step stool or a small stepladder rather than balancing on a chair or stretching awkwardly to reach the top corners. Having a second person hold the tape measure at the opposite end can also improve accuracy for exceptionally wide or tall shelving units.
Step-by-Step Guide to Measuring Shelf Dimensions
To capture the true physical footprint of your shelf, you must measure its three-dimensional external boundaries. This process involves recording the maximum width, height, and depth, taking into account any elements that extend beyond the main frame.

To measure the width, extend your tape measure horizontally from the absolute left outer edge to the right outer edge. Be sure to measure at the widest point of the unit, which is often the top crown molding or the outer face of the side panels. If your shelf has decorative side trim, external brackets, or hanging hooks, include these in your total width measurement to ensure the cover does not bind at these points.
To determine the height, measure vertically from the floor—or the very bottom of the lowest shelf support if it is wall-mounted—to the highest point of the top panel. If your shelving unit rests on legs, adjustable leveling feet, or casters, these must be included in the vertical measurement. For wall-mounted shelves, measure from the underside of the lowest bracket to the top of the highest item or panel to ensure complete coverage.
To measure the depth, run your tape measure from the very front edge of the shelf to the backmost surface. Do not assume the shelves are the same depth as the side panels; often, backing boards, rear cross-braces, or wall-anchoring hardware add extra millimeters to the overall depth. If your shelf features front doors, drawers, or protruding handles and hinges, measure to the outermost tip of these components.
Finally, carefully inspect your shelf for any irregular architectural features that might interfere with a standard rectangular cover. Decorative top arches, baseboard cutouts, or side-mounted power strips can alter the shape of the cover once installed. Note down the dimensions of these protrusions separately so you can compare them against the shape and flexibility of the dust cover you plan to buy.
Choosing the Right Dust Cover Style Based on Your Measurements
Once you have recorded your shelf’s exact dimensions, you need to match these figures to the appropriate style of dust cover. Different designs accommodate measurements in unique ways, and understanding these differences will help you calculate the necessary fit allowances.
Full-enclosure covers are designed to drape over the entire piece of furniture, shielding it from top to bottom on all four sides. For this style, your height and depth measurements must be highly accurate to prevent the fabric from dragging on the floor or pulling tight across the front. Conversely, single-tier or top-only covers only protect specific sections, meaning you only need to match the width and depth of the targeted shelves.
Calculating the fit allowance is a critical step that prevents you from purchasing a cover that is too tight to use. As a general rule, you should add a small margin of approximately 1 to 2 centimeters to your measured width and depth. This slight clearance allows the cover to slide on and off smoothly without catching on corners or straining the stitched seams, which can lead to premature tearing.
You must also consider how different closure mechanisms affect the required precision of your measurements. Covers with heavy-duty zippers or Velcro strips along the front panels require a relatively precise fit to ensure the closures can meet and fasten without stretching the fabric. On the other hand, covers with elasticized bottom hems or adjustable drawstring closures offer more flexibility, allowing you to secure a slightly larger cover tightly around the base of the shelf.
Common Measurement Mistakes to Avoid
Many homeowners end up with ill-fitting dust covers because of simple, easily avoidable oversights during the measurement process. Recognizing these common pitfalls beforehand will save you the hassle of returning an unsuitable product.
One of the most frequent mistakes is measuring only the internal storage space or the individual wooden shelves while ignoring the thickness of the external frame. The side panels, top board, and vertical supports can easily add several centimeters to the overall width and depth of the unit. If you buy a cover based solely on internal shelf dimensions, the cover will be far too small to fit over the exterior structure.
Another common error is forgetting to include the height of adjustable feet, casters, or base moldings in the total height calculation. If your shelving unit is on wheels for easy mobility, omitting the wheel height will result in a cover that sits too high, leaving the bottom section exposed to dust. Always measure from the actual floor surface to the very top edge of the unit to capture the complete vertical profile.
Additionally, you should never rely on assumed standard furniture sizes or the dimensions listed on your original furniture purchase receipt. Over time, shelves can sag slightly, or you might have added aftermarket accessories like bumper guards or cable organizers that alter the outer dimensions. Taking fresh, physical measurements of the shelf in its current state is the only way to guarantee an accurate fit.
How to Verify the Fit Before Finalizing Your Purchase
Before you click the purchase button, take a few minutes to verify your recorded measurements against the specific product details of the dust cover. This final check ensures that your investment will provide the protection and aesthetic appeal you expect.
Always compare your physical measurements against the detailed specification chart provided by the manufacturer, rather than relying on generic size labels like “Small,” “Medium,” or “Large.” Different brands have vastly different sizing standards, and a “Medium” cover from one manufacturer might be equivalent to a “Large” from another. Look for the exact centimeter or inch breakdown of the cover’s dimensions to ensure a proper match.
It is also wise to check the manufacturer’s care and cleaning instructions to anticipate potential fabric shrinkage. Natural fibers like cotton canvas or linen may shrink slightly after their first wash, which could turn a snug-fitting cover into one that is unusable. If you prefer a machine-washable natural fabric, consider choosing a cover that is slightly larger than your calculated dimensions to accommodate this potential shrinkage.
Finally, review the return and exchange policies of the retailer before finalizing your order. Even with meticulous measurements, minor variations in manufacturing tolerances can sometimes affect how the cover drapes over your specific shelf. Knowing that you can easily exchange the cover for a different size provides peace of mind and protects your budget from unexpected return shipping fees.
Frequently Asked Questions (FAQ)
What if my shelf has an irregular shape or sloped back?
If your shelf features a non-standard shape, such as an A-frame ladder design or a sloped back for corner placement, you must measure the widest and tallest points of the entire structure. This ensures that the dust cover can pass over the widest sections without getting stuck during installation.
While a standard rectangular cover can still protect an irregularly shaped shelf, it may leave a significant amount of loose, sagging fabric in the narrower sections. If aesthetics are important to you, or if the shelf is located in a high-traffic area where loose fabric could pose a tripping hazard, you may want to consider a custom-tailored cover designed specifically for your furniture’s unique profile.
Should I measure the shelf with or without the items on it?
You should always measure the shelf itself rather than the items stored on it, as the external dimensions of the furniture frame remain constant. However, any items that protrude past the front or side edges of the shelves will affect how the cover sits, so these should be rearranged to sit flush within the frame before you measure.
To ensure the highest level of accuracy, it is highly recommended to clear the top and sides of the shelf before taking your measurements. This allows your metal tape measure to sit completely flat against the outer panels and corners, preventing any bowing or angling of the tape that could lead to inaccurate, inflated readings.
Community discussion
Share your experience or ask a question. Comments are reviewed before publication.