
Upgrading cabinet hardware is a quick, high-impact way to refresh built-in wardrobes, kitchen cabinets, or vanity units in Singapore homes. However, a mismatch in screw length or knob projection can lead to loose handles, damaged drawer fronts, or drawers that refuse to close. To choose the right drawer knob size and screw type, you must measure three critical dimensions: the drawer front thickness, the existing hole diameter (and spacing if applicable), and the interior clearance. Matching these measurements ensures your new hardware sits flush, operates smoothly, and does not interfere with the drawer’s internal tracks or contents.
Taking precise measurements before purchasing prevents the frustration of returning ill-fitting hardware or damaging your furniture during installation. Whether you are working with solid wood, medium-density fibreboard (MDF), or laminated plywood, understanding how to calculate hardware specifications is essential for a professional finish. This guide outlines the exact steps to measure your drawers, select the ideal knob proportions, and determine the correct screw type for a secure, wobble-free fit.
Gather the Right Tools for Accurate Measuring
Accurate hardware installation begins with the right measuring instruments. A standard steel tape measure or a rigid metal ruler is sufficient for checking general drawer dimensions and overall panel width. These tools provide a reliable baseline for positioning and visual planning, helping you determine where the hardware will sit relative to the edges of the drawer front.
Products mentioned in this guide
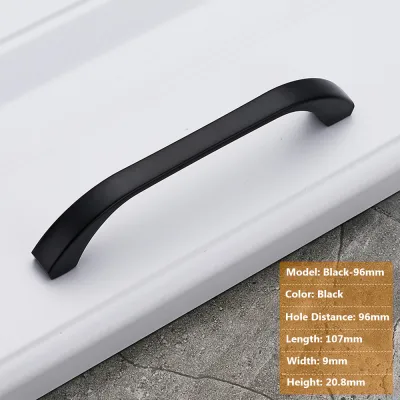
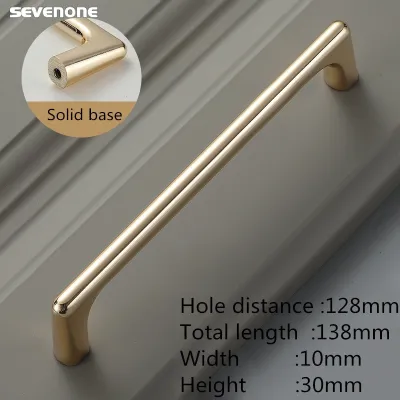
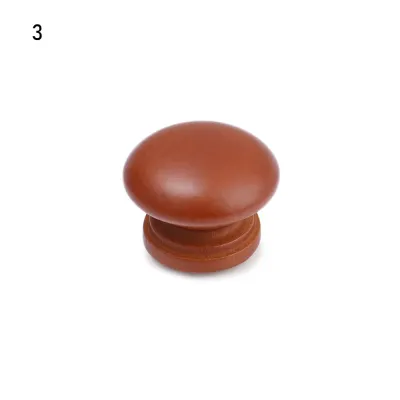
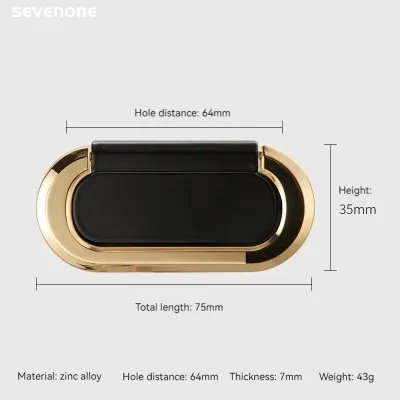
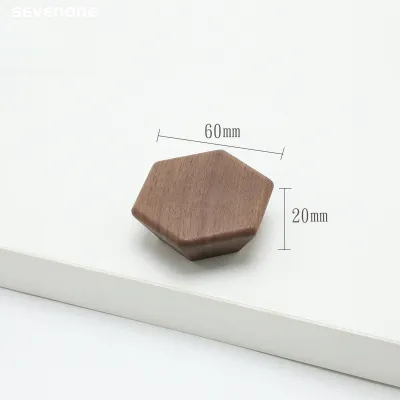
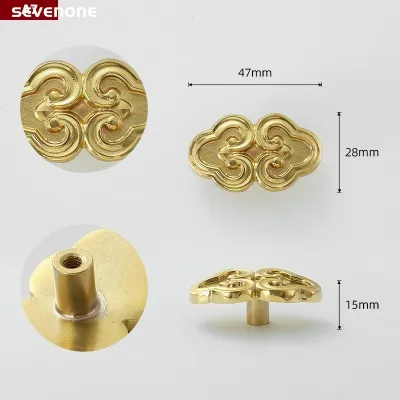
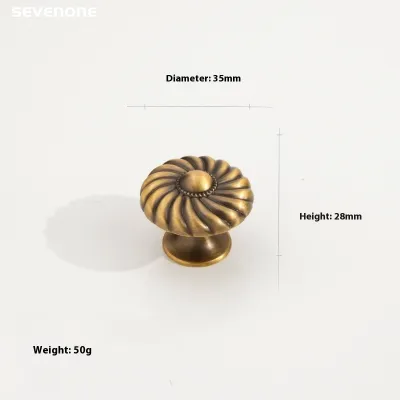
![[SG Seller]Stainless Steel Drawer knob European Mushroom Porcelain White Black Single Hole Handle Stainless Steel Cabinet Handles](https://img.lazcdn.com/g/p/b276f8cb8ff7f5315cbd1c2038cda1b3.jpg_400x400q80.jpg_.webp)
Prices are valid at publication and may change. Please refer to the product page for the latest price.
For high-precision measurements, such as verifying the exact thickness of a drawer front or the diameter of an existing screw hole, digital calipers are highly recommended. Calipers slide directly into tight spaces and provide precise readings down to the millimeter, eliminating the guesswork that often leads to loose hardware. This precision is particularly valuable when dealing with metric and imperial hardware variations.
You will also need a manual screwdriver that matches your existing hardware’s screw head, typically a Phillips or flathead. Avoid using high-torque power drills to remove old knobs, as they can easily slip, strip the screw head, or splinter the wood surrounding the mounting hole. A manual screwdriver allows you to feel the resistance, protecting both the delicate wood fibers and the hardware threads from damage.
Measure the Drawer Front Thickness for Screw Length
The most critical measurement for securing a drawer knob is the total thickness of the drawer front. To find this, open the drawer and measure from the outermost finished face to the innermost raw edge of the front panel. This measurement determines the minimum length of the screw shaft needed to pass through the wood and thread into the knob.

Many modern dressers and kitchen cabinets feature false fronts, decorative veneers, or double-panel construction where an outer decorative drawer face is screwed onto an inner structural drawer box. In these cases, you must measure the combined thickness of both panels, as the mounting screw must pass entirely through both layers to reach the knob base. Failing to account for this double-layer construction will result in purchasing screws that are far too short to engage with the knob.
While measuring the thickness, inspect the interior side of the drawer front for any potential obstructions. Note the location of internal drawer slides, corner joints, or built-in organizers. The screw head must sit completely flush against the inner surface to prevent it from catching on the cabinet frame or damaging internal storage accessories when the drawer slides open and shut. If there are obstructions, you may need to countersink the screw head so it sits below the wood surface.
Check Existing Hole Spacing and Diameter for Replacements
If you are replacing existing hardware rather than drilling new holes, you must verify the dimensions of the current mounting points. For drawers that previously used pull handles with two mounting points, measure the center-to-center distance between the two holes. If you plan to transition to a single drawer knob, you will need to decide whether to use a backplate to cover the secondary hole or fill and paint the unused opening.
Next, measure the diameter of the existing hole using your digital calipers or by inserting drill bits of known sizes until you find a snug fit. Most standard furniture hardware requires a hole diameter of approximately 4mm to 5mm to allow the mounting bolt to pass through without resistance. A hole that is too tight will strip the screw threads during installation, while an oversized hole will cause the knob to wobble.
Examine the wood surrounding the hole for signs of wear, such as stripping, enlargement, or off-center drilling from previous installations. If the wood fibers have crumbled or the hole has become oval-shaped over years of use, the new knob will not sit securely. Identifying these structural issues early allows you to plan for necessary repairs, such as filling the void with wood filler or a dowel, before purchasing your new hardware.
Select the Ideal Drawer Knob Diameter and Projection
Selecting the right drawer knob involves balancing physical ergonomics with visual scale. The diameter of the knob refers to its width across the widest point, while the projection refers to how far the knob extends outward from the drawer face. Both dimensions directly impact how easy the drawer is to open on a daily basis and how the hardware complements the room’s overall design.
To ensure comfortable use, evaluate the projection depth to allow adequate clearance for your fingers. A standard projection of 20mm to 30mm typically provides enough space for knuckles to clear the drawer front, which is especially important for heavy drawers containing kitchen cookware or heavy linens. If the projection is too shallow, grasping the knob becomes difficult and can lead to chipped fingernails or scratched drawer finishes.
Visually, the knob should complement the proportions of the drawer panel. For small drawers, such as those on a bedside table or jewelry chest, a knob diameter of 20mm to 25mm maintains a delicate balance. Larger drawers, such as wide wardrobe pull-outs or deep kitchen drawers, benefit from more substantial knobs measuring 30mm to 40mm in diameter to prevent the hardware from looking lost on the expansive surface.
Consider the placement of the furniture within your home’s layout. In high-traffic zones or tight spaces, such as narrow hallways or galley kitchens, opt for streamlined, low-profile designs with rounded edges. Avoid overly large, ornate, or T-bar style knobs that can easily snag on clothing, apron strings, or bags as family members walk past. Additionally, check the finish and care instructions of the knob material—such as brass, ceramic, or matte black metal—to ensure it can withstand the moisture and cleaning requirements of its specific environment.
Calculate the Correct Screw Type and Length
Drawer knobs are almost universally secured using machine screws, which feature uniform threads designed to mate with the threaded metal insert inside the knob base. The most common thread size for household furniture hardware is M4 (metric 4mm diameter) or 8-32 (imperial standard). Always check the manufacturer’s specifications for your chosen knob to confirm which thread type is integrated into the hardware.
To calculate the exact screw length required, use a simple formula: add the total thickness of your drawer front to the depth of the threaded insert inside the knob, then add a small margin of 2mm to 3mm. For example, if your drawer front is 18mm thick and the knob’s threaded insert is 8mm deep, you will need a screw that is approximately 22mm to 24mm long. A screw that is too short will not catch enough threads to hold, while a screw that is too long will bottom out inside the knob before pulling it flush against the wood.
For drawers made of unusually thin, lightweight, or fragile materials, standard screws may not provide a secure mount. In these situations, using a breakaway screw—which features pre-segmented notches that can be cut to custom lengths with pliers—offers a highly adaptable solution. Additionally, placing a wide metal washer or a wooden backing plate on the inside of the drawer front helps distribute the pulling force, preventing the screw head from tearing through thin plywood or fiberboard over time.
Perform a Test Fit and Final Installation Checks
Before unpacking and installing all your new hardware, perform a complete dry fit with a single knob and screw. Gently thread the screw through the drawer front and into the knob by hand to ensure the threads align smoothly without cross-threading. Tighten the screw with a manual screwdriver until it is snug, paying close attention to the resistance and alignment.
Check that the base of the knob sits perfectly flush against the outer finished face of the drawer. There should be no visible gaps, and the knob should not spin or wobble when pulled. If the knob rotates freely even when the screw is fully tightened, the screw is likely too long and has bottomed out, requiring either a shorter screw or the addition of a washer on the inside of the drawer to take up the slack.
Finally, open the drawer and inspect the interior mounting point. Confirm that the screw head sits flat against the wood and does not protrude excessively into the drawer cavity. A protruding screw head or sharp thread tip can snag delicate clothing, scratch stored items, or interfere with internal drawer organizers, so any excess length must be addressed before completing the rest of the installation.
Frequently Asked Questions (FAQ)
Can I use wood screws instead of machine screws for drawer knobs?
Wood screws are designed to cut their own threads directly into raw wood, making them unsuitable for standard drawer knobs which feature pre-threaded metal inserts. Attempting to force a pointed wood screw into a machine-threaded knob base will strip the threads of both the screw and the hardware, rendering the knob unusable. Furthermore, wood screws lack the wide, flat truss heads typical of machine screws, increasing the risk that the screw will pull through the drawer front or lose tension over time under the constant stress of pulling.
What if my drawer front is too thin for standard hardware?
If your drawer front is exceptionally thin, such as a single sheet of thin plywood or a hollow-core panel, standard cabinet screws will be too long and may cause the knob to wobble. To resolve this, place a wide flat washer (often called a fender washer) over the screw on the inside of the drawer before inserting it through the hole. This washer acts as a spacer to absorb excess screw length while distributing the pulling force across a larger surface area, preventing the screw head from cracking or pulling through the fragile drawer material.
How do I repair a stripped or enlarged knob hole?
To repair a mounting hole that has become stripped, enlarged, or structurally weak, you can rebuild the wood surrounding the opening. Insert a wooden dowel coated in high-quality wood glue directly into the damaged hole, ensuring a tight fit, and allow the glue to cure completely according to the manufacturer’s instructions. Once dry, cut the dowel flush with the drawer surface, sand it smooth, and drill a clean, precise pilot hole to the exact diameter required for your new machine screw.
Community discussion
Share your experience or ask a question. Comments are reviewed before publication.